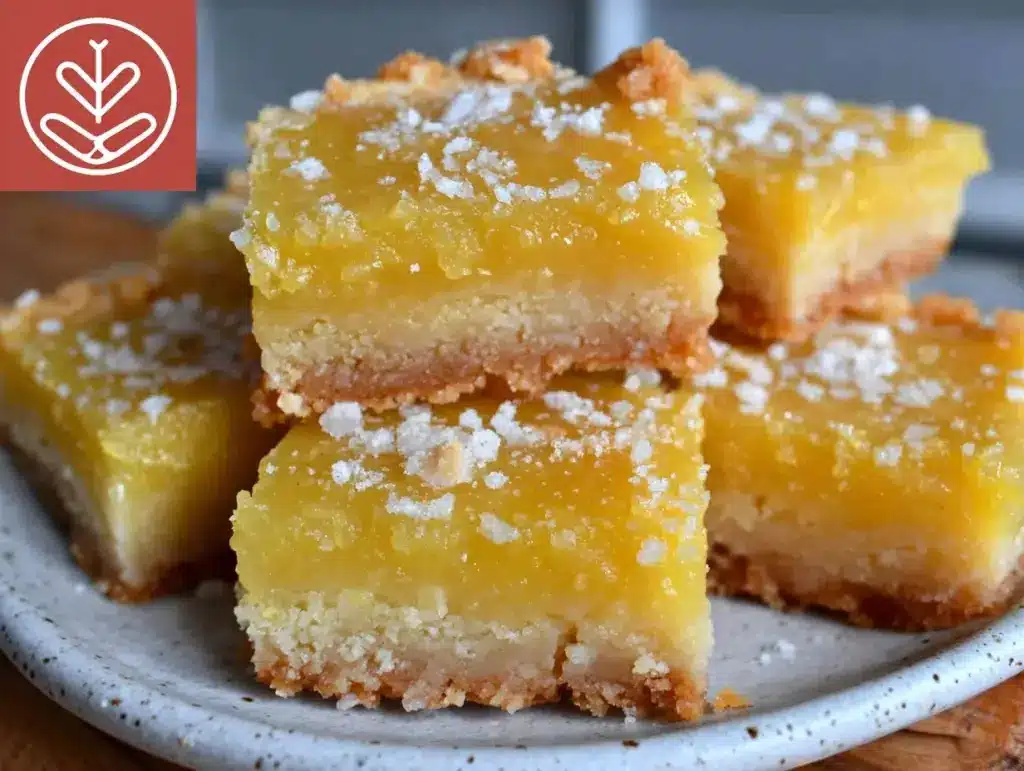
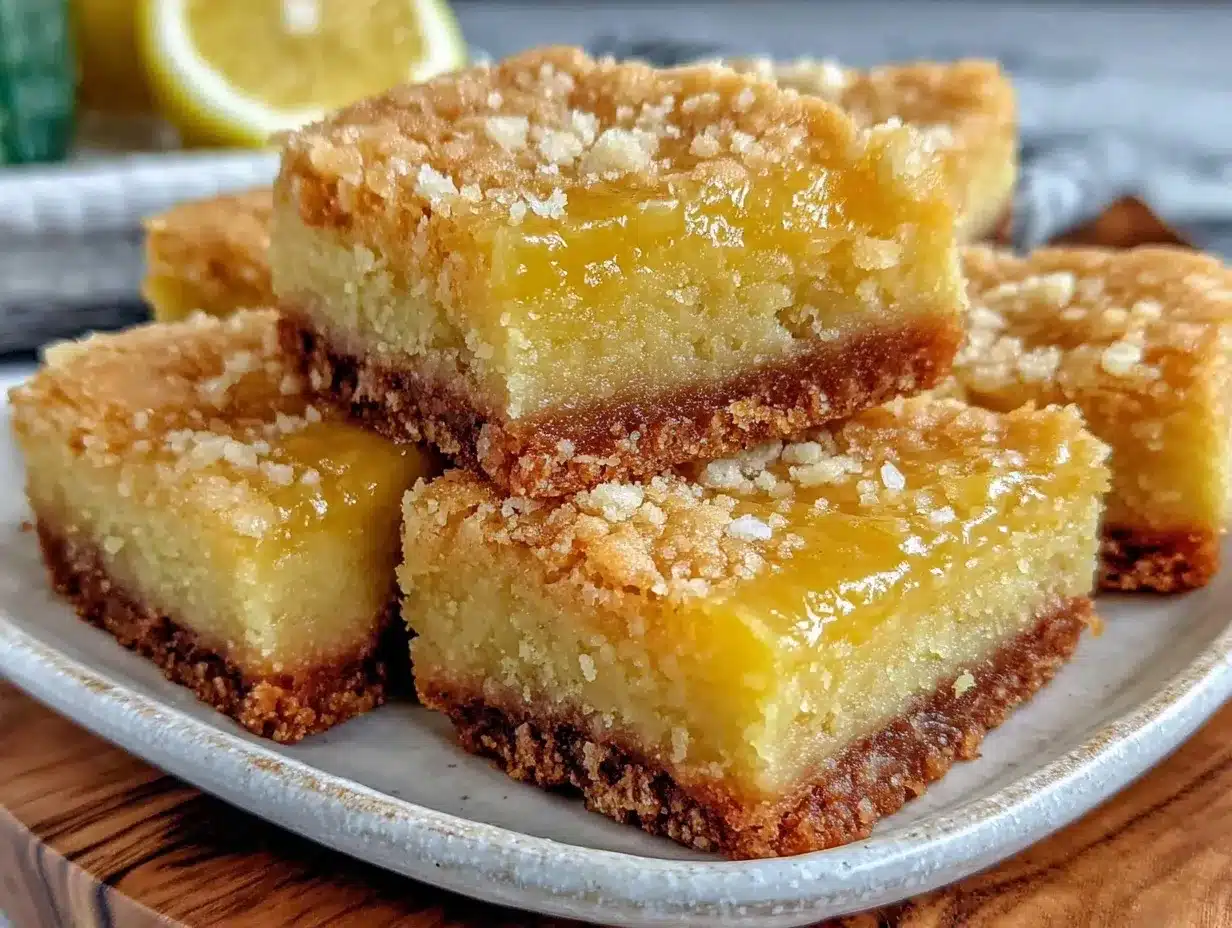
“You’ve got to try my lemon bars,” my coworker said one afternoon, sliding a small box across the conference table. I was skeptical; lemon desserts often promised tang but ended up tasting like sugary sadness. But those tangy lemon bars with buttery shortbread crust were a different story. The moment I bit into that perfect balance of zingy citrus and rich, crumbly crust, I was hooked. Honestly, it felt like a little sunshine on a gloomy workday.
What’s funny is that this recipe became a routine obsession for me—I found myself baking it multiple times a week, much to the delight (and sometimes surprise) of friends and family. The crust’s buttery texture melts in your mouth, perfectly offsetting the bright, tangy lemon filling that’s just sweet enough to keep you coming back for more.
It’s not just dessert; it’s a little wake-up call for your taste buds, a reminder that simple ingredients can create something unexpectedly special. Over time, I’ve tweaked and tested this recipe in my kitchen, and it’s now my go-to whenever I want a treat that feels both comforting and fresh. That quiet realization that sometimes the simplest things—like a perfectly baked lemon bar—are the most satisfying stuck with me.
Why You’ll Love This Recipe
After countless trials, I can confidently say these tangy lemon bars with buttery shortbread crust are a must-try for anyone who loves a bright, flavorful dessert that’s easy to make. Here’s why they stand out:
- Quick & Easy: Ready in under an hour, these bars fit perfectly into busy weeknights or impromptu get-togethers.
- Simple Ingredients: No need for fancy specialty items—just pantry staples and fresh lemons, which you probably already have.
- Perfect for Any Occasion: Whether it’s a sunny brunch or a casual potluck, these bars impress without stress.
- Crowd-Pleaser: Kids and adults alike rave about the bright lemon flavor balanced by the buttery crust.
- Unbelievably Delicious: The secret is in the shortbread crust—made with real butter and baked just right for that perfect crumbly base.
This isn’t just another lemon bar recipe; it’s the one I trust to bring smiles every time. The crust uses a classic technique for a tender, crisp texture, while the filling is cooked gently to keep that fresh lemon zing without bitterness. I’ve even swapped in fresh lemon zest for a little extra punch during warmer months, which really makes the flavors pop.
It’s the kind of recipe that invites you to pause, savor, and maybe even close your eyes after the first bite—comfort food reimagined with brightness and ease. Plus, it’s a great way to impress guests without fuss, unlike some of the more complicated desserts out there.
What Ingredients You Will Need
This recipe relies on simple, wholesome ingredients that come together to create a bold flavor and a satisfyingly crumbly texture. Most are pantry staples, with fresh lemons providing that essential tang that makes these bars shine.
- For the Buttery Shortbread Crust:
- 1 cup (226g) unsalted butter, softened (I like using Land O Lakes for rich flavor)
- 1/2 cup (100g) granulated sugar
- 2 cups (240g) all-purpose flour (King Arthur’s works great for consistent texture)
- 1/4 teaspoon salt
- For the Tangy Lemon Filling:
- 1 1/2 cups (300g) granulated sugar
- 1/4 cup (30g) all-purpose flour
- 4 large eggs, room temperature (helps with smooth filling)
- 2/3 cup (160ml) freshly squeezed lemon juice (about 3-4 lemons)
- 1 tablespoon lemon zest (adds bright, fresh aroma)
- Optional:
- Powdered sugar for dusting
Pro tip: If you want to make this gluten-free, swapping the all-purpose flour for a gluten-free blend works surprisingly well. For a dairy-free option, you can try coconut oil instead of butter in the crust, though the texture will be a bit different.
Equipment Needed
Here’s what you’ll want on hand to make these lemon bars come together smoothly:
- 9×13 inch (23×33 cm) baking pan – the classic size for bars, though an 8×8 inch pan works for thicker bars
- Mixing bowls – at least two; one for crust, one for filling
- Electric mixer or sturdy whisk – to cream the butter and sugar nicely
- Zester or microplane – for fresh lemon zest (trust me, it makes a difference)
- Citrus juicer – handheld or electric for easy lemon juice extraction
- Rubber spatula – for folding ingredients without deflating batter
- Parchment paper – to line the pan for easy removal and cleanup
While you can mix the crust by hand, an electric mixer speeds things up and helps achieve that perfect crumbly texture. I usually line my baking pan with parchment paper to lift the bars out effortlessly, especially when sharing. No need for fancy gadgets here—just good tools that get the job done.
Preparation Method
- Prepare the Crust: Preheat your oven to 350°F (175°C). Line a 9×13 inch baking pan with parchment paper, leaving an overhang for easy lifting later.
In a large bowl, cream together 1 cup softened unsalted butter and 1/2 cup granulated sugar until light and fluffy—about 3-4 minutes with a mixer. Add 2 cups all-purpose flour and 1/4 teaspoon salt, mixing on low until the dough just comes together. It should feel crumbly but hold when pressed. - Press and Bake the Crust: Transfer the dough to the prepared pan. Using your fingers or the back of a measuring cup, press the dough evenly into the bottom of the pan. Bake for 18-20 minutes, or until the edges are just starting to turn golden. The crust should be firm but not browned too deeply. Let it cool while you prepare the filling.
- Make the Lemon Filling: In a separate bowl, whisk together 1 1/2 cups granulated sugar and 1/4 cup flour. Add 4 large eggs, one at a time, whisking well after each addition. Stir in 2/3 cup freshly squeezed lemon juice and 1 tablespoon lemon zest until smooth and well combined. The batter should be glossy and a bit thick.
- Bake the Bars: Pour the lemon filling over the slightly cooled crust, spreading it evenly. Return the pan to the oven and bake for 20-25 minutes, or until the filling is set and no longer jiggles in the center. The top should be lightly golden but not browned.
- Cool and Chill: Remove the pan from the oven and set it on a wire rack to cool completely. Once at room temperature, refrigerate the bars for at least 2 hours to firm up the filling and make slicing easier.
- Serve and Enjoy: Use the parchment paper overhang to lift the bars out of the pan. Dust with powdered sugar if desired, then cut into squares or rectangles. The bars should have a crisp, buttery crust and a tangy, creamy filling that melts in your mouth.
Watch out for overbaking the filling—it can get dry and lose its luscious texture if left too long. The bars are best when the filling still has a slight custardy softness but holds its shape. If you want perfectly even cuts, run your knife under hot water and dry it before slicing to get smooth edges.
Cooking Tips & Techniques
Getting the balance just right between crust and filling is key with lemon bars. Here are some tips I’ve learned through trial and error:
- Don’t rush the crust cooling: If the crust is too warm when you pour the filling, it can cause the filling to seep in and ruin that crisp base.
- Use fresh lemons: Bottled lemon juice just doesn’t cut it here. Freshly squeezed juice and zest give the bars their bright, lively flavor.
- Room temperature eggs: These blend better with the sugar and flour, helping create a smooth, silky filling without lumps.
- Watch your oven temperature: Ovens vary, so keep an eye on the crust’s edges and the filling’s jiggle to avoid overbaking. I usually rotate my pan halfway through baking for even results.
- Multitasking: While the crust bakes, zest and juice the lemons. This saves time and keeps the process flowing smoothly.
I once forgot to chill the bars before slicing and ended up with a gooey mess all over my cutting board—lesson learned! Chilling not only firms the filling but also helps the flavors meld beautifully. For a crispier crust, you can even blind-bake it with pie weights before adding the filling, but honestly, pressing and baking directly works just fine for most home cooks.
Variations & Adaptations
This recipe is a great canvas for creativity. Here are a few ways you can mix it up:
- Berry Twist: Add a layer of fresh raspberries or blueberries on top of the crust before pouring in the lemon filling. The natural sweetness complements the tang beautifully.
- Gluten-Free: Use a gluten-free all-purpose blend in place of regular flour for both the crust and filling. I’ve had great results with Bob’s Red Mill 1-to-1 blend.
- Low-Sugar: Replace half the granulated sugar with a natural sweetener like erythritol or monk fruit sweetener to reduce sugar without losing sweetness.
- Coconut Crust: Swap some of the flour in the crust for shredded unsweetened coconut for a subtle tropical flavor and texture.
- Lavender Lemon: Add a teaspoon of culinary lavender to the crust mix for a floral note that’s surprisingly delightful.
One variation I tried recently was a graham cracker crust instead of shortbread, which gave the bars a nice crunch and a touch of sweetness. It’s fun to play around with different crusts depending on your mood or what’s in your pantry.
Serving & Storage Suggestions
These lemon bars are best served chilled or at room temperature. The tangy filling softens slightly when warmed a bit, but I prefer them fresh from the fridge—refreshing and crisp.
They pair wonderfully with a cup of hot tea or a bright, fizzy lemonade for an afternoon treat. For a brunch spread, they balance savory dishes nicely—think alongside crispy baked ham and cheese croissants.
Store leftover bars in an airtight container in the refrigerator for up to 4 days. They also freeze well—wrap individual bars in plastic wrap and place them in a freezer bag for up to 2 months. Thaw in the fridge overnight for the best texture.
When reheating, a few seconds in the microwave soften the filling without melting the crust too much. The flavors actually mellow and deepen after a day, making them a great make-ahead dessert for gatherings.
Nutritional Information & Benefits
Each bar contains approximately:
| Calories | 220 kcal |
|---|---|
| Fat | 12g (mostly from butter) |
| Carbohydrates | 28g |
| Sugar | 18g |
| Protein | 3g |
Thanks to the fresh lemon juice and zest, these bars provide a small boost of vitamin C, supporting immunity and skin health. The use of real butter adds richness, and while this dessert is a treat, it’s free from artificial flavors and preservatives.
If you need gluten-free or low-sugar options, the recipe is flexible enough to accommodate without sacrificing flavor. Just note the presence of eggs and dairy for those with allergies or dietary restrictions.
Conclusion
These tangy lemon bars with buttery shortbread crust have earned a special spot in my recipe collection because they marry simplicity with a burst of fresh flavor. They’re easy to make, delightful to eat, and versatile enough for a casual afternoon snack or a polished dessert to impress guests.
Feel free to experiment with the variations or tweak the sweetness to your liking—this recipe is a great starting point for your own homemade creations. Personally, I love how the crust’s buttery crumb contrasts with the lively lemon filling, creating a balance that always brings a smile.
If you try these bars, I’d love to hear how you make them your own. Drop a comment below or share your favorite tweaks—there’s always room for more delicious ideas in the kitchen. Happy baking!
FAQs
- Can I use bottled lemon juice instead of fresh?
While bottled lemon juice works in a pinch, fresh lemon juice and zest give the best flavor and brightness in these bars. - How do I prevent the lemon filling from cracking?
Avoid overbaking and make sure to cool the bars gradually. A slight jiggle in the center when you take them out is perfect. - Can I make these bars ahead of time?
Absolutely! They taste even better after chilling overnight and store well in the fridge for up to 4 days. - What’s the best way to cut lemon bars cleanly?
Use a sharp knife warmed under hot water and dried before slicing for smooth edges without crumbling. - Can I freeze lemon bars?
Yes, wrap them tightly and freeze for up to 2 months. Thaw in the fridge overnight before serving.
Pin This Recipe!

Tangy Lemon Bars Recipe Easy Homemade Buttery Shortbread Crust

These tangy lemon bars feature a bright, flavorful lemon filling atop a rich, buttery shortbread crust. Easy to make and perfect for any occasion, they offer a perfect balance of zingy citrus and crumbly texture.
- Prep Time: 15 minutes
- Cook Time: 40 minutes
- Total Time: 2 hours 55 minutes
- Yield: 12 servings 1x
- Category: Dessert
- Cuisine: American
Ingredients
- 1 cup (226g) unsalted butter, softened
- 1/2 cup (100g) granulated sugar
- 2 cups (240g) all-purpose flour
- 1/4 teaspoon salt
- 1 1/2 cups (300g) granulated sugar
- 1/4 cup (30g) all-purpose flour
- 4 large eggs, room temperature
- 2/3 cup (160ml) freshly squeezed lemon juice (about 3–4 lemons)
- 1 tablespoon lemon zest
- Powdered sugar for dusting (optional)
Instructions
- Preheat your oven to 350°F (175°C). Line a 9×13 inch baking pan with parchment paper, leaving an overhang for easy lifting later.
- In a large bowl, cream together 1 cup softened unsalted butter and 1/2 cup granulated sugar until light and fluffy—about 3-4 minutes with a mixer.
- Add 2 cups all-purpose flour and 1/4 teaspoon salt, mixing on low until the dough just comes together. It should feel crumbly but hold when pressed.
- Transfer the dough to the prepared pan. Using your fingers or the back of a measuring cup, press the dough evenly into the bottom of the pan.
- Bake for 18-20 minutes, or until the edges are just starting to turn golden. Let it cool while you prepare the filling.
- In a separate bowl, whisk together 1 1/2 cups granulated sugar and 1/4 cup flour.
- Add 4 large eggs, one at a time, whisking well after each addition.
- Stir in 2/3 cup freshly squeezed lemon juice and 1 tablespoon lemon zest until smooth and well combined. The batter should be glossy and a bit thick.
- Pour the lemon filling over the slightly cooled crust, spreading it evenly.
- Return the pan to the oven and bake for 20-25 minutes, or until the filling is set and no longer jiggles in the center. The top should be lightly golden but not browned.
- Remove the pan from the oven and set it on a wire rack to cool completely.
- Once at room temperature, refrigerate the bars for at least 2 hours to firm up the filling and make slicing easier.
- Use the parchment paper overhang to lift the bars out of the pan. Dust with powdered sugar if desired, then cut into squares or rectangles.
Notes
Do not overbake the filling to avoid dryness; a slight jiggle in the center is perfect. Use fresh lemons for best flavor. Chill bars before slicing for clean cuts. Warm knife under hot water and dry before slicing for smooth edges. Gluten-free and dairy-free substitutions are possible but will alter texture.
Nutrition
- Serving Size: 1 bar (approximate)
- Calories: 220
- Sugar: 18
- Fat: 12
- Carbohydrates: 28
- Protein: 3
Keywords: lemon bars, lemon dessert, shortbread crust, tangy lemon bars, easy lemon bars, homemade lemon bars, buttery crust, lemon filling


