“You really think a strawberry bouquet can be a showstopper?” my friend asked, raising an eyebrow as I pulled out the last glossy berry from the fridge. Honestly, I was skeptical myself the first time I threw one together. I was in a rush, juggling a last-minute gift for a birthday party, and honestly, I didn’t have time for anything complicated. So I grabbed a box of fresh strawberries, melted some chocolate—winged it, really—and arranged them in a vase I’d found at the thrift store. To my surprise, the bouquet disappeared faster than the appetizers, and I got asked for the recipe multiple times that night.
Since that day, this perfect chocolate covered strawberries bouquet has become my go-to for almost every occasion, from Mother’s Day to casual dinner parties. It’s one of those gifts that feels thoughtful but requires surprisingly little fuss. The glossy chocolate coating, the freshness of the berries, and the way you can customize it with different toppings or colors keep me coming back. Plus, it’s a little creative twist on classic chocolate-covered strawberries that people seldom expect—like turning a dessert into a floral arrangement you can eat.
There’s something quietly satisfying about pulling this together in a busy kitchen, especially when you can almost hear the “oohs” and “ahhs” as it’s unveiled. It’s not about perfection, but the joy of sharing something sweet and pretty made with your own hands. I keep finding myself reaching for this recipe whenever I want to impress without stress—because, let’s face it, we all need those easy wins.
That’s why this chocolate covered strawberries bouquet recipe stuck with me—it’s a little bit magic, a little bit practical, and all heart. It’s a simple idea that turns into something special without demanding a lot of time or fancy tools. And if you love a gift that tastes as good as it looks, then you’re in the right place.
Why You’ll Love This Recipe
Making the perfect chocolate covered strawberries bouquet isn’t just about looks—it’s about creating a memorable gift or centerpiece that feels personal and delicious. Over time, I’ve tested this recipe until it hits just the right balance of style and taste. Here’s why it stands out:
- Quick & Easy: You can put this together in under 30 minutes, perfect for last-minute celebrations or when time is tight.
- Simple Ingredients: No fancy or hard-to-find items here. Fresh strawberries, quality chocolate, and a few simple toppings make this happen.
- Perfect for Every Occasion: Birthdays, anniversaries, baby showers, or just because—it fits right in and adds that sweet touch.
- Crowd-Pleaser: Kids, adults, chocoholics, and fruit lovers all agree—this bouquet disappears fast.
- Unbelievably Delicious: The contrast of juicy berries with silky chocolate is unbeatable, and the bouquet presentation makes it feel indulgent and festive.
- Unique Presentation: Unlike typical chocolate-covered strawberries served on a plate, this bouquet idea feels like a creative gift that doubles as décor.
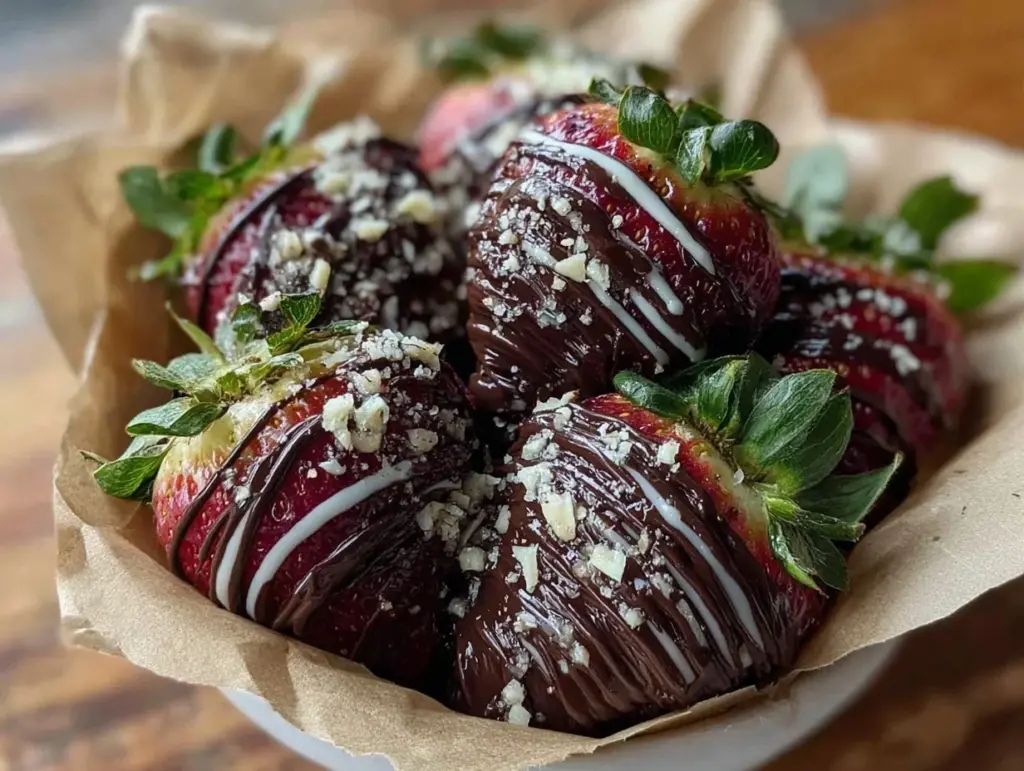
What really makes this recipe different is the way the chocolate is tempered to a smooth, glossy finish, and how you can customize the toppings—from crushed nuts to drizzled white chocolate or colorful sprinkles. It’s the kind of recipe that feels fancy but is honestly approachable for anyone. Plus, I love that it brings a little joy to the table without the stress of complicated baking or lengthy prep.
Honestly, this bouquet recipe has become my secret weapon for impressing guests without spending hours in the kitchen. And if you’ve ever wondered how to make chocolate covered strawberries look like something you’d find at a fancy chocolatier, this is it.
What Ingredients You Will Need
This recipe uses simple, wholesome ingredients to deliver bold flavor and that satisfying texture you expect from a perfect chocolate covered strawberries bouquet. Most are pantry staples or easy to find at your local grocery store.
- Fresh Strawberries – About 20 medium-sized, washed and thoroughly dried (dry berries are key for chocolate to stick well)
- Semi-Sweet Chocolate Chips – 8 ounces (225 grams) (I prefer Ghirardelli for smooth melting)
- White Chocolate Chips – 4 ounces (115 grams) for drizzle and decoration
- Unsalted Butter – 1 tablespoon (adds shine and smooth texture to the chocolate)
- Crushed Nuts – Optional, about ½ cup (walnuts, almonds, or pistachios add a nice crunch)
- Sprinkles or Edible Glitter – Optional, for a festive touch
- Wooden Skewers – 20 pieces (to hold strawberries in bouquet formation)
- Floral Foam – 1 block (to anchor the skewers inside the bouquet container)
- Decorative Wrapping Paper or Cellophane – To wrap the bouquet for gifting
- Ribbon or Twine – To tie the bouquet neatly
If you want to switch things up for dietary needs, you can swap semi-sweet chocolate with dairy-free or vegan chocolate chips. For a gluten-free version, all ingredients here are naturally gluten-free, but always check labels to be certain.
Seasonally, you can swap strawberries for other berries like raspberries or cherries, though strawberries hold better on skewers. I often use fresh strawberries from local markets in spring for the best flavor and size.
Equipment Needed
- Double Boiler or Microwave-Safe Bowl: For melting the chocolate gently without burning it. I usually use a glass bowl over simmering water, but a microwave works fine in 30-second bursts.
- Skewers or Bamboo Sticks: Wooden skewers about 6-8 inches long are perfect to hold the strawberries securely for the bouquet.
- Floral Foam Block: This is the base inside the vase or container that holds the skewers upright. You can find this at most craft stores.
- Vase or Decorative Container: Any sturdy container will do—mason jars, small buckets, or even teapots can make charming bouquet holders.
- Wax Paper or Parchment Paper: For placing dipped strawberries while the chocolate sets without sticking.
- Small Saucepan: If using a double boiler setup.
If you don’t have floral foam, you could substitute with crumpled aluminum foil or a piece of styrofoam, but the floral foam gives the best stability. For melting chocolate, I’ve learned the hard way that rushing it in the microwave can scorch the chocolate, so patience here pays off.
Preparation Method
- Prepare Your Strawberries: Wash the strawberries gently and pat them dry with paper towels. Make sure they are completely dry—any water will cause the chocolate to seize. Remove the leaves if you prefer, but keeping them adds a nice natural touch to the bouquet. (Time: 10 minutes)
- Melt the Semi-Sweet Chocolate: Set up a double boiler by placing a heat-safe bowl over simmering water. Add the chocolate chips and butter to the bowl. Stir gently until smooth and glossy. Alternatively, microwave in 30-second intervals, stirring between each to avoid burning. (Time: 5-7 minutes)
- Dip the Strawberries: Hold each strawberry by its stem or skewer, dip into the melted chocolate, and swirl to coat evenly. Lift and let excess drip off before placing on wax paper. For a neat finish, avoid dipping too close to the leaves. (Time: 15 minutes)
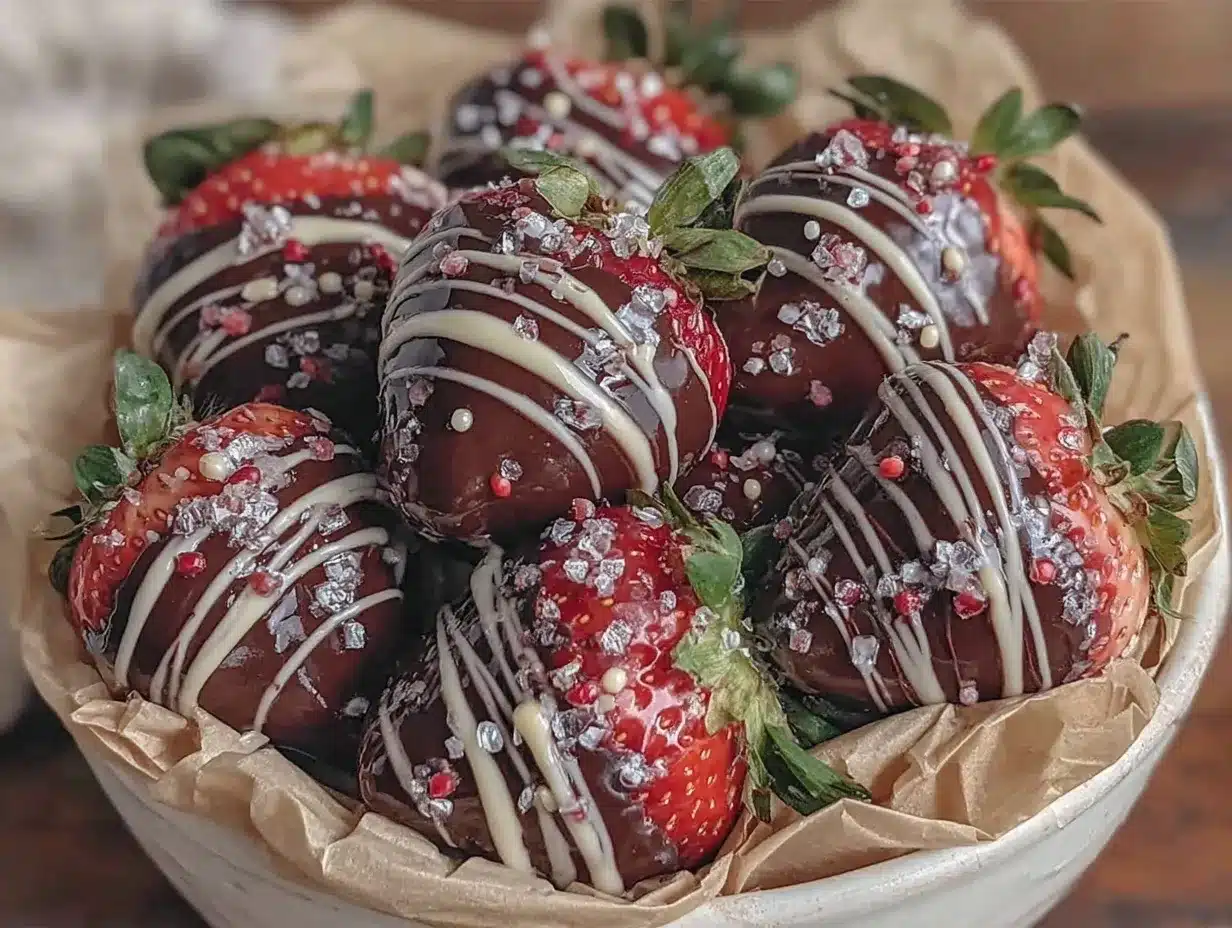
- Decorate the Strawberries: While the chocolate is still wet, sprinkle crushed nuts or edible glitter on some strawberries for variety. Allow some berries to cool plain for a classic look. (Time: 5 minutes)
- Melt the White Chocolate: Repeat the melting process with white chocolate chips. Use a spoon or piping bag to drizzle thin lines over the dipped strawberries for contrast and style. (Time: 5 minutes)
- Insert Skewers: Once chocolate is slightly set but not fully hardened, gently insert one wooden skewer into the top of each strawberry. This prevents cracking or breaking. If you want to skip skewers, hold the berry by the stem, but skewers make arranging easier. (Time: 5 minutes)
- Assemble the Bouquet: Place the floral foam block inside your container. Arrange the strawberries by pushing the skewers into the foam, starting from the center and working outward. Vary heights and angles for a natural look. Fill any gaps with tissue paper or faux greenery for extra flair. (Time: 10 minutes)
- Wrap and Tie: Wrap the entire bouquet in decorative cellophane or paper and tie with a ribbon or twine. This keeps everything secure and gives a polished gift appearance. (Time: 5 minutes)
Tips: If your chocolate thickens too fast, warm it gently again but never overheat. If strawberries get too cold before dipping, they might sweat and cause chocolate to seize. Also, I once tried to assemble the bouquet too early—the chocolate cracked when skewers were pushed in if it hardened completely, so timing here is key.
Cooking Tips & Techniques
Tempering the chocolate is the secret to that shiny, smooth finish that makes these strawberries look professionally done. I don’t always temper strictly, but adding butter to the melted chocolate helps mimic the effect, giving you a glossy surface without complicated steps.
One common mistake is dipping wet strawberries—this makes the chocolate clump or slide off. I usually dry mine twice, and sometimes even spin them gently to shake off any moisture before dipping.
Another tip: using wooden skewers instead of holding strawberries by the leaves makes arranging easier and keeps fingers from getting messy. Plus, skewers help with even spacing in the bouquet, avoiding overcrowding.
If you want to add some flair, drizzle white chocolate after dipping, but wait until the base layer is semi-set to avoid mixing colors. Using a fork or piping bag for the drizzle can create fun patterns.
For multitasking, while chocolate is melting, prep strawberries and set up your workspace with wax paper and skewers ready. This keeps the process smooth and avoids chocolate hardening mid-way.
Variations & Adaptations
- Flavor Twists: Add a sprinkle of sea salt or cinnamon to the chocolate for a surprising depth of flavor. You can also dip strawberries in dark chocolate or white chocolate alone instead of semi-sweet.
- Dietary Adaptations: Use dairy-free or vegan chocolate chips to make this suitable for vegan friends. For nut allergies, skip the crushed nuts and try coconut flakes or freeze-dried fruit instead.
- Seasonal Changes: In winter, mix in candied orange peel or crushed peppermint candies for a festive touch. Summer versions can include fresh mint leaves or edible flowers tucked into the bouquet for freshness.
- Alternative Fruits: Swap strawberries with other skewer-friendly fruits like pineapple chunks, grapes, or melon balls for different textures and colors.
- Personal Favorite: I once tried adding a thin layer of peanut butter under the chocolate for a rich surprise that disappeared quickly at a family gathering—definitely worth experimenting with!
Serving & Storage Suggestions
This bouquet is best served fresh, at room temperature, so the chocolate has a nice snap and the strawberries are juicy. I usually prepare it a few hours ahead if possible and store it in the fridge covered loosely with plastic wrap. Let it sit at room temperature for 15-20 minutes before serving to avoid the chocolate becoming too hard.
For presentation, a simple glass vase or a rustic tin bucket adds charm. Pair your bouquet with light bubbly drinks or a cup of coffee for a lovely treat. It also works beautifully alongside savory snacks like the crispy baked turkey sliders or alongside a creamy dip like the creamy dill pickle cheese ball for a balanced party spread.
Leftovers? While strawberries dipped in chocolate are best fresh, you can store extras in an airtight container in the fridge for up to 2 days. Reheat gently at room temperature—not microwave—to keep chocolate from sweating.
Nutritional Information & Benefits
Each chocolate covered strawberry delivers a satisfying mix of antioxidants from the berries and a moderate amount of indulgent chocolate. Strawberries are naturally low in calories, high in vitamin C, and fiber, making this treat feel a little less guilty. The semi-sweet chocolate provides antioxidants too, but moderation is key.
For approximate numbers, one dipped strawberry has roughly 50-70 calories depending on chocolate thickness. This recipe is naturally gluten-free and can be made dairy-free with appropriate chocolate swaps.
I appreciate that this bouquet offers a fresh, fruity option alongside typical sugary desserts, making it a better-for-you choice that still feels like a treat. It’s a great way to sneak in a fruit serving while satisfying a sweet tooth.
Conclusion
The perfect chocolate covered strawberries bouquet is one of those ideas that feels fancy but is surprisingly simple—and that’s why it’s stuck around in my kitchen. It’s a gift that shows you care, without the fuss or stress of complicated baking. Whether you’re crafting it for a birthday, a thank-you, or just a sweet surprise, it brings a little sparkle to any occasion.
Feel free to make it your own—try different chocolate blends, toppings, or even container styles. I love how this recipe leaves room for creativity while keeping things straightforward. For me, it’s not just about the strawberries or the chocolate, but the smiles that come with sharing something homemade and beautiful.
If you try this, I’d love to hear how you personalize your bouquet or what occasion you made it for. It’s always fun to see new twists on a classic treat. Happy dipping and arranging!
Frequently Asked Questions
How do I keep chocolate from melting on the strawberries?
Make sure strawberries are completely dry before dipping. Also, avoid touching the chocolate-coated berries too much, and store your bouquet in a cool place or fridge until serving.
Can I prepare the bouquet a day ahead?
Yes, but store it in the fridge and bring it to room temperature about 20 minutes before serving for the best texture and flavor.
What’s the best chocolate to use for dipping?
Semi-sweet chocolate chips work great for smooth melting and balanced sweetness. Brands like Ghirardelli or Callebaut melt nicely and give a great finish.
Can I use frozen strawberries?
Frozen strawberries are not recommended because they release too much moisture when thawed, which affects the chocolate’s texture and causes it to seize.
How do I arrange the bouquet for a natural look?
Start inserting skewers in the center and work outward, varying heights and angles. Fill gaps with tissue paper or greenery for a lush appearance.
Pin This Recipe!
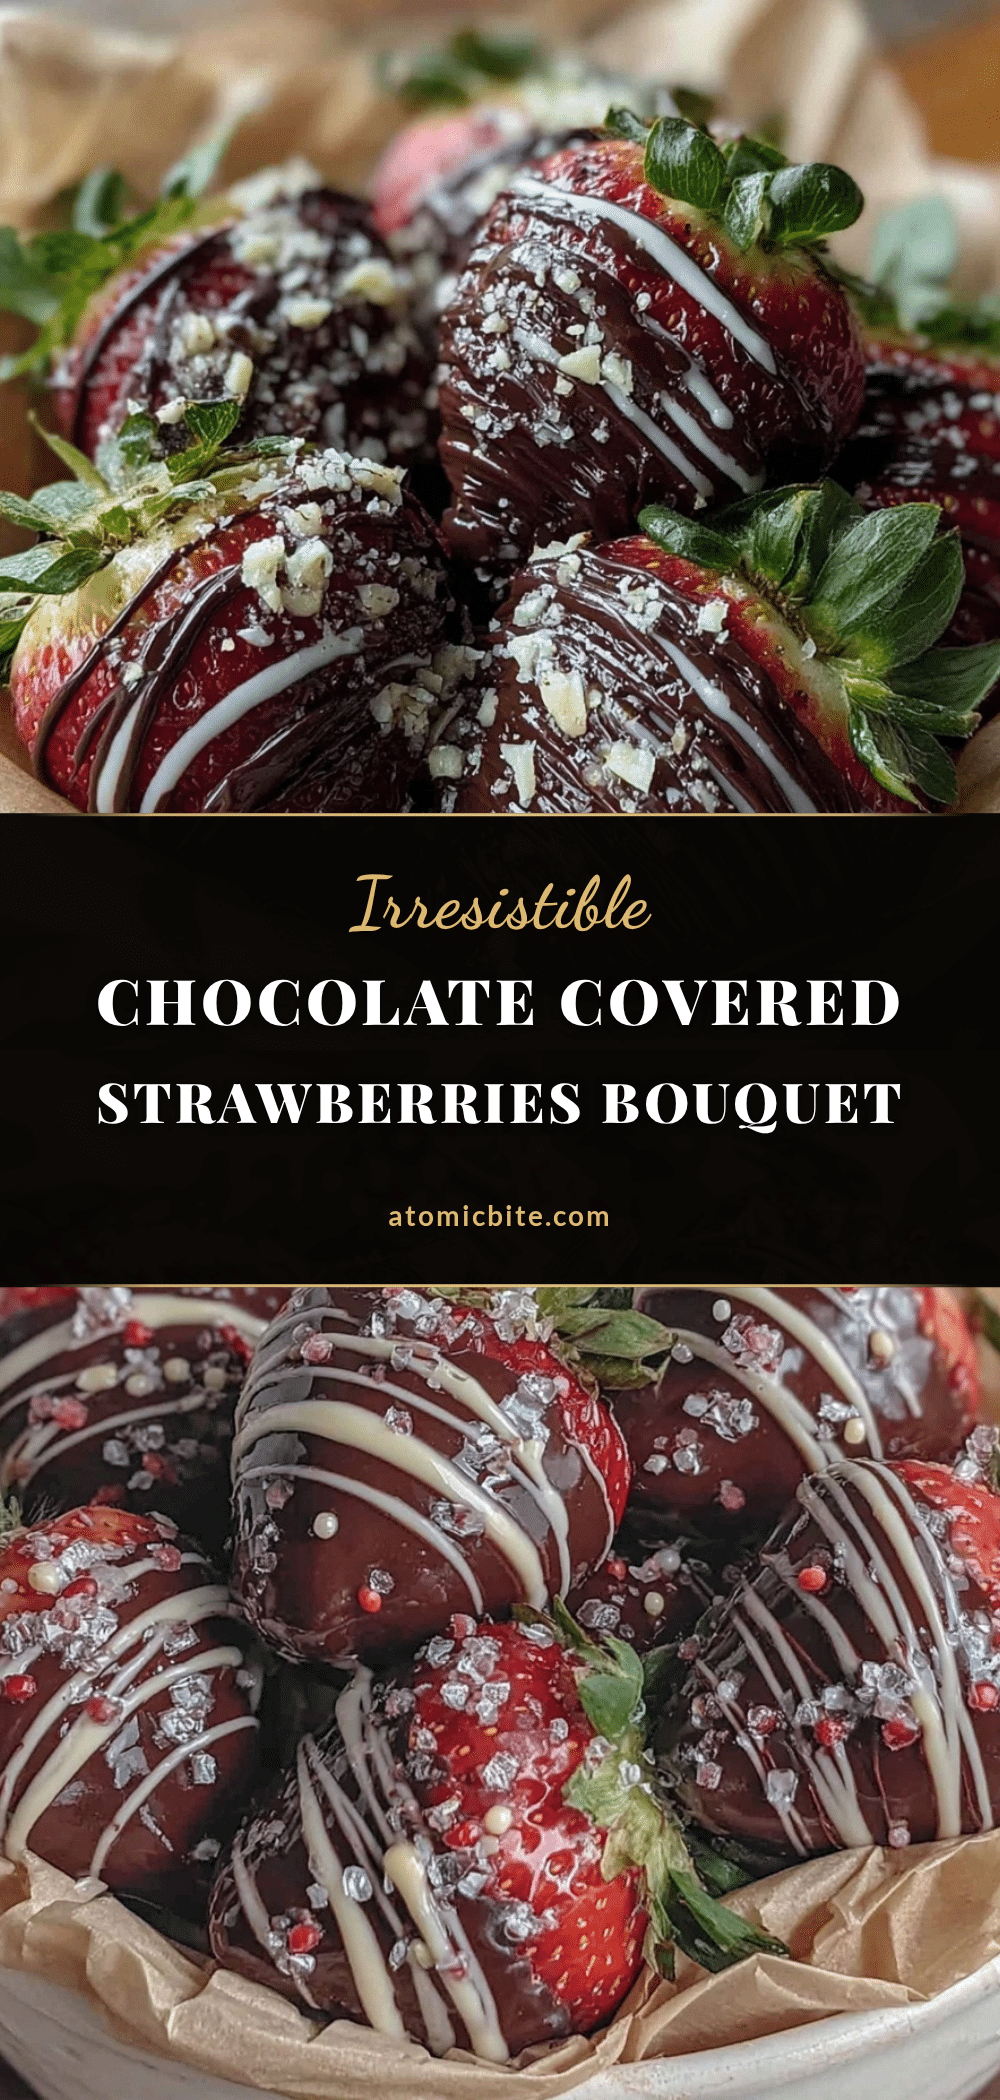
Perfect Chocolate Covered Strawberries Bouquet Easy DIY Gift Idea for Every Occasion

A simple and elegant chocolate covered strawberries bouquet that serves as a delicious and creative gift or centerpiece for any occasion. Quick to prepare with easy ingredients and customizable toppings.
- Prep Time: 10 minutes
- Cook Time: 35 minutes
- Total Time: 45 minutes
- Yield: 20 servings 1x
- Category: Dessert
- Cuisine: American
Ingredients
- 20 medium-sized fresh strawberries, washed and thoroughly dried
- 8 ounces semi-sweet chocolate chips
- 4 ounces white chocolate chips
- 1 tablespoon unsalted butter
- ½ cup crushed nuts (walnuts, almonds, or pistachios) – optional
- Sprinkles or edible glitter – optional
- 20 wooden skewers
- 1 block floral foam
- Decorative wrapping paper or cellophane
- Ribbon or twine
Instructions
- Wash the strawberries gently and pat them dry completely. Remove leaves if preferred.
- Melt the semi-sweet chocolate chips with butter using a double boiler or microwave in 30-second intervals, stirring until smooth and glossy.
- Dip each strawberry by holding the stem or skewer into the melted chocolate, swirl to coat evenly, and place on wax paper to set.
- While chocolate is wet, sprinkle crushed nuts or edible glitter on some strawberries for decoration. Allow some to cool plain.
- Melt the white chocolate chips and drizzle thin lines over the dipped strawberries using a spoon or piping bag.
- Once chocolate is slightly set but not hardened, insert one wooden skewer into the top of each strawberry carefully.
- Place the floral foam block inside your container and arrange the skewered strawberries by pushing them into the foam, varying heights and angles for a natural look. Fill gaps with tissue paper or faux greenery if desired.
- Wrap the bouquet in decorative cellophane or paper and tie with ribbon or twine to secure.
Notes
Ensure strawberries are completely dry before dipping to prevent chocolate from seizing. Use butter in chocolate to achieve a glossy finish. Insert skewers when chocolate is semi-set to avoid cracking. Store bouquet in fridge and bring to room temperature before serving for best texture.
Nutrition
- Serving Size: 1 chocolate covered
- Calories: 60
- Sugar: 6
- Sodium: 10
- Fat: 3.5
- Saturated Fat: 2
- Carbohydrates: 7
- Fiber: 1
- Protein: 1
Keywords: chocolate covered strawberries, strawberry bouquet, DIY gift, easy dessert, chocolate dipping, party dessert, edible bouquet