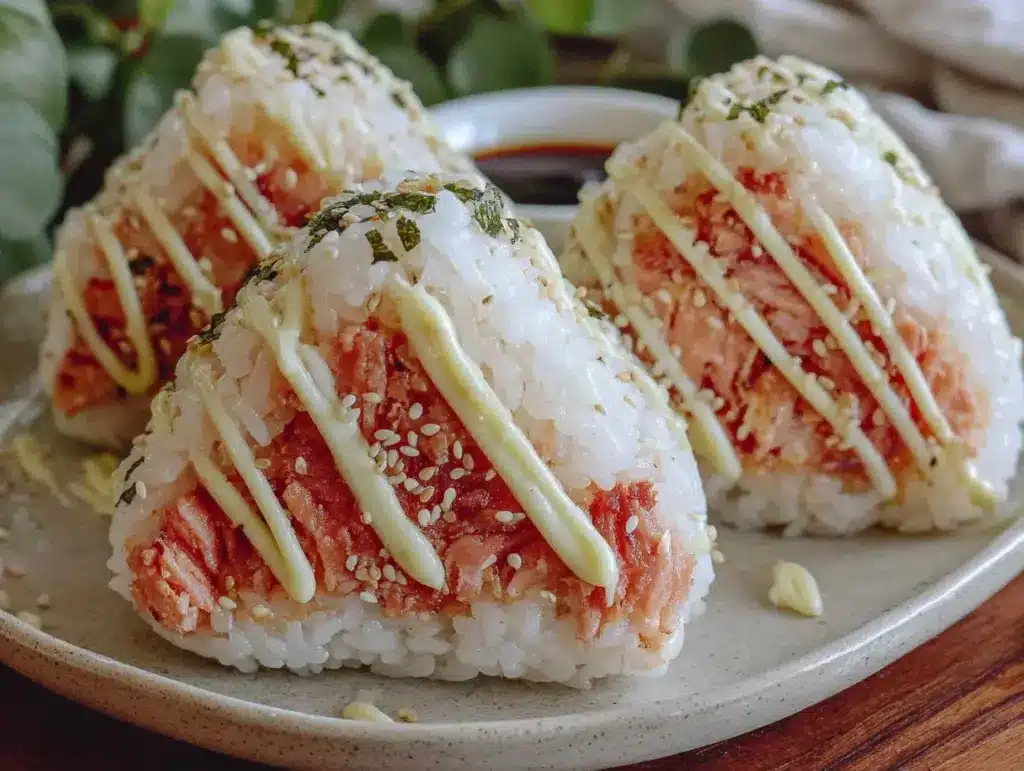
“You won’t believe how good these spicy salmon onigiri rice balls are,” my coworker whispered during lunch one afternoon, sliding a neatly wrapped triangle across the table. I was skeptical at first—rice balls? Salmon? Spicy? But I took a bite, and honestly, it was like a little flavor explosion that caught me off guard in the best way. The creamy kick of Kewpie mayo balanced the heat perfectly, making each bite irresistibly satisfying.
That moment stuck with me. I started making these flavorful spicy salmon onigiri rice balls whenever I needed a quick snack or a simple lunch that didn’t feel boring. The texture of the sticky rice, the punch of spice, and that silky mayo combine into something that’s way beyond your average sandwich or leftover sushi roll. Plus, they’re portable, which is a game-changer when you’re juggling work, errands, or just craving a bite that feels a little special without fuss.
What’s funny is that I never imagined I’d become obsessed with making these rice balls multiple times a week, tweaking the spice level, or even sneaking in bits of nori for extra umami. It’s a recipe that feels casual but has a little magic tucked inside. You know that quiet satisfaction that hits when a simple, homemade snack just nails it? That’s what these onigiri deliver, every single time.
Why You’ll Love This Recipe
After testing and tweaking this recipe through several weeks of lunch breaks and late-night cravings, I can say it’s genuinely one of the most satisfying quick bites around. These spicy salmon onigiri rice balls with creamy Kewpie mayo bring together fresh, bold flavors and a comforting texture that’s hard to beat.
- Quick & Easy: Ready in about 25 minutes, perfect for busy days or when you want something homemade without a long prep.
- Simple Ingredients: Uses pantry staples and easy-to-find fresh salmon, plus the magic of Kewpie mayo, which you might already have or can grab at an Asian market.
- Perfect Snack or Lunch: Great for on-the-go, lunchboxes, or even a light dinner. It’s filling yet light enough to eat anytime.
- Crowd-Pleaser: Kids, coworkers, and friends have all asked for this recipe after trying it—trust me, it’s that good!
- Unbelievably Delicious: The creamy mayo pairs with the spicy salmon in a way that feels indulgent but balanced. The rice balls hold together nicely without being mushy.
- Unique Twist: Unlike regular onigiri, the spicy salmon filling mixed with Kewpie mayo adds a silky texture and a flavor boost that makes this recipe stand out.
Honestly, this recipe isn’t just another rice ball—it’s the kind of snack that makes you pause and appreciate simple ingredients done right. It’s comfort food with a little edge, perfect for impressing guests without stress or just treating yourself to a quick bite with personality.
What Ingredients You Will Need
This recipe uses simple, wholesome ingredients to deliver bold flavor and a satisfying texture without the fuss. Most of these are pantry staples, and the fresh salmon can be swapped based on availability or preference.
- For the Rice Balls:
- 2 cups Japanese short-grain rice (uncooked) – essential for sticky texture
- 2 ½ cups water (for cooking rice)
- 1 teaspoon rice vinegar (optional, for subtle seasoning)
- Pinch of salt (to taste)
- For the Spicy Salmon Filling:
- 6 oz (170g) fresh salmon fillet, skin removed – fresh or sashimi-grade works best
- 2 tablespoons Kewpie mayo – creamy Japanese mayo with a slight tang
- 1 teaspoon Sriracha or preferred chili sauce (adjust to taste)
- 1 teaspoon soy sauce – adds umami depth
- 1 teaspoon toasted sesame oil – for nutty aroma
- 1 scallion, finely chopped (optional, for freshness)
- For Wrapping and Garnish:
- Nori sheets, cut into strips or squares – adds crispness and sea flavor
- Toasted sesame seeds (optional, for garnish)
If you can’t find Kewpie mayo, regular Japanese mayo or even a good-quality store-bought mayo with a splash of rice vinegar can substitute. For a gluten-free option, make sure your soy sauce is tamari or gluten-free. And if fresh salmon isn’t available, canned salmon (drained) can work in a pinch, though the flavor won’t be quite as vibrant.
Equipment Needed
- Rice cooker or a heavy-bottomed pot with a tight-fitting lid – for cooking perfect sticky rice
- Mixing bowl – to combine the spicy salmon filling
- Sharp knife – for chopping salmon and scallions
- Plastic wrap or clean hands (wet or lightly salted) – to shape the rice balls without sticking
- Small bowl of water (with a pinch of salt) – keeps your hands from sticking while shaping onigiri
- Optional: Bamboo sushi mat – if you want perfectly shaped triangles, though not necessary
I’ve tried shaping these by hand and with a mold, and honestly, hands work just fine once your fingers are wet. If you don’t have a rice cooker, a heavy pot with a lid will do the trick, but watch the water ratio carefully to keep the rice sticky but not soggy.
Preparation Method
- Cook the Rice: Rinse 2 cups of Japanese short-grain rice under cold water until the water runs clear (about 3-4 rinses). Drain well.
Add rinsed rice and 2 ½ cups of water to your rice cooker or pot. Let it soak for 30 minutes if you have time — it helps the rice absorb water evenly.
Cook according to your rice cooker instructions or bring to a boil, reduce heat to low, cover, and simmer for 18 minutes. Remove from heat and let it steam for another 10 minutes without lifting the lid. - Prepare the Spicy Salmon Filling: While the rice is cooking, finely chop the fresh salmon into small pieces (about ¼ inch).
In a bowl, mix salmon with 2 tablespoons Kewpie mayo, 1 teaspoon Sriracha (or more if you like it hotter), 1 teaspoon soy sauce, 1 teaspoon toasted sesame oil, and chopped scallion if using. Stir gently to combine.
Taste and adjust spice or salt levels — the filling should be creamy with a noticeable but balanced kick. - Season the Rice: Once the rice is done steaming, transfer it to a large bowl. If using, sprinkle 1 teaspoon rice vinegar and a pinch of salt over the rice and fold gently with a wooden spatula to season without crushing the grains.
Allow rice to cool slightly until it’s warm but comfortable to handle (about 5-10 minutes). - Shape the Onigiri: Wet your hands with the salted water to prevent sticking. Take a handful of rice (about ½ cup or 100g) and flatten it slightly.
Place about 1 tablespoon of the spicy salmon filling in the center of the rice.
Fold the rice around the filling and shape into a tight triangle or ball, pressing gently but firmly to hold the shape.
Wrap with a strip of nori if desired for extra flavor and easy handling. - Serve or Store: Arrange the onigiri on a plate and sprinkle toasted sesame seeds on top if you like.
These are best eaten fresh but can be wrapped tightly and refrigerated for up to 24 hours. Reheat gently in a microwave or enjoy cold for a refreshing snack.
Pro tip: Don’t overfill the onigiri or the rice might not hold together well. If the rice feels too sticky, try rinsing your hands more often or lightly wetting them between shaping each ball.
Cooking Tips & Techniques
Getting the rice right is key. Japanese short-grain rice is your best bet because it sticks just enough to hold shape but doesn’t mush. If you use long-grain rice, the onigiri will fall apart, and honestly, that’s frustrating.
When chopping salmon, keep the pieces small so the filling distributes nicely in every bite. I’ve made the mistake of leaving big chunks, and the rice balls fell apart or had uneven flavor pockets.
Kewpie mayo is a game-changer here. It’s creamier and less tangy than regular mayo, which helps tame the spice while adding silkiness. If you can’t find it, mixing Japanese mayo with a little rice vinegar helps mimic the flavor.
Don’t rush shaping the onigiri. Wet your hands frequently to keep the rice from sticking and to get that smooth, glossy finish on the outside. A gentle but firm press seals the filling inside without squashing the rice.
For meal prep, you can make the spicy salmon filling ahead and store it chilled. Just shape the rice balls fresh so they don’t dry out. These also pair beautifully with crispy baked turkey sliders if you’re planning a snack spread.
Variations & Adaptations
- Vegetarian Version: Replace salmon with mashed avocado mixed with a bit of chili paste and lime juice. It’s creamy and spicy in a whole new way.
- Spicy Tuna Onigiri: Swap the salmon for canned tuna mixed with Kewpie mayo and Sriracha for a budget-friendly alternative that still packs flavor.
- Seasonal Twist: Add finely chopped pickled ginger or shiso leaves to the filling for a fresh, bright note that cuts through the richness.
- Low-Spice Option: Reduce or omit the Sriracha and add a sprinkle of furikake seasoning for a milder but still tasty filling.
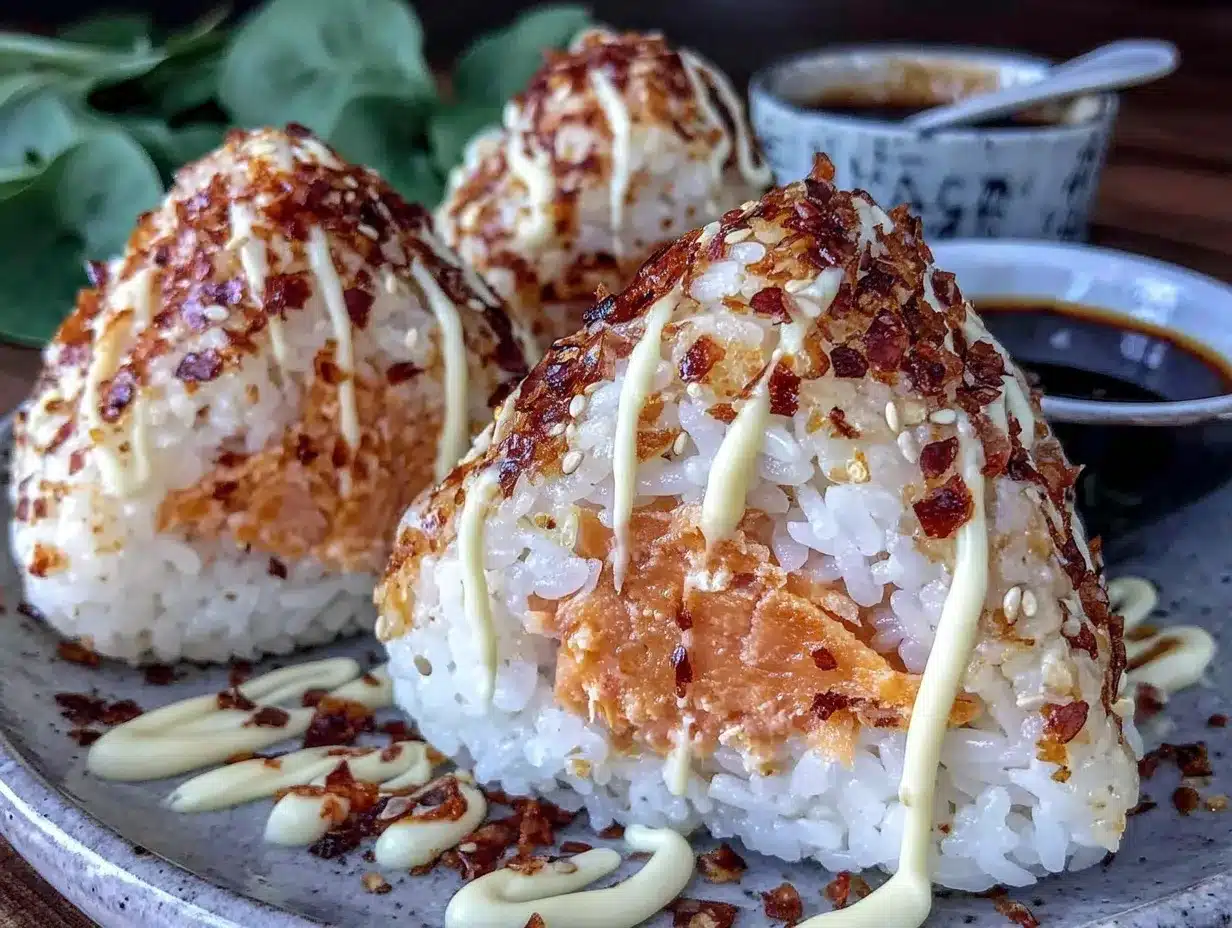
- Cooking Method Swap: For a crispy exterior, lightly pan-fry the shaped onigiri with a bit of oil until golden brown on each side. This adds a lovely crunch that contrasts nicely with the creamy filling.
I personally tried the pan-fried version when craving something warm and crispy, and it quickly became a favorite weekend treat – a little indulgent but worth every bite.
Serving & Storage Suggestions
These spicy salmon onigiri rice balls shine best served warm or at room temperature. The creamy Kewpie mayo filling feels luxurious when the rice is still a bit warm, but they’re also great cold, especially for packed lunches.
Serve alongside a crisp cucumber salad or miso soup for a balanced meal. If you’re hosting a casual get-together, these rice balls make a fantastic finger food that pairs well with iced green tea or a light lager.
To store, wrap each onigiri tightly in plastic wrap and place in an airtight container. They keep well in the fridge for up to 24 hours but are best eaten the same day for freshness. Reheat gently in a microwave for 20-30 seconds or pan-fry lightly to bring back warmth and texture.
Flavors develop nicely if you make the filling a few hours ahead, but avoid letting the rice sit too long once shaped to prevent drying out.
Nutritional Information & Benefits
Each spicy salmon onigiri rice ball contains approximately 200-220 calories, depending on size and filling amount. They provide a balanced mix of protein from the salmon, carbohydrates from the rice, and healthy fats from the Kewpie mayo and sesame oil.
Salmon is packed with omega-3 fatty acids, which support heart health and brain function. The use of Japanese short-grain rice offers a good source of energy with moderate fiber content. This recipe is naturally gluten-free if you use tamari soy sauce.
For those watching sodium intake, adjusting the amount of soy sauce and mayo can help keep salt levels in check without sacrificing flavor. Overall, this is a wholesome snack that combines nutrition with satisfying taste, perfect for a quick energy boost.
Conclusion
These flavorful spicy salmon onigiri rice balls with creamy Kewpie mayo have become a staple in my kitchen for good reason—they’re quick, tasty, and comfortingly unique. Whether you’re grabbing a bite between errands or packing lunch for work, they deliver a satisfying mix of textures and flavors that just feels right.
Feel free to tweak the spice level or try the pan-fried version for a crispy touch. I love how this recipe adapts to whatever mood I’m in, and I’m confident you’ll find your own favorite way to enjoy it too.
If you want more easy homemade snacks with big flavor, you might enjoy the crunchy taco cups or the creamy dill pickle cheese ball recipes on this site—both perfect for sharing or keeping all to yourself!
Give these onigiri a try and drop a comment sharing your favorite variation or how you served them. There’s something so rewarding about making a simple dish that keeps you coming back for more. Happy cooking!
FAQs
- Can I use cooked salmon instead of raw?
Yes, cooked salmon works well if you prefer not to use raw fish. Just flake it finely before mixing with the mayo and spices. - Is Kewpie mayo necessary?
While Kewpie mayo adds a unique creamy tang, regular mayo mixed with a little rice vinegar can substitute in a pinch. - How spicy are these onigiri?
They have a mild to moderate heat depending on how much Sriracha you add. Adjust to your liking. - Can I freeze these rice balls?
Freezing is not recommended as the rice texture changes when thawed. Best to enjoy fresh or refrigerated within 24 hours. - What’s the best way to shape onigiri without a mold?
Wet your hands with salted water and gently press the rice around the filling into a triangle or ball shape. Practice makes perfect!
Pin This Recipe!
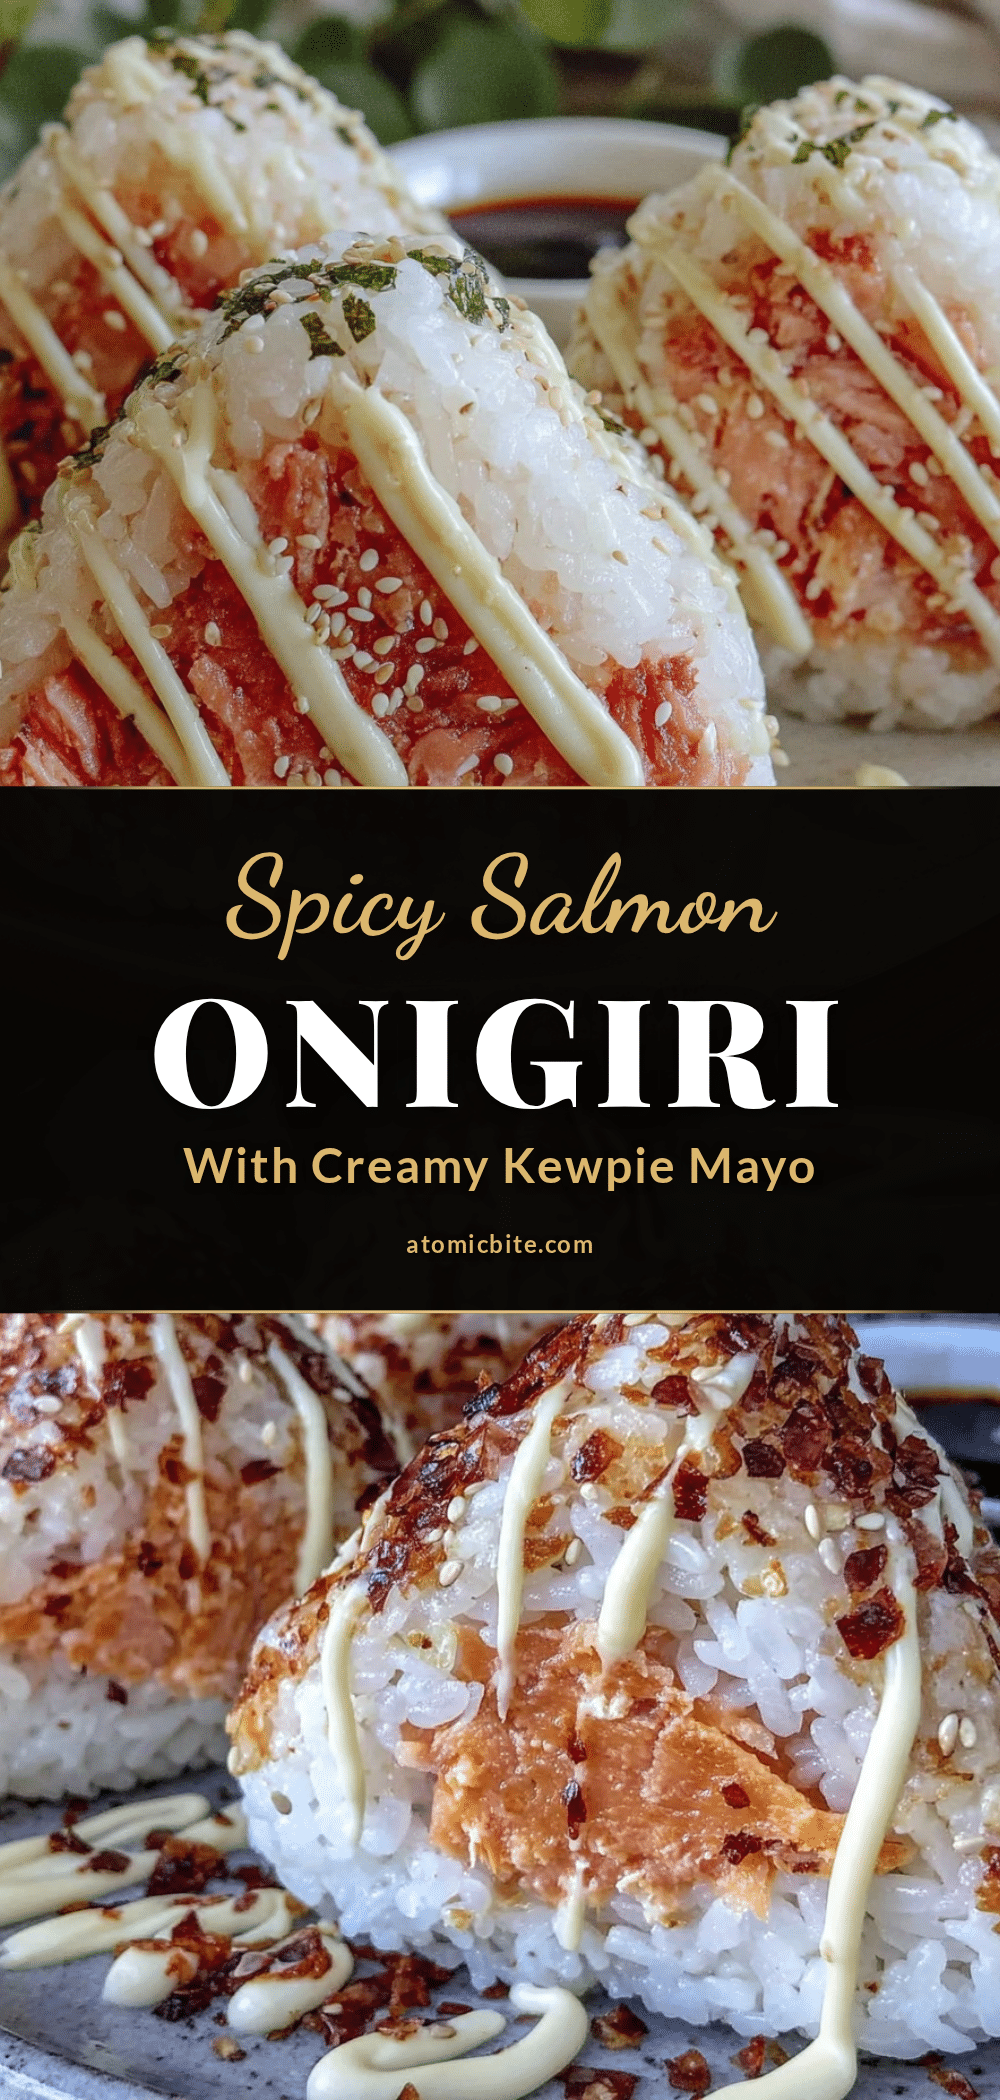
Spicy Salmon Onigiri Rice Balls Recipe Easy Homemade Snack with Kewpie Mayo

These spicy salmon onigiri rice balls combine sticky Japanese short-grain rice with a creamy, spicy salmon filling made with Kewpie mayo for a quick, satisfying snack or light lunch.
- Prep Time: 10 minutes
- Cook Time: 25 minutes
- Total Time: 35 minutes
- Yield: 6 onigiri rice balls 1x
- Category: Snack
- Cuisine: Japanese
Ingredients
- 2 cups Japanese short-grain rice (uncooked)
- 2 ½ cups water
- 1 teaspoon rice vinegar (optional)
- Pinch of salt
- 6 oz (170g) fresh salmon fillet, skin removed
- 2 tablespoons Kewpie mayo
- 1 teaspoon Sriracha or preferred chili sauce
- 1 teaspoon soy sauce
- 1 teaspoon toasted sesame oil
- 1 scallion, finely chopped (optional)
- Nori sheets, cut into strips or squares
- Toasted sesame seeds (optional)
Instructions
- Rinse 2 cups of Japanese short-grain rice under cold water until the water runs clear (about 3-4 rinses). Drain well.
- Add rinsed rice and 2 ½ cups of water to your rice cooker or pot. Let it soak for 30 minutes if you have time.
- Cook according to your rice cooker instructions or bring to a boil, reduce heat to low, cover, and simmer for 18 minutes. Remove from heat and let it steam for another 10 minutes without lifting the lid.
- While the rice is cooking, finely chop the fresh salmon into small pieces (about ¼ inch).
- In a bowl, mix salmon with 2 tablespoons Kewpie mayo, 1 teaspoon Sriracha, 1 teaspoon soy sauce, 1 teaspoon toasted sesame oil, and chopped scallion if using. Stir gently to combine.
- Taste and adjust spice or salt levels.
- Once the rice is done steaming, transfer it to a large bowl. If using, sprinkle 1 teaspoon rice vinegar and a pinch of salt over the rice and fold gently with a wooden spatula.
- Allow rice to cool slightly until warm but comfortable to handle (about 5-10 minutes).
- Wet your hands with salted water to prevent sticking. Take about ½ cup (100g) of rice and flatten it slightly.
- Place about 1 tablespoon of the spicy salmon filling in the center of the rice.
- Fold the rice around the filling and shape into a tight triangle or ball, pressing gently but firmly to hold the shape.
- Wrap with a strip of nori if desired.
- Arrange on a plate and sprinkle toasted sesame seeds on top if desired.
- Serve fresh or wrap tightly and refrigerate up to 24 hours. Reheat gently in microwave or pan-fry lightly if desired.
Notes
Do not overfill the onigiri to prevent them from falling apart. Wet your hands frequently with salted water to prevent sticking. For a crispy exterior, pan-fry the shaped onigiri lightly in oil until golden brown. Use tamari soy sauce for gluten-free option. Kewpie mayo can be substituted with regular mayo mixed with rice vinegar.
Nutrition
- Serving Size: 1 onigiri rice ball
- Calories: 210
- Sugar: 1
- Sodium: 350
- Fat: 11
- Saturated Fat: 1.5
- Carbohydrates: 22
- Fiber: 1
- Protein: 8
Keywords: spicy salmon onigiri, rice balls, Kewpie mayo, Japanese snack, easy homemade snack, sushi rice balls, spicy salmon recipe