Introduction
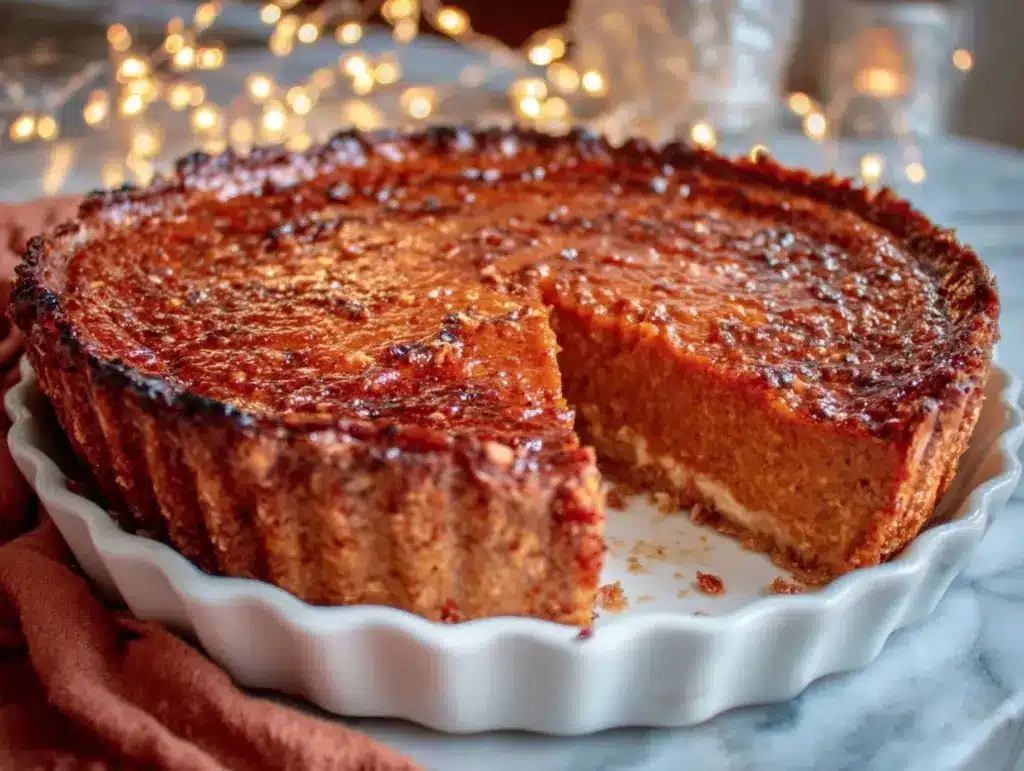
Let me just say—there’s nothing quite like the sweet, spicy aroma of pumpkin pie swirling through the kitchen on an autumn afternoon. The first time I made this creamy pumpkin pie with canned pumpkin and a homemade flaky crust, I remember standing by the oven, watching the filling gently puff and set, feeling absolutely giddy. It’s the kind of moment where you pause, take a deep breath, and just smile because you know you’re onto something truly special.
Years ago, when I was knee-high to a grasshopper, my grandma’s pumpkin pie was legendary (seriously, people still talk about it at family reunions). But, you know what? She always started with fresh pumpkins, which, let’s face it, is a whole project. Fast forward to a rainy weekend when I wanted that same nostalgic comfort, but without all the peeling, roasting, and pureeing. That’s when I stumbled upon the magic of canned pumpkin—dangerously easy and just as delicious.
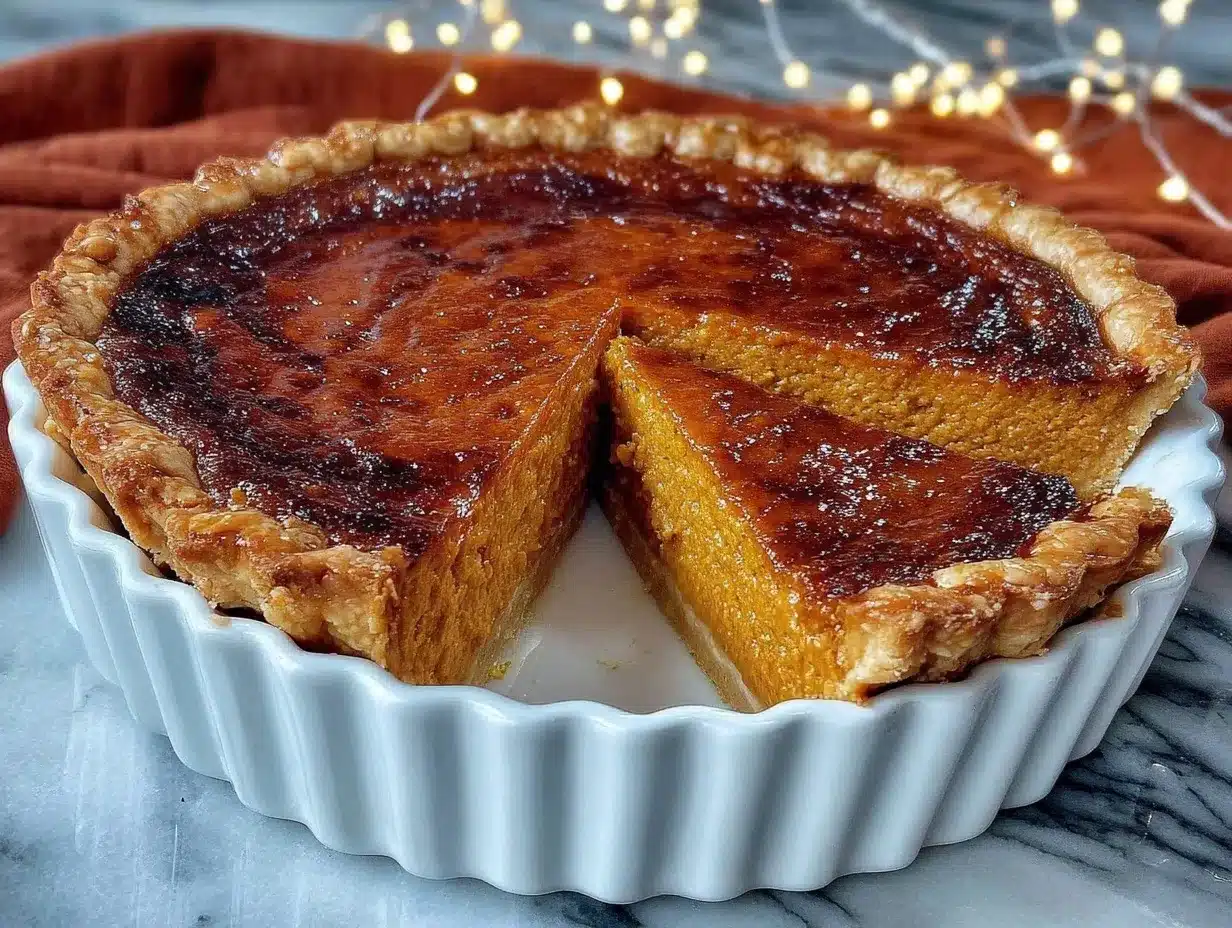
Honestly, my family couldn’t stop sneaking slices off the cooling rack. Even the non-dessert folks (you know who you are) came back for seconds. This pie has become a staple for family gatherings, potlucks, and even last-minute gifting. The combination of silky pumpkin filling and buttery, flaky crust feels like a warm hug. It’s perfect for holiday feasts, cozy weekends, and, yes, brightening up your Pinterest board with its golden, glossy top and crimped edges.
I’ve tested this creamy pumpkin pie recipe more times than I can count—in the name of research, of course! Whether you’re a pie newbie or a seasoned baker, you’re going to want to bookmark this one. It’s pure, nostalgic comfort and, honestly, it might just be the best pumpkin pie you’ve ever tasted.
Why You’ll Love This Recipe
- Super Creamy Texture: The combination of canned pumpkin and rich dairy makes every bite luxuriously smooth—no grainy, dense filling here.
- Flaky, Homemade Crust: There’s just something about making your own crust (with plenty of butter) that takes this pumpkin pie recipe to the next level. It’s golden, crisp, and shatters softly under your fork.
- Quick & Easy: Using canned pumpkin saves you tons of time. No need to roast or puree—just open, measure, and mix. Perfect for busy holiday weeks or spontaneous dessert cravings.
- Packed with Warm Spices: Cinnamon, ginger, and nutmeg give this pie that classic, cozy flavor you crave as soon as the leaves start to turn.
- Perfect for Any Occasion: Whether it’s Thanksgiving, Friendsgiving, a fall potluck, or just Wednesday night, this pumpkin pie recipe fits right in.
- Crowd-Pleaser: It gets rave reviews from kids and adults alike (even the ones who say they don’t like pumpkin). The creamy filling and flaky crust win them over every time.
- No Fancy Ingredients Needed: Everything you need is probably already in your pantry or fridge. No wild goose chases at specialty stores.
What sets this creamy pumpkin pie recipe apart? Well, instead of simply mixing everything together, I use a blend of evaporated milk and heavy cream for maximum silkiness—plus a touch of brown sugar for depth. The crust is made from scratch but is so forgiving (I’ve rolled it out with a wine bottle in a pinch), and the filling is perfectly spiced—not too sweet, not too bland. It’s comfort food, plain and simple.
This recipe will make you close your eyes after that first bite. It’s the kind of pie that brings everyone back to the table for seconds. And honestly, it’s easier than you’d expect, so you can spend more time enjoying and less time fussing. If you want a pumpkin pie that’s foolproof, flavorful, and downright beautiful for your Pinterest board—this is it.
What Ingredients You Will Need
This creamy pumpkin pie recipe uses simple, wholesome ingredients to deliver bold flavor and a silky-smooth texture with zero fuss. Most are pantry staples, and the canned pumpkin makes things a breeze. I’ll break things down so you can see exactly what you’ll need and why!
For the Flaky Crust:
- All-purpose flour (250g/2 cups) – A classic base for pie crust.
- Unsalted butter (115g/1/2 cup), cold and cubed – Adds flakiness and flavor. I usually reach for Kerrygold or Challenge brand.
- Salt (1/2 tsp) – Just enough to balance the sweetness.
- Ice water (60-75ml/4-5 tbsp) – Keeps the dough cold and helps it come together.
For the Creamy Pumpkin Filling:
- Canned pumpkin puree (425g/15 oz) – Libby’s is my go-to for reliable texture and flavor. Make sure it’s pure pumpkin, not pumpkin pie mix.
- Evaporated milk (354ml/12 oz) – Gives the filling that signature creaminess.
- Heavy cream (120ml/1/2 cup) – For extra silkiness and richness. Or swap in whole milk if you’re light on cream.
- Large eggs (2), room temperature – Helps the filling set and adds richness.
- Egg yolk (1), room temperature – Makes the filling ultra-creamy.
- Granulated sugar (100g/1/2 cup)
- Light brown sugar (50g/1/4 cup, packed) – Adds depth and a hint of molasses.
- Ground cinnamon (2 tsp)
- Ground ginger (1/2 tsp)
- Ground nutmeg (1/2 tsp)
- Ground cloves (1/4 tsp)
- Salt (1/4 tsp)
- Vanilla extract (2 tsp) – For warmth and flavor.
Optional Toppings:
- Whipped cream – Sweetened or plain, for topping slices.
- Pecans, toasted and chopped – For crunch and flavor.
- Cinnamon sugar – For dusting over the whipped cream.
Substitutions & Notes:
- Use store-bought pie crust for a shortcut (but homemade really makes a difference).
- Swap evaporated milk for half-and-half if needed.
- For dairy-free, use coconut milk and plant-based butter in the crust.
- If you love spice, bump up the cinnamon or add a pinch of cardamom.
- Gluten-free? Use a 1:1 gluten-free baking flour for the crust.
Honestly, you can mix and match based on what’s in your pantry. The important part is the canned pumpkin and those classic spices—they’re the backbone of this creamy pumpkin pie recipe!
Equipment Needed
- 9-inch pie pan – Glass, ceramic, or metal all work. Glass lets you peek at the crust’s progress!
- Mixing bowls – One large for the filling, one medium for the crust.
- Pastry blender or food processor – To cut butter into flour for the crust. If you don’t have one, two forks or your fingertips do the trick.
- Rolling pin – Or, as I’ve done in a pinch, a clean wine bottle!
- Measuring cups and spoons – For accuracy.
- Whisk – For combining filling ingredients.
- Spatula – Helpful for scraping every last bit of filling.
- Pie weights or dried beans – For blind-baking the crust (optional, but really helps prevent sogginess).
- Cooling rack – So your pie sets perfectly and doesn’t get steamy underneath.
If you’re on a budget, skip the pastry blender and use your hands. Maintenance tip: keep your rolling pin and pie pan clean and dry to prevent sticking or rust. My favorite pie pan is ceramic—it bakes evenly and looks pretty for serving. Honestly, you don’t need fancy gadgets for this creamy pumpkin pie recipe. Just a little patience and, maybe, a pinch of luck!
Preparation Method
Step 1: Make the Flaky Pie Crust (15 min active, 30 min chill)
- In a medium bowl, combine 2 cups (250g) all-purpose flour and 1/2 tsp salt. Toss together briefly.
- Add 1/2 cup (115g) cold unsalted butter, cubed. Using a pastry blender, fork, or your fingers, cut the butter into the flour until the mixture resembles coarse crumbs with some pea-sized pieces (don’t overmix; those chunks make for flakiness!).
- Drizzle in 4-5 tbsp (60-75ml) ice water, one tablespoon at a time, gently mixing until the dough just comes together. If it’s dry, add another tablespoon. Don’t worry if it’s a little shaggy—better too little water than too much.
- Shape dough into a disk, wrap in plastic, and chill for at least 30 minutes. (Trust me, this makes rolling way easier and keeps the butter cold.)
Step 2: Prepare the Pumpkin Filling (10 min)
- In a large bowl, whisk 2 large eggs and 1 egg yolk until smooth and lightly frothy.
- Add 1 can (425g/15 oz) pumpkin puree, 1/2 cup (120ml) heavy cream, 12 oz (354ml) evaporated milk, 1/2 cup (100g) granulated sugar, 1/4 cup (50g) packed light brown sugar, 2 tsp cinnamon, 1/2 tsp ginger, 1/2 tsp nutmeg, 1/4 tsp cloves, 1/4 tsp salt, and 2 tsp vanilla extract. Whisk until fully combined and smooth. (If you see streaks of spice, keep whisking!)
Step 3: Roll Out and Blind-Bake the Crust (20 min active, 15 min bake)
- Preheat oven to 400°F (205°C).
- On a lightly floured surface, roll out chilled dough to about 12 inches (30 cm) in diameter. It should be about 1/8-inch (3 mm) thick. (If dough cracks, patch with scraps and press gently.)
- Carefully transfer dough to your 9-inch pie pan. Trim excess, leaving a 1-inch overhang. Fold under and crimp edges with your fingers or a fork. Prick the bottom gently with a fork.
- Line crust with parchment paper and fill with pie weights or dried beans. Bake for 15 minutes. Remove weights and parchment, then bake another 5 minutes until just golden. (This prevents soggy bottoms—learned the hard way!)
Step 4: Fill and Bake the Pie (50-60 min bake)
- Reduce oven temperature to 350°F (175°C).
- Pour pumpkin filling into the warm, blind-baked crust. Smooth the top with a spatula.
- Bake for 50-60 minutes, or until the edges are set and the center jiggles slightly when moved. (If the crust browns too fast, cover the edges with foil.)
- Let pie cool on a rack for at least 2 hours. The filling will finish setting as it cools. (Resist the urge to slice early—it’s worth the wait!)
Step 5: Serve and Enjoy
- Slice and serve with whipped cream, toasted pecans, or a sprinkle of cinnamon sugar. Leftovers keep beautifully in the fridge.
Notes: If your filling cracks, don’t worry—it’ll still taste amazing. Sometimes a quick swirl of whipped cream covers all pie sins. For efficiency, prep the filling while the dough chills. The creamy pumpkin pie recipe is forgiving, so even small mistakes usually work out in the end!
Cooking Tips & Techniques
- Keep Your Butter Cold: For a flaky crust, use butter straight from the fridge and cold water. If your kitchen is warm, chill your mixing bowl and flour first.
- Don’t Overwork the Dough: Mix gently and stop as soon as the dough comes together. Overmixing leads to tough crust—trust me, I’ve had my share of cardboard pies.
- Taste Your Spices: Pumpkin puree can vary in flavor. Sometimes I add an extra pinch of cinnamon or ginger after a quick taste of the raw filling (just a little—there are eggs in there).
- Blind-Bake for Crispness: Pie weights or dried beans help prevent soggy bottoms. If you skip this, your crust might get a little soft under the filling. I learned the hard way and never skip this step now!
- Watch Your Oven: Every oven is different. Check your pie at 50 minutes; the center should wobble slightly, but not slosh. Overbaking can cause cracks, but underbaking means watery filling.
- Edge Shield: If your crust edges brown too quickly, cover them with foil or a pie shield around halfway through baking. That way, the filling sets before the crust burns.
- Cool Completely: Pumpkin pie sets up as it cools. Cutting too soon makes for runny slices—been there, done that! Let it rest and you’ll get perfect wedges every time.
Honestly, the best creamy pumpkin pie recipe comes from a blend of experience and a little trial and error. Don’t stress about perfection—pie is supposed to be comforting, not stressful! If you make a mistake, just top with extra whipped cream and enjoy.
Variations & Adaptations
- Gluten-Free: Use a gluten-free flour blend for the crust. Bob’s Red Mill 1-to-1 works great—I’ve made it for friends with celiac and it turned out just as flaky!
- Dairy-Free: Swap evaporated milk and heavy cream for full-fat coconut milk, and use plant-based butter in the crust. The pie still comes out smooth and rich, with a subtle tropical hint.
- Extra-Spiced: If you love bold flavors, add a pinch of cardamom or allspice to the filling. Sometimes I toss in a little extra ginger for a spicy kick.
- Mini Pies: Make individual pumpkin pies using muffin tins—cut crust circles, fill, and bake for about 25 minutes. Super cute for parties!
- No-Bake Version: Use a graham cracker crust and set the filling with gelatin. Chill until firm—perfect for hot weather.
- Nutty Crust: Mix chopped pecans or walnuts into the dough for a crunchy twist.
- Low-Sugar: Reduce granulated sugar or use a sugar substitute like Swerve or monk fruit. The filling might be less sweet, but the spices still shine.
Personally, I love adding a touch of orange zest for a bright, fresh flavor. My kids prefer the classic version, so we compromise—half with zest, half without! The creamy pumpkin pie recipe is versatile, so feel free to play around and make it your own.
Serving & Storage Suggestions
For the best flavor and texture, serve your creamy pumpkin pie slightly chilled or at room temperature. I like to slice it just before serving and top each piece with a generous dollop of whipped cream (sometimes I sprinkle on toasted pecans or a dash of cinnamon sugar for extra flair).
Pair with hot coffee, apple cider, or even a scoop of vanilla ice cream for a decadent dessert. It’s perfect alongside roast turkey, ham, or even as a sweet finish to a vegetarian feast. For brunch, serve with scrambled eggs and crispy bacon—it’s a crowd-pleaser, trust me.
To store, cover the pie loosely with foil or plastic wrap and refrigerate for up to 4 days. For longer storage, wrap tightly and freeze slices for up to 2 months. Thaw overnight in the fridge and bring to room temperature before serving. Reheat briefly in a low oven (300°F/150°C) if you prefer it warm, but be gentle to keep the filling creamy.
Honestly, I think the flavors get even richer after a day or two, so don’t be afraid to make this creamy pumpkin pie recipe ahead of your big event. It’s easy, delicious, and always the first dessert to disappear!
Nutritional Information & Benefits
Each slice of creamy pumpkin pie (1/8 of a 9-inch pie) contains roughly:
- Calories: 340
- Fat: 17g
- Carbohydrates: 42g
- Protein: 6g
- Fiber: 2g
- Sugar: 25g
Pumpkin is loaded with vitamin A, potassium, and antioxidants. The spices help boost flavor without tons of extra sugar. If you use gluten-free or dairy-free swaps, the pie can fit more dietary needs. Allergens: Contains wheat, eggs, and dairy, so double-check substitutions if you’re baking for sensitive folks.
From a wellness perspective, I love that this creamy pumpkin pie recipe uses real pumpkin and simple ingredients. It’s a treat—yes—but it’s also packed with homey comfort and a little nutrition, too. Enjoy in moderation and savor every bite!
Conclusion
If you’re searching for a pumpkin pie recipe that’s creamy, easy, and just downright good, this is the one. The combo of canned pumpkin and flaky homemade crust is pure magic. Whether you’re making it for a holiday, a potluck, or just because, I promise it’ll win hearts.
Don’t be afraid to tweak the spices or swap ingredients based on what you have. That’s the beauty of baking—make it your own! Personally, I love this pie because it brings everyone together and reminds me of cozy family nights (and a little bit of grandma’s kitchen).
I’d love to hear how your creamy pumpkin pie turns out! Drop a comment below, share your favorite twist, or tag me on social media with your pie photos. Happy baking, and remember—every flaky slice is a little piece of comfort!
FAQs
Can I use fresh pumpkin instead of canned pumpkin for this recipe?
Yes, you can! Just roast and puree your fresh pumpkin until smooth. Measure out 15 oz (425g) for the filling. Canned pumpkin is quicker and usually gives a more consistent texture, though.
Do I have to blind-bake the crust?
Blind-baking isn’t strictly required, but it really helps prevent a soggy bottom. If you’re short on time, you can skip it, but the crust might be a little softer under the filling.
How do I know when the pumpkin pie is done baking?
The edges should be set and the center should jiggle just a bit when you nudge the pan. If it’s too firm, it’s probably a little overbaked (but still tasty!).
Can I make this pie ahead of time?
Absolutely! Pumpkin pie is actually better after it sits for a day. Store in the fridge and bring to room temperature (or gently reheat) before serving.
What’s the best way to store leftovers?
Cover the pie and refrigerate for up to 4 days. For longer storage, freeze individual slices and thaw as needed. The pie keeps its creamy texture surprisingly well!
Pin This Recipe!
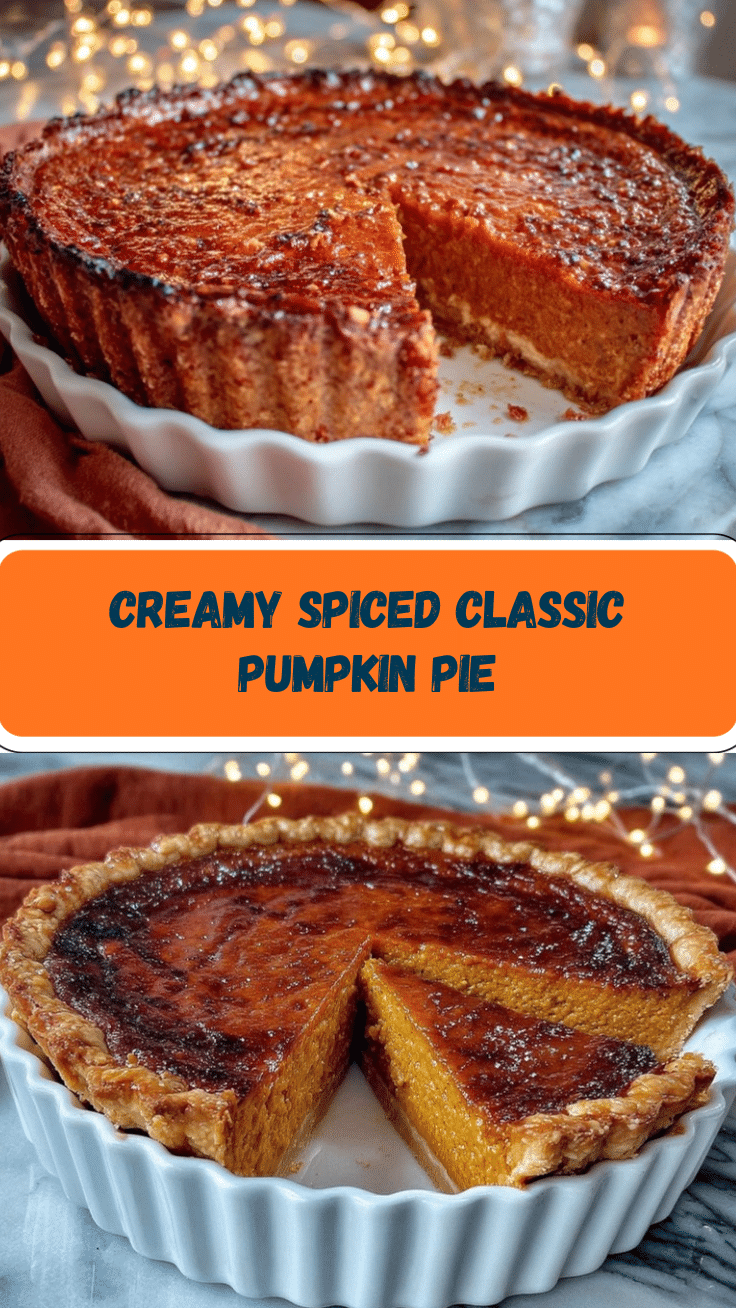
Creamy Pumpkin Pie Recipe: Easy Homemade Dessert with Flaky Crust

This creamy pumpkin pie features a silky pumpkin filling made with canned pumpkin, warm spices, and a blend of evaporated milk and heavy cream, all nestled in a buttery, flaky homemade crust. It’s a nostalgic, crowd-pleasing dessert perfect for holidays or cozy weekends.
- Prep Time: 25 minutes
- Cook Time: 70 minutes
- Total Time: 2 hours 5 minutes
- Yield: 8 servings 1x
- Category: Dessert
- Cuisine: American
Ingredients
- 2 cups all-purpose flour
- 1/2 cup unsalted butter, cold and cubed
- 1/2 teaspoon salt (for crust)
- 4–5 tablespoons ice water
- 1 can (15 oz) canned pumpkin puree
- 12 oz evaporated milk
- 1/2 cup heavy cream
- 2 large eggs, room temperature
- 1 egg yolk, room temperature
- 1/2 cup granulated sugar
- 1/4 cup packed light brown sugar
- 2 teaspoons ground cinnamon
- 1/2 teaspoon ground ginger
- 1/2 teaspoon ground nutmeg
- 1/4 teaspoon ground cloves
- 1/4 teaspoon salt (for filling)
- 2 teaspoons vanilla extract
- Whipped cream (optional, for topping)
- Toasted pecans, chopped (optional, for topping)
- Cinnamon sugar (optional, for topping)
Instructions
- In a medium bowl, combine flour and salt for the crust. Toss briefly.
- Add cold, cubed butter and cut into the flour using a pastry blender, fork, or fingers until the mixture resembles coarse crumbs with pea-sized pieces.
- Drizzle in ice water, one tablespoon at a time, gently mixing until the dough just comes together. Shape into a disk, wrap in plastic, and chill for at least 30 minutes.
- In a large bowl, whisk eggs and egg yolk until smooth and lightly frothy.
- Add pumpkin puree, heavy cream, evaporated milk, granulated sugar, brown sugar, cinnamon, ginger, nutmeg, cloves, salt, and vanilla extract. Whisk until fully combined and smooth.
- Preheat oven to 400°F (205°C).
- On a lightly floured surface, roll out chilled dough to about 12 inches in diameter and 1/8-inch thick.
- Transfer dough to a 9-inch pie pan, trim excess, fold under, and crimp edges. Prick the bottom gently with a fork.
- Line crust with parchment paper and fill with pie weights or dried beans. Bake for 15 minutes. Remove weights and parchment, then bake another 5 minutes until just golden.
- Reduce oven temperature to 350°F (175°C).
- Pour pumpkin filling into the warm, blind-baked crust. Smooth the top.
- Bake for 50-60 minutes, or until edges are set and center jiggles slightly. Cover edges with foil if browning too quickly.
- Let pie cool on a rack for at least 2 hours to set.
- Slice and serve with whipped cream, toasted pecans, or cinnamon sugar. Store leftovers in the fridge.
Notes
Keep butter and water cold for a flaky crust. Blind-bake the crust to prevent sogginess. Taste the filling before baking to adjust spices. If crust edges brown too quickly, cover with foil. Let pie cool completely for clean slices. Pie can be made ahead and stored in the fridge for up to 4 days or frozen for up to 2 months.
Nutrition
- Serving Size: 1 slice (1/8 of a 9-
- Calories: 340
- Sugar: 25
- Sodium: 320
- Fat: 17
- Saturated Fat: 10
- Carbohydrates: 42
- Fiber: 2
- Protein: 6
Keywords: pumpkin pie, creamy pumpkin pie, homemade pie, Thanksgiving dessert, fall baking, flaky crust, easy pumpkin pie, holiday dessert, classic pumpkin pie


