“Is this really going to work?” I muttered under my breath, hovering over a half-iced sheet cake with shaky hands. The night before my niece’s graduation party, I’d decided—somewhat impulsively—that a store-bought cake just wouldn’t cut it. I wanted something personal, something that said “you did it!” without being over-the-top or complicated. So, armed with a basic sheet cake recipe and a piping bag filled with buttercream, I set out to create a diploma design right on the cake’s surface. Honestly, I wasn’t expecting much, but as the frosting smoothed out and the diploma rolled into shape with a simple swirl of red and black icing, something clicked. That simple, homemade touch turned skeptical friends into fans and made a last-minute celebration feel a little more special.
What stuck with me most wasn’t just the taste of that moist, buttery cake or the sweet, creamy frosting, but how easy it was to pull off a design that looked fancy without needing a degree in cake decorating. Since then, I’ve made this perfect sheet cake with buttercream diploma design a go-to for celebrations that call for a bit of flair but zero fuss. It’s become my little secret weapon when I want to impress without stress. Plus, it’s quite fun to see the surprised faces when people realize it’s homemade.
So here I am sharing the whole process—because you might find, like I did, that the right cake and a simple touch of buttercream can turn any celebration into a memory worth savoring.
Why You’ll Love This Recipe
After making this cake more times than I can count, I can confidently say it’s a winner for a bunch of reasons you’ll appreciate:
- Quick & Easy: The batter comes together in under 15 minutes, perfect for those last-minute graduation parties or surprise celebrations.
- Simple Ingredients: No need to hunt down fancy or obscure items. Most are pantry staples you already have—flour, sugar, butter, eggs, and a couple of basics for the buttercream.
- Special Occasion Ready: The buttercream diploma design makes it ideal for graduations, award ceremonies, or any milestone where you want a personalized touch.
- Crowd-Pleaser: Not just for looks, this cake gets rave reviews from kids and adults alike thanks to its moist texture and rich flavor.
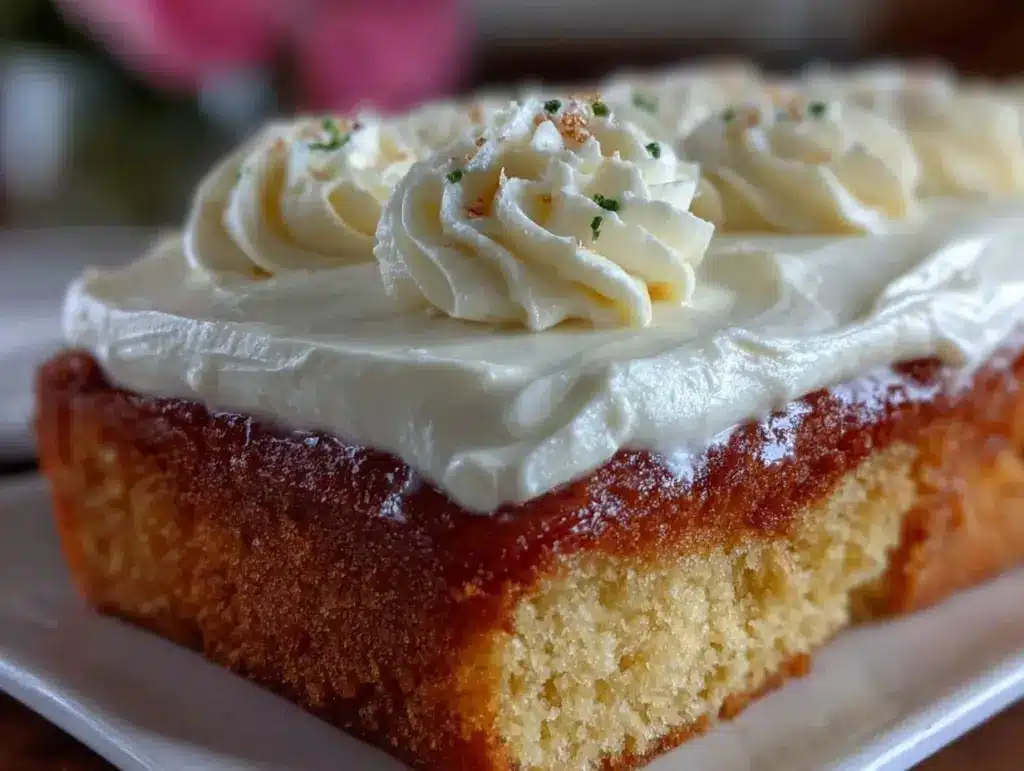
- Unbelievably Delicious: The balance of a tender crumb and smooth, sweet buttercream frosting is exactly the comfort food vibe you want at a celebration.
What sets this sheet cake apart is the frosting technique. I’ve found that using a simple piping tip and a steady hand lets you create a diploma scroll that looks professional even if you’re “not really a baker.” This isn’t just another frosted cake; it’s a thoughtful, approachable way to celebrate achievements with style and sweetness.
What Ingredients You Will Need
This recipe uses straightforward ingredients that come together to create a moist, tender cake and a smooth, pipe-able buttercream. Most are staples, which makes this a no-fuss, no-stress recipe perfect for busy celebrators.
- For the Cake:
- All-purpose flour – 2 ½ cups (315 g), sifted for lightness
- Baking powder – 2 ½ teaspoons (10 g), to give the cake a nice rise
- Salt – ½ teaspoon (3 g), to balance sweetness
- Unsalted butter – 1 cup (225 g), softened (I prefer Land O’Lakes for consistent creaminess)
- Granulated sugar – 2 cups (400 g), for that perfect sweetness
- Large eggs – 4, at room temperature (helps with smooth batter)
- Pure vanilla extract – 1 tablespoon (15 ml), for warm, comforting flavor
- Whole milk – 1 cup (240 ml), room temperature for moist crumb (can swap with almond milk for dairy-free)
- For the Buttercream Frosting:
- Unsalted butter – 1 cup (225 g), softened
- Powdered sugar – 4 cups (480 g), sifted to avoid lumps
- Pure vanilla extract – 2 teaspoons (10 ml)
- Heavy cream – 2 to 4 tablespoons (30-60 ml), to adjust consistency
- Gel food coloring – red and black (for the diploma design; gel gives vivid color without thinning the frosting)
- Optional:
- Edible gold dust or shimmer (adds a subtle celebratory sparkle to the diploma if you’re feeling fancy)
- Sprinkles or edible pearls (for extra festivity around the edges)
If you’re curious about substitutions, using almond flour is doable but will change the texture slightly—making it a bit denser. For a dairy-free option, swap the butter and milk with plant-based alternatives, and this cake still comes out wonderfully. I’ve tried making this cake with coconut milk once during a friend’s dairy-free party, and it was surprisingly good!
Equipment Needed
- 9×13 inch (23×33 cm) sheet cake pan – essential for the perfect size and shape
- Mixing bowls – at least two (one for dry, one for wet ingredients)
- Electric mixer or stand mixer – makes mixing the butter and sugar effortless
- Spatula – for folding and scraping batter out cleanly
- Measuring cups and spoons – accuracy helps with consistent results
- Piping bags – disposable or reusable, crucial for the diploma design
- Piping tips – small round tip (#2 or #3) for fine lines, and a star tip if you want to add decorative borders
- Cooling rack – helps cake cool evenly and prevents sogginess
If you don’t have a stand mixer, a sturdy hand mixer works just fine. For piping bags, I prefer reusable silicone ones—they’re easy to clean and less wasteful. When I first started, I used sandwich bags with the corner snipped off, which works in a pinch but doesn’t give as clean lines. Trust me, investing in a basic piping set makes the diploma design so much less intimidating.
Preparation Method
- Preheat your oven to 350°F (175°C). Grease your 9×13 inch sheet pan with butter or non-stick spray, then lightly dust with flour to prevent sticking. This little step saved me from a cake disaster once—don’t skip it!
- Mix dry ingredients: In a medium bowl, whisk together the all-purpose flour, baking powder, and salt. Set aside. The even distribution of baking powder is key to a uniform rise.
- Cream the butter and sugar: In a large bowl, beat the softened butter and granulated sugar on medium speed for about 3-4 minutes, until light and fluffy. This aerates the batter, giving the cake a tender crumb.
- Add eggs one at a time: Beat in the eggs, one by one, making sure each is fully incorporated before adding the next. Add vanilla extract with the last egg. This helps prevent a curdled batter.
- Alternate dry ingredients and milk: Reduce mixer speed to low, add a third of the flour mixture, then half the milk. Repeat twice, ending with flour. Mix just until combined—overmixing can make the cake tough.
- Pour batter into the prepared pan: Spread evenly with a spatula. Tap the pan gently on the counter to release any air bubbles.
- Bake for 30 to 35 minutes: Check doneness by inserting a toothpick in the center—it should come out clean or with a few moist crumbs. Don’t overbake or the cake will dry out.
- Cool completely: Place the cake on a wire rack for at least 1 hour before frosting. Attempting to frost warm cake is a recipe for frosting meltdown.
- Make the buttercream frosting: Beat softened butter on medium speed until creamy. Gradually add sifted powdered sugar, one cup at a time, mixing well between additions. Add vanilla extract and 2 tablespoons of heavy cream. Beat on high for 3-4 minutes until fluffy. Adjust consistency with more cream or sugar as needed.
- Divide and color the frosting: Scoop off about ¼ of the frosting into separate bowls. Tint one portion red and another black using gel food coloring. Leave the rest white for the base layer.
- Frost the cake base: Spread the white buttercream evenly over the cooled cake using an offset spatula for smoothness.
- Create the diploma design: Fill piping bags fitted with small round tips with the red and black frostings. Pipe a rolled scroll shape in the center—a simple oval with curled edges works well. Outline the diploma with black, and use red for the ribbon. Add small black lines to mimic text on the scroll. If piping sounds scary, practice on parchment paper first to build confidence.
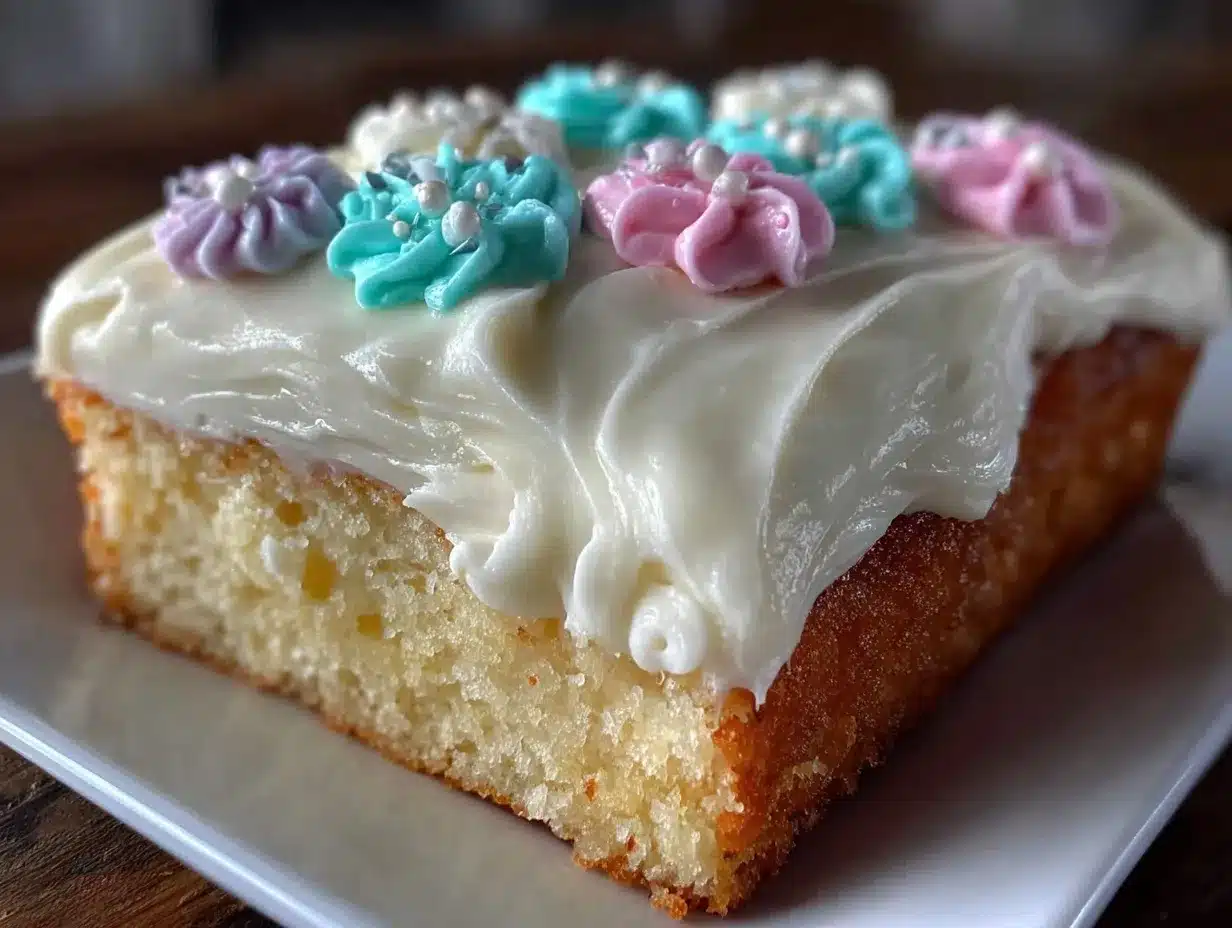
- Optional final touches: Dust with edible gold shimmer or add sprinkles around the edges for a festive look.
- Chill briefly: Refrigerate the cake for 15-20 minutes to set the frosting before serving.
Tip: If your frosting feels too soft to pipe neat lines, pop it in the fridge for 10 minutes to firm up. This little trick saved my diplomas more than once.
Cooking Tips & Techniques
To get this cake just right, a few things I’ve learned the hard way might help you:
- Room temperature ingredients make a difference. Eggs and milk at room temp mix more smoothly, giving a better crumb.
- Don’t rush frosting the cake. Let it cool thoroughly or the buttercream melts on contact, turning your diploma into a mess.
- Practice piping on parchment. It feels awkward at first, but even a few lines help you steady your hand before decorating the cake itself.
- Use gel food coloring. Liquid colors thin the frosting, making piping tricky.
- Watch baking time closely. Overbaking dries the cake; underbaking leaves raw batter. Use a toothpick test around 30 minutes.
- For a flawless base layer, use an offset spatula. It’s easier to get a smooth finish than with a regular knife.
I’ve learned that multitasking helps—while the cake bakes, I start making the buttercream. Also, if you want to add a quick savory bite before dessert, these crispy baked turkey sliders always make the party spread shine.
Variations & Adaptations
This recipe is flexible and welcomes creative spins:
- Flavor Variations: Swap vanilla extract for almond or lemon zest for a twist in the cake’s flavor. I once made a lemon-vanilla version for a spring graduation, and it was a fresh hit.
- Dietary Adaptations: Use gluten-free flour blends for celiac-friendly celebrations. Coconut milk and dairy-free butter make it vegan-friendly without sacrificing moisture.
- Frosting Alternatives: If buttercream feels too rich, try a cream cheese frosting with the same piping colors. It adds a tangy contrast that some guests love.
- Design Customization: Instead of a diploma, pipe a simple graduation cap or the graduate’s initials using the same technique. This lets you adapt the basic design to different themes or names.
For a fun change, I once turned this cake into a cookie lasagna dessert for a holiday party—combining layers of cookies and pudding—but the original sheet cake and diploma design is still my heart’s favorite for celebrations.
Serving & Storage Suggestions
This cake is best served at room temperature to enjoy the buttery softness and creamy frosting balance. Take it out of the fridge about 30 minutes before slicing to let the frosting soften slightly.
Pair it with a simple coffee or iced tea to cut through the sweetness, or serve alongside fresh berries for a pop of freshness. It’s a crowd-pleaser no matter the pairing.
Store leftovers in an airtight container in the refrigerator for up to 4 days. For longer storage, the cake freezes well—wrap it tightly in plastic wrap and foil before freezing. When ready to enjoy, thaw in the fridge overnight and bring to room temperature before serving.
Flavors actually deepen a bit after a day, so if you can wait, the next day’s slice tastes even better. Just be sure the frosting stays protected to avoid drying.
Nutritional Information & Benefits
One generous slice of this sheet cake (about 1/12th of the cake) contains approximately:
| Calories | 350-400 kcal |
|---|---|
| Total Fat | 18-22 g |
| Saturated Fat | 11-13 g |
| Carbohydrates | 45-50 g |
| Sugars | 30-35 g |
| Protein | 4-5 g |
The cake provides a comforting source of quick energy from carbs and fats. Using real butter and whole eggs adds richness along with fat-soluble vitamins. For those watching gluten or dairy, adaptations with gluten-free flour and plant-based butter can accommodate most dietary needs.
From a wellness perspective, I think this cake is a reminder that celebrations deserve indulgence now and then—and that homemade treats made with care are a special kind of nourishment.
Conclusion
This perfect sheet cake with buttercream diploma design has become my go-to when celebrations call for something simple yet meaningful. The recipe’s ease, combined with the personalized touch of the diploma piping, makes it a standout without the stress of complicated decorating.
Feel free to tweak the flavors, colors, or design to fit your occasion—the real joy comes from making it your own. I love how this cake brings a little warmth and sweetness to moments worth remembering.
If you try it, I’d love to hear how your cake turned out or what creative designs you added. Sharing these stories keeps the celebration going!
FAQs About Perfect Sheet Cake with Buttercream Diploma Design
Can I make the cake and frosting ahead of time?
Yes! The cake can be baked a day ahead and stored wrapped airtight at room temperature. Frost the cake the day of serving for best results, or refrigerate a frosted cake overnight and bring to room temperature before serving.
What if I don’t have piping bags or tips?
You can use a resealable plastic bag and snip off a small corner to pipe the design. It won’t be as precise but still works well for simple shapes.
How do I fix a frosting that’s too runny?
Chill the frosting for 10-15 minutes, then whip it again. Adding more powdered sugar can also thicken it, but be careful not to overdo it or it will get too stiff.
Can I use this cake recipe for cupcakes?
Absolutely! Just adjust baking time to about 18-22 minutes at 350°F (175°C), and keep an eye on them to avoid overbaking.
What’s the best way to clean my piping tips?
Soak them in warm, soapy water immediately after use, then use a small brush or toothpick to clear any frosting inside. Dry thoroughly to prevent rusting.
Pin This Recipe!
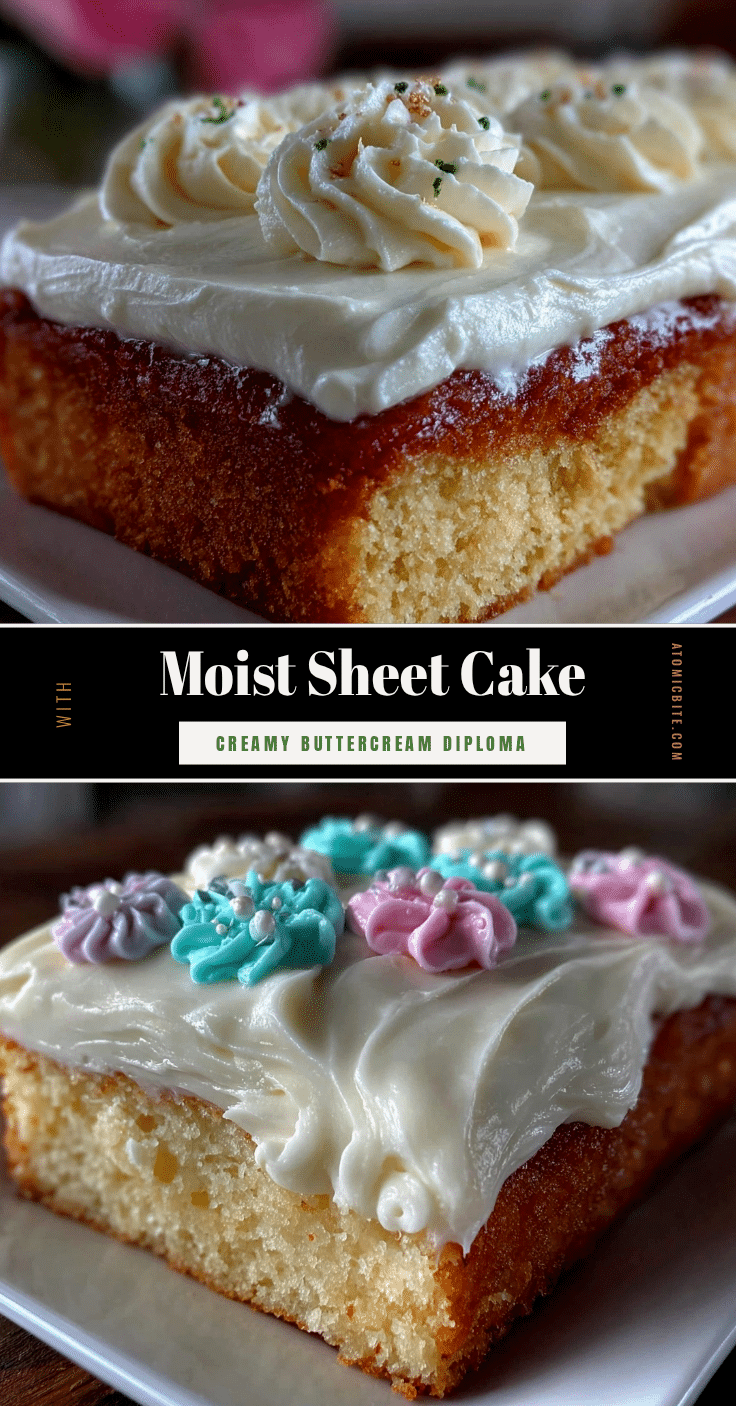
Perfect Sheet Cake Recipe with Easy Buttercream Diploma Design for Celebrations

A moist, buttery sheet cake topped with a smooth buttercream frosting featuring a simple diploma design, perfect for graduations and celebrations. This recipe is quick, easy, and uses pantry staples for a crowd-pleasing dessert.
- Prep Time: 15 minutes
- Cook Time: 30-35 minutes
- Total Time: 1 hour 50 minutes
- Yield: 12 servings 1x
- Category: Dessert
- Cuisine: American
Ingredients
- 2 ½ cups (315 g) all-purpose flour, sifted
- 2 ½ teaspoons (10 g) baking powder
- ½ teaspoon (3 g) salt
- 1 cup (225 g) unsalted butter, softened
- 2 cups (400 g) granulated sugar
- 4 large eggs, room temperature
- 1 tablespoon (15 ml) pure vanilla extract
- 1 cup (240 ml) whole milk, room temperature (can substitute almond milk for dairy-free)
- 1 cup (225 g) unsalted butter, softened (for buttercream)
- 4 cups (480 g) powdered sugar, sifted
- 2 teaspoons (10 ml) pure vanilla extract (for buttercream)
- 2 to 4 tablespoons (30–60 ml) heavy cream (for buttercream)
- Gel food coloring: red and black (for diploma design)
- Optional: edible gold dust or shimmer
- Optional: sprinkles or edible pearls
Instructions
- Preheat oven to 350°F (175°C). Grease a 9×13 inch sheet pan with butter or non-stick spray and lightly dust with flour.
- In a medium bowl, whisk together flour, baking powder, and salt. Set aside.
- In a large bowl, beat softened butter and granulated sugar on medium speed for 3-4 minutes until light and fluffy.
- Add eggs one at a time, beating well after each addition. Add vanilla extract with the last egg.
- Reduce mixer speed to low. Add one-third of the flour mixture, then half the milk. Repeat twice, ending with flour. Mix just until combined.
- Pour batter into prepared pan and spread evenly. Tap pan gently to release air bubbles.
- Bake for 30 to 35 minutes or until a toothpick inserted in the center comes out clean or with a few moist crumbs.
- Cool cake completely on a wire rack for at least 1 hour before frosting.
- To make buttercream, beat softened butter on medium speed until creamy. Gradually add powdered sugar, one cup at a time, mixing well between additions.
- Add vanilla extract and 2 tablespoons heavy cream. Beat on high for 3-4 minutes until fluffy. Adjust consistency with more cream or sugar as needed.
- Divide frosting into portions. Tint about ¼ with red gel food coloring, another ¼ with black, and leave the rest white.
- Spread white buttercream evenly over cooled cake using an offset spatula.
- Using piping bags fitted with small round tips, pipe a diploma scroll design in the center with black outline and red ribbon. Add small black lines to mimic text.
- Optionally, dust with edible gold shimmer or add sprinkles around edges.
- Refrigerate cake for 15-20 minutes to set frosting before serving.
Notes
[‘Use room temperature eggs and milk for a smoother batter and better crumb.’, ‘Let cake cool completely before frosting to prevent melting.’, ‘Practice piping on parchment paper to steady your hand.’, ‘Use gel food coloring to avoid thinning the frosting.’, ‘Watch baking time closely and use toothpick test to avoid overbaking.’, ‘Use an offset spatula for a smooth frosting base layer.’, ‘If frosting is too soft to pipe, chill for 10-15 minutes and whip again.’, ‘Cake can be baked a day ahead and stored airtight at room temperature.’, ‘Frost the cake the day of serving or refrigerate frosted cake overnight and bring to room temperature before serving.’, ‘For dairy-free, substitute butter and milk with plant-based alternatives.’, ‘For gluten-free, use gluten-free flour blends.’]
Nutrition
- Serving Size: 1 slice (1/12th of c
- Calories: 375
- Sugar: 33
- Sodium: 150
- Fat: 20
- Saturated Fat: 12
- Carbohydrates: 48
- Fiber: 1
- Protein: 4.5
Keywords: sheet cake, buttercream frosting, diploma design, graduation cake, celebration cake, easy cake recipe, moist cake, homemade cake


