“Okay, so who thought neon icing on sugar cookies could be a thing?” I overheard my niece quip, eyeing the tray with a mix of skepticism and intrigue. Honestly, I was right there with her the first time I whipped up these Perfect Ugly Sweater Sugar Cookies with Tacky Neon Royal Icing. It started as a last-minute idea—my usual go-to Christmas cookie stash was running dangerously low, and I had zero time to bake anything fancy. I had a vague memory of those garish, overly bright holiday sweaters that somehow make you grin and cringe all at once. Why not channel that tacky charm into cookies?
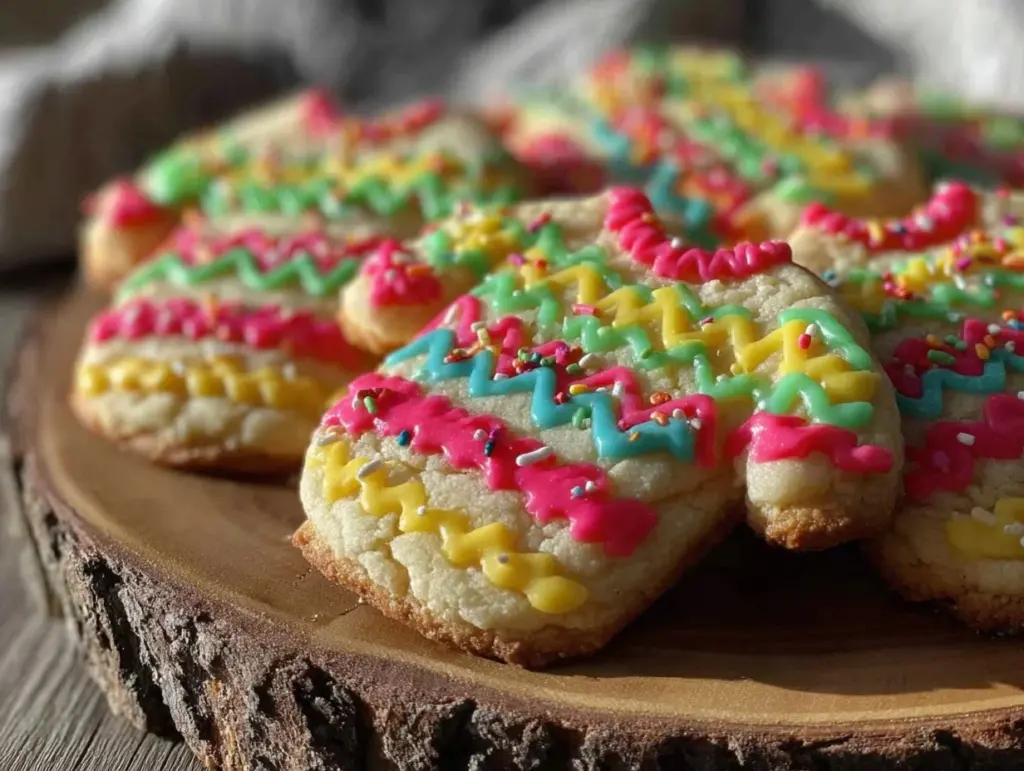
Mixing up the dough was straightforward, but the real adventure kicked off when I cracked open the neon gel colors for the icing. The colors were so outrageously bright they almost glowed under my kitchen light. Decorating these cookies became this unexpectedly fun, slightly messy project that I couldn’t stop doing all week. Each cookie got its own quirky pattern, like a little holiday party on a sugar canvas. The best part? Every bite was a delightful mix of buttery, sweet cookie with a smooth, glossy, slightly crunchy icing that just nailed that perfect balance between nostalgia and novelty.
What stuck with me, though, wasn’t just the look or the taste—it was how these cookies brought everyone to the table, laughing over who’s sweater was “uglier,” and the joyful chaos of decorating together. That’s why these Perfect Ugly Sweater Sugar Cookies with Tacky Neon Royal Icing have become my holiday staple. They’re a little goofy, totally charming, and honestly, a bit addictive in the best way.
Why You’ll Love This Recipe
After making these sugar cookies several times—and trust me, they’ve been requested repeatedly at every holiday gathering—I can say this recipe hits all the right notes. Here’s why you’ll want to keep these in your festive baking arsenal:
- Quick & Easy: The dough comes together in under 20 minutes, and the cookies bake in just 10-12 minutes—ideal for last-minute holiday prep.
- Simple Ingredients: You probably have all the pantry staples already—flour, sugar, butter, eggs—no fancy shopping required.
- Perfect for Holiday Parties: These cookies bring a playful vibe to any gathering, from casual cookie swaps to festive family nights.
- Crowd-Pleaser: Kids and adults alike love these sweet, buttery cookies with their eye-popping neon icing—it’s impossible not to smile while eating one.
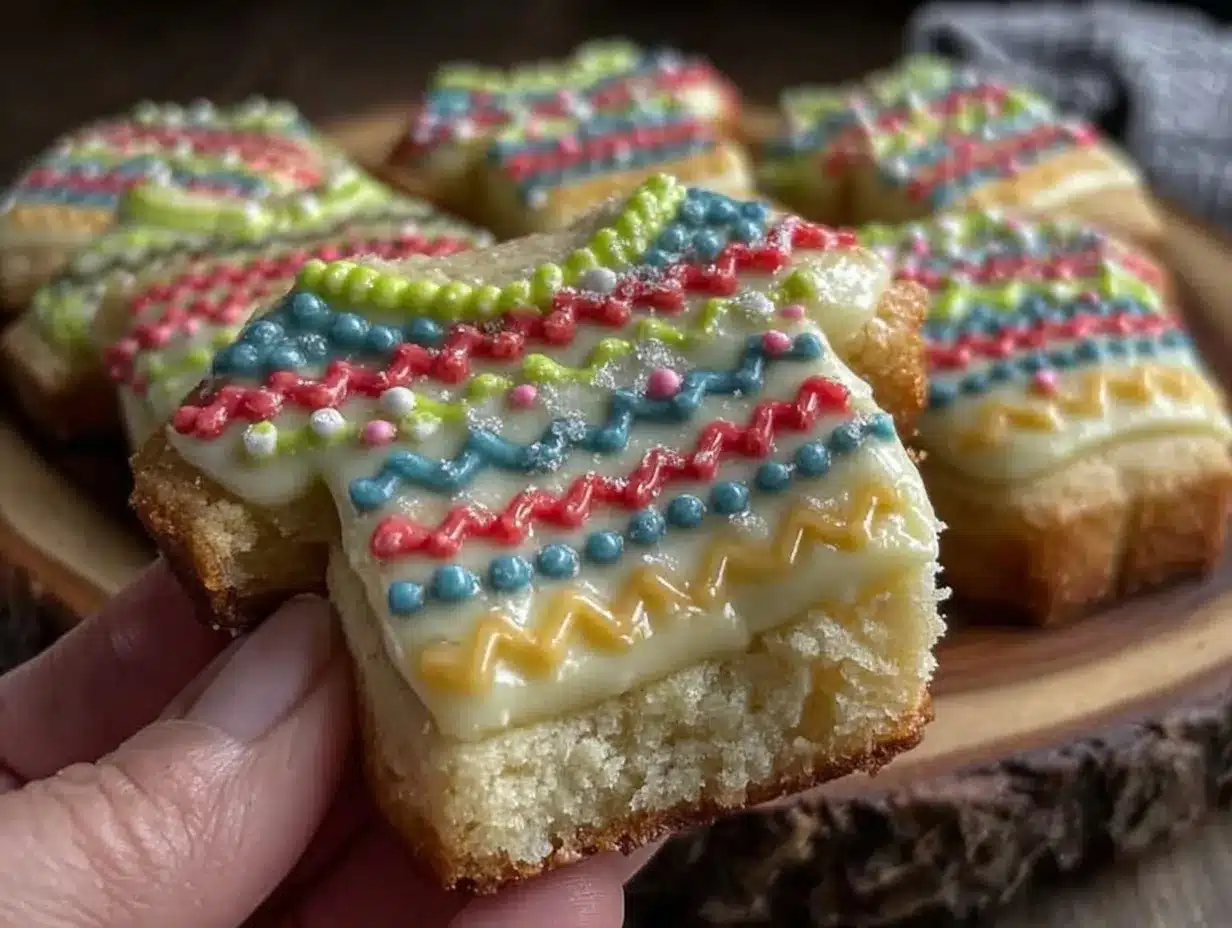
- Unbelievably Delicious: The royal icing dries with a satisfying crispness but stays chewy under the surface, delivering that classic sugar cookie texture with a modern twist.
What sets this recipe apart is the neon royal icing technique—a fun spin on traditional cookie decorations. Instead of the usual pastel or muted tones, these bright colors give your cookies a quirky personality that’s hard to resist. Plus, the royal icing recipe is forgiving enough for beginners but versatile enough for those who love intricate designs.
Honestly, this isn’t just a cookie recipe—it’s a little holiday tradition in the making. They’re the kind of treats you want to bake with friends, laugh over, and then devour while reminiscing about those hilariously ugly sweaters we all pretend not to love.
What Ingredients You Will Need
This recipe uses simple, wholesome ingredients to deliver bold flavor and a satisfying texture without fuss. Most of these are pantry basics, and the neon gels for the royal icing add that signature pop of color.
- For the Sugar Cookie Dough:
- All-purpose flour – 3 cups (360 g), sifted for smooth texture
- Baking powder – 1 teaspoon (5 g) to give a light rise
- Salt – ½ teaspoon (3 g), balances sweetness
- Unsalted butter – 1 cup (227 g), softened (I prefer Land O Lakes for creaminess)
- Granulated sugar – 1 cup (200 g) for perfect sweetness
- Large eggs – 2, room temperature for even mixing
- Pure vanilla extract – 2 teaspoons (10 ml), adds warmth and depth
- For the Tacky Neon Royal Icing:
- Powdered sugar – 4 cups (480 g), sifted for smooth icing
- Meringue powder – 3 tablespoons (30 g), for stable royal icing
- Warm water – ⅔ cup (160 ml), adjust to reach desired consistency
- Neon gel food coloring – assorted colors (pink, green, orange, blue), use AmeriColor gels for vibrant results
- Optional: lemon juice – 1 teaspoon (5 ml), brightens flavor
You can swap all-purpose flour for a gluten-free blend if needed, but I recommend testing your blend first for texture. For dairy-free, use vegan butter instead of unsalted butter, and coconut yogurt can help tweak the dough moisture slightly. The neon gels are key here—liquid colors tend to dull the brightness, so stick with gels for that tacky glow.
Equipment Needed
- Mixing bowls – a large one for the dough, medium for icing mixing
- Electric hand mixer or stand mixer – makes creaming butter and sugar effortless
- Measuring cups and spoons – precise measurements are a must
- Rolling pin – for even dough thickness; a textured rolling pin can add subtle patterns
- Cookie cutters – ugly sweater shapes or simple rectangles if you want to freestyle
- Baking sheets lined with parchment paper or silicone mats – prevents sticking and promotes even baking
- Piping bags and small round tips (#1 or #2) – essential for neat royal icing decoration
- Toothpicks or scribe tools – for perfecting icing details and smoothing edges
If you don’t have piping bags, disposable plastic sandwich bags with a small corner snipped work just fine. I’ve found that silicone mats are a great budget-friendly alternative to parchment and they clean up easily. When it comes to meringue powder, I keep mine sealed tight and stored in a cool, dry place to maintain freshness season after season.
Preparation Method
- Prepare the Dough: In a medium bowl, whisk together 3 cups (360 g) of sifted all-purpose flour, 1 teaspoon (5 g) baking powder, and ½ teaspoon (3 g) salt. Set aside.
- Cream Butter and Sugar: Using a stand or hand mixer, beat 1 cup (227 g) softened unsalted butter with 1 cup (200 g) granulated sugar on medium speed for about 3-4 minutes until light and fluffy. This step is crucial for tender cookies.
- Add Eggs and Vanilla: Beat in 2 large eggs, one at a time, then mix in 2 teaspoons (10 ml) vanilla extract until just combined.
- Combine Dry and Wet: Gradually mix the dry ingredients into the wet mixture on low speed. Stop as soon as everything is just incorporated—overmixing can lead to tough cookies.
- Chill Dough: Divide dough into two discs, wrap in plastic wrap, and refrigerate for at least 1 hour. Chilling prevents spreading during baking and makes rolling easier.
- Preheat Oven and Prep Pans: Preheat your oven to 350°F (175°C). Line baking sheets with parchment paper or silicone mats.
- Roll and Cut: On a lightly floured surface, roll one dough disc to about ¼ inch (6 mm) thickness. Use your ugly sweater cookie cutters or freehand cut shapes with a knife.
- Bake: Place cookies about 1 inch (2.5 cm) apart on baking sheets. Bake 10-12 minutes or until edges just start to turn golden. Don’t wait for full browning—cookies will firm up as they cool.
- Cool Completely: Transfer cookies to wire racks and let cool fully before icing. Warm cookies will cause royal icing to melt or run.
- Make Royal Icing: In a mixing bowl, combine 4 cups (480 g) powdered sugar, 3 tablespoons (30 g) meringue powder, and ⅔ cup (160 ml) warm water. Beat on high speed for 7-10 minutes until stiff peaks form. Add neon gel colors a little at a time to separate bowls for your palette.
- Decorate: Fill piping bags with each neon color. Outline sweater shapes first, then flood the inside with the same color thinned slightly with water. Use toothpicks to spread icing evenly and create that “tacky” neon effect. Let dry at least 4 hours or overnight for best results.
Pro tip: If your icing is too thick to flood, add water a few drops at a time—too thin icing will run off the cookie edges. Also, chilling the cookies again for 10 minutes before decorating can help with icing setting. This method has never failed me, and if you’re curious about other fun cookie projects, I once paired these with a Christmas Cookie Lasagna for a dessert table that wowed the crowd.
Cooking Tips & Techniques
Getting these Perfect Ugly Sweater Sugar Cookies just right involves a few key tricks I’ve learned over time. First off, don’t rush the chilling stage. The dough needs that rest; otherwise, you’ll end up with cookies that spread like pancakes. I learned this the hard way during my first batch, which looked more like abstract art than sweaters.
When it comes to royal icing, patience is your best friend. The neon colors can look intimidating, but mixing them slowly and testing on parchment paper helps avoid over-coloring and cracking. Another tip: use meringue powder instead of egg whites for safer, more stable icing that dries perfectly hard.
For decorating, try to work in small sections and let outlines set before flooding inside. This prevents the colors from bleeding into one another, which can be a bummer if you’re aiming for sharp, tacky details. Remember, the goal here is fun—don’t stress if designs aren’t perfect; the charm is in the quirks.
Timing-wise, bake cookies in batches to keep your oven temperature steady. Multitasking between baking and icing prep is doable if you set up your workspace with all colors and tools ready to go. If you want a shortcut for party season, these cookies pair well with savory bites like the crispy baked turkey sliders, balancing sweet and savory flavors beautifully.
Variations & Adaptations
Feel like switching things up? Here are a few ways to customize these Perfect Ugly Sweater Sugar Cookies:
- Dietary Twist: Use almond flour or a gluten-free flour blend for a gluten-free version. Swap butter for coconut oil or vegan buttery spread for dairy-free needs.
- Seasonal Flavors: Add a teaspoon of ground cinnamon or pumpkin spice to the dough for a cozy fall vibe. In summer, try swapping neon icing for bright pastel colors using fruit powders for natural dyes.
- Flavor Boost: Mix lemon or orange zest into the dough for a citrusy zing that cuts through the sweetness. A splash of almond extract also pairs beautifully with vanilla.
- Alternative Decorating: Instead of royal icing, try a simple glaze made from powdered sugar and milk, then sprinkle with edible glitter or colored sugar crystals for sparkle.
- Personal Favorite: I once experimented by adding crushed peppermint candies on top of the neon icing before it set—turned out to be a festive, crunchy surprise that guests loved.
Serving & Storage Suggestions
These cookies are best served at room temperature, allowing the neon royal icing to shine without cracking. For holiday parties, arrange them on a colorful platter surrounded by evergreen sprigs or string lights to amp up the festive feel.
They pair wonderfully with hot cocoa, spiced cider, or even an eggnog latte for a full holiday vibe. If you’re serving a party, consider stacking a few with a layer of wax paper in between to keep them from sticking.
Store cookies in an airtight container at room temperature for up to 5 days. If you want to keep them longer, freeze baked cookies without icing, then decorate after thawing. To reheat, let frozen cookies come to room temperature naturally—microwaving can melt the icing.
Over time, the flavors meld beautifully, and the neon icing develops a subtle sheen that makes them even more enticing the next day.
Nutritional Information & Benefits
Each sugar cookie (without icing) contains approximately 150-170 calories, 7-9 grams of fat, 20 grams of carbohydrates, and 1-2 grams of protein. The royal icing adds sweetness but minimal fat.
Key benefits come from using real butter and eggs, providing natural fats and protein rather than artificial substitutes. Though these are treats, using high-quality vanilla and fresh ingredients makes a noticeable difference in flavor and satisfaction.
These cookies are vegetarian-friendly but contain gluten, dairy, and eggs, so they aren’t suitable for those with allergies to these ingredients. For gluten-free or vegan adaptations, see the variations section above.
From a wellness perspective, baking at home means you can control sugar levels and avoid preservatives common in store-bought cookies. Plus, the joy of baking and sharing creates its own kind of emotional nourishment.
Conclusion
If you’re looking for a fun, festive cookie recipe that brings a little quirky joy to your holiday baking, these Perfect Ugly Sweater Sugar Cookies with Tacky Neon Royal Icing are a fantastic choice. They’re easy enough for beginners but offer plenty of room to show off your decorating skills—and the neon icing truly makes them stand out on any dessert table.
Feel free to tweak the colors, shapes, or flavors to suit your style. Personally, these cookies remind me that sometimes the best holiday traditions come from unexpected, playful moments in the kitchen. So grab your neon gels, get messy, and enjoy the process as much as the treats!
And hey, if you ever want to mix savory with sweet during the holidays, pairing these cookies with a batch of creamy dill pickle cheese ball always earns me extra brownie points (or cookie points, in this case).
Happy baking—and may your holiday sweater game be as bright as your cookies!
FAQs
What makes these sugar cookies perfect for decorating?
The dough is sturdy but tender, so it holds its shape well during baking and provides a smooth surface for royal icing to adhere to without cracking.
Can I use regular food coloring instead of neon gels?
Regular liquid food coloring tends to dilute the icing and dull the colors. Neon gel food coloring is thicker and more concentrated, giving that signature bright, tacky look.
How long does royal icing take to dry?
Royal icing usually sets to the touch within 1-2 hours but should dry fully overnight for the best hardness and durability.
Can I freeze these cookies after decorating?
It’s best to freeze the baked cookies before icing. Decorate after thawing to avoid damage to the royal icing.
What if my icing is too thick or too thin?
If too thick, add water a few drops at a time until it spreads easily. If too thin, add more powdered sugar gradually to thicken.
Pin This Recipe!
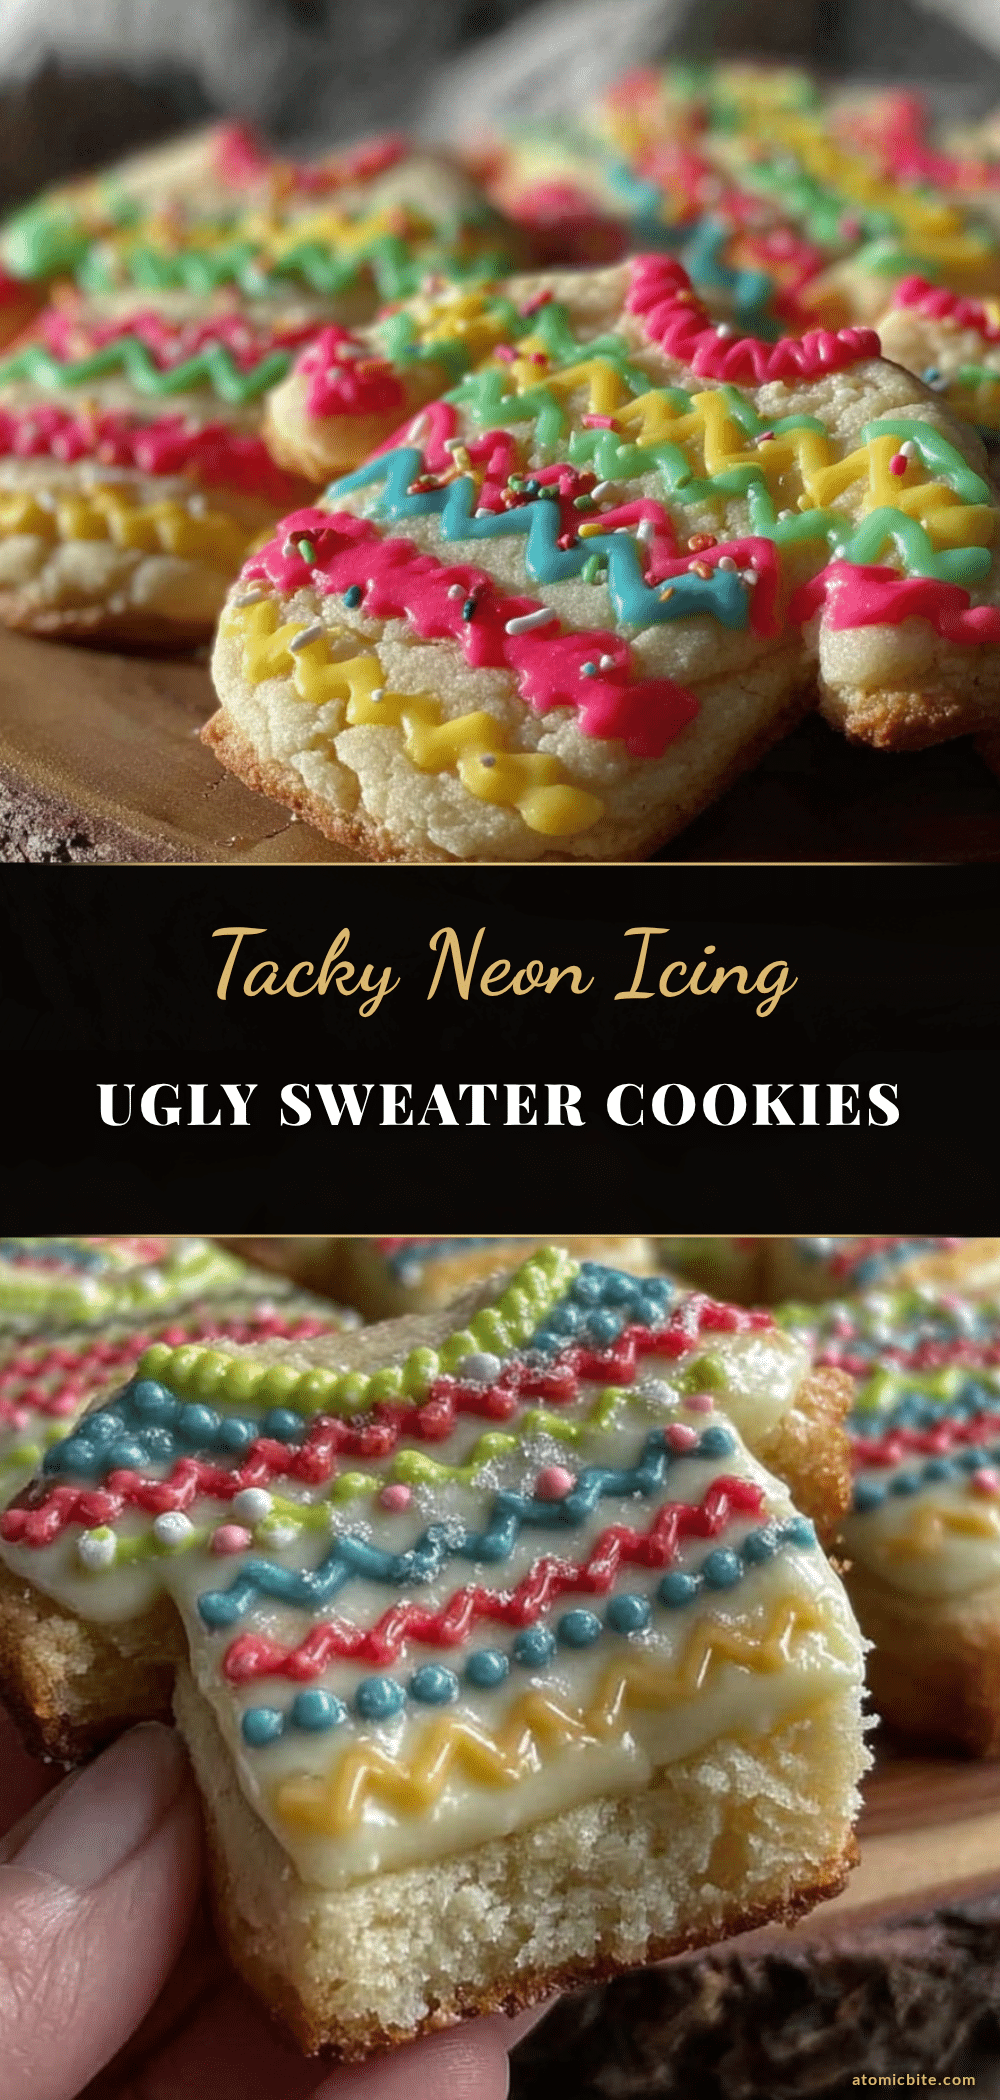
Perfect Ugly Sweater Sugar Cookies Recipe with Easy Neon Royal Icing Tutorial

These festive sugar cookies feature a buttery, tender base decorated with bright neon royal icing, perfect for holiday parties and cookie swaps. The recipe is quick, easy, and fun for all skill levels.
- Prep Time: 20 minutes
- Cook Time: 12 minutes
- Total Time: 1 hour 40 minutes
- Yield: 24 servings 1x
- Category: Dessert
- Cuisine: American
Ingredients
- 3 cups (360 g) all-purpose flour, sifted
- 1 teaspoon (5 g) baking powder
- ½ teaspoon (3 g) salt
- 1 cup (227 g) unsalted butter, softened
- 1 cup (200 g) granulated sugar
- 2 large eggs, room temperature
- 2 teaspoons (10 ml) pure vanilla extract
- 4 cups (480 g) powdered sugar, sifted
- 3 tablespoons (30 g) meringue powder
- ⅔ cup (160 ml) warm water
- Neon gel food coloring (pink, green, orange, blue)
- Optional: 1 teaspoon (5 ml) lemon juice
Instructions
- In a medium bowl, whisk together sifted flour, baking powder, and salt. Set aside.
- Using a mixer, beat softened butter and granulated sugar on medium speed for 3-4 minutes until light and fluffy.
- Beat in eggs one at a time, then mix in vanilla extract until just combined.
- Gradually add dry ingredients to wet mixture on low speed until just incorporated; avoid overmixing.
- Divide dough into two discs, wrap in plastic wrap, and refrigerate for at least 1 hour.
- Preheat oven to 350°F (175°C). Line baking sheets with parchment paper or silicone mats.
- Roll one dough disc on a lightly floured surface to ¼ inch (6 mm) thickness. Cut into ugly sweater shapes or rectangles.
- Place cookies 1 inch apart on baking sheets and bake 10-12 minutes until edges just start to turn golden.
- Cool cookies completely on wire racks before icing.
- For royal icing, combine powdered sugar, meringue powder, and warm water in a bowl. Beat on high speed for 7-10 minutes until stiff peaks form.
- Divide icing into separate bowls and add neon gel colors to each.
- Fill piping bags with colored icing. Outline sweater shapes first, then flood inside with thinned icing. Use toothpicks to spread evenly and create neon effect.
- Let decorated cookies dry at least 4 hours or overnight for best results.
Notes
Chill dough for at least 1 hour to prevent spreading. Use neon gel food coloring for bright, tacky icing. Let royal icing dry overnight for best hardness. If icing is too thick, add water a few drops at a time; if too thin, add powdered sugar gradually. Store cookies in airtight container at room temperature for up to 5 days. Freeze baked cookies without icing for longer storage and decorate after thawing.
Nutrition
- Serving Size: 1 cookie
- Calories: 160
- Sugar: 12
- Sodium: 90
- Fat: 8
- Saturated Fat: 5
- Carbohydrates: 20
- Protein: 2
Keywords: sugar cookies, ugly sweater cookies, neon royal icing, holiday cookies, Christmas cookies, festive baking, easy sugar cookies, cookie decorating