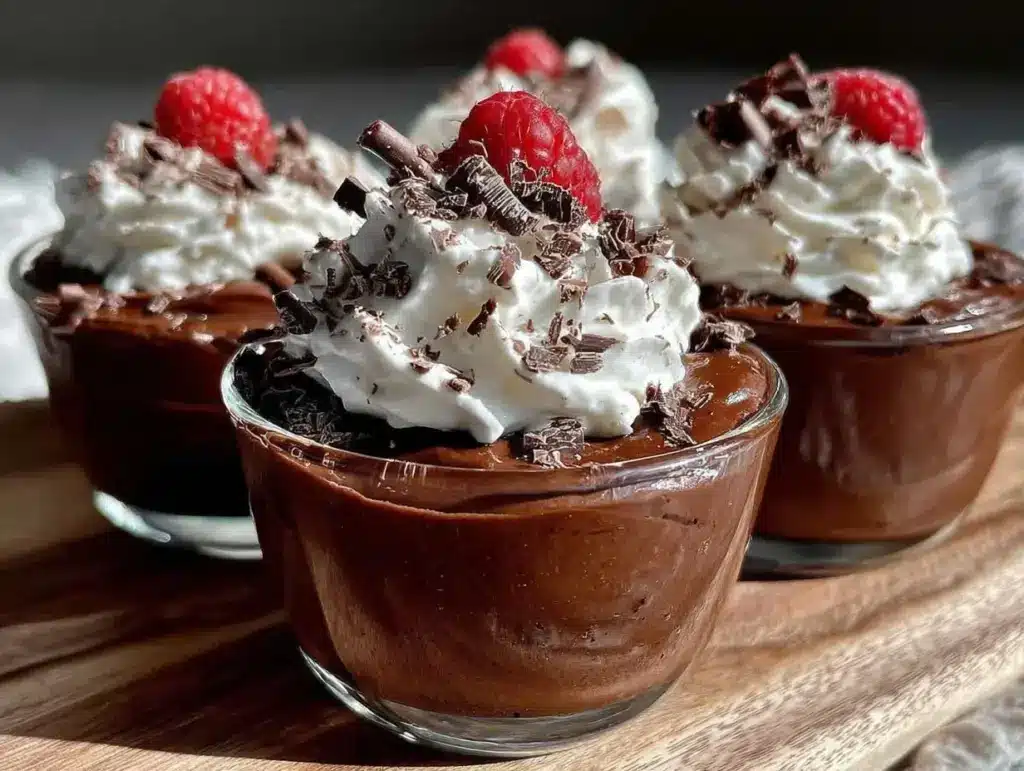
Let me tell you, the moment the rich scent of melting chocolate fills the kitchen, you’re already halfway to bliss. The first time I whipped up these silky chocolate mousse cups with whipped cream, I was instantly hooked—the kind of moment where you pause, take a deep breath, and just smile because you know you’re onto something truly special. Years ago, when I was knee-high to a grasshopper, my grandma used to make a simple chocolate dessert that felt like a warm hug on chilly evenings. This recipe is my spin on that nostalgic treat, perfected after countless rainy weekend experiments and bake sale trials.
Honestly, my family couldn’t stop sneaking those mousse cups off the cooling rack (and I can’t really blame them). You know what’s dangerous? How easy these are to make despite looking like you spent hours fussing over them. Perfect for potlucks, a sweet treat for kids, or just brightening up your Pinterest cookie board, these silky chocolate mousse cups with whipped cream have become a staple for family gatherings and gifting alike. I’ve tested this recipe more times than I can count—in the name of research, of course—and it never fails to impress.
Why You’ll Love This Silky Chocolate Mousse Cups Recipe
Having made this recipe dozens of times, I can confidently say it hits all the right notes. Here’s why you’re going to want to keep this recipe bookmarked:
- Quick & Easy: Comes together in about 20 minutes, perfect for busy weeknights or last-minute dessert cravings.
- Simple Ingredients: No fancy grocery trips needed; you probably have everything in your kitchen already.
- Perfect for Any Occasion: Great for dinner parties, date nights, or just treating yourself after a long day.
- Crowd-Pleaser: Kids and adults alike rave about the smooth texture and decadent chocolate flavor.
- Unbelievably Delicious: The blend of silky mousse and airy whipped cream is pure, nostalgic comfort.
This isn’t just another chocolate mousse recipe. What sets it apart is the technique I use to melt the chocolate gently and fold the whipped cream for that cloud-like texture. Plus, I always add a pinch of espresso powder—it’s the secret weapon that lifts the chocolate to the next level without tasting like coffee. This recipe isn’t just good—it’s the kind of dessert that makes you close your eyes after the first bite, savoring every silky spoonful. It’s comfort food, but fancy enough to impress guests without any stress.
What Ingredients You Will Need
This recipe uses simple, wholesome ingredients to deliver bold flavor and a satisfying, smooth texture without any fuss. Most of these are pantry staples, so no last-minute store runs needed!
- Dark chocolate (70% cocoa), finely chopped (I recommend Ghirardelli or Lindt for best melt and flavor)
- Heavy cream, cold (for both the mousse base and whipped topping)
- Granulated sugar, to taste (balances the richness)
- Large eggs, separated, room temperature (for lightness and silkiness)
- Vanilla extract, pure (adds depth and warmth to the mousse)
- Pinch of salt (enhances the chocolate flavor)
- Espresso powder, optional but recommended (boosts the chocolate without coffee taste)
Note: If you want to keep this dairy-free, swap heavy cream with coconut cream and use dairy-free dark chocolate. For a safer egg option, you can use pasteurized eggs or substitute with whipped aquafaba for a vegan twist.
Equipment Needed
- Medium-sized heatproof bowl (for melting chocolate)
- Small saucepan (for a gentle double boiler setup)
- Electric mixer or stand mixer (to whip cream and egg whites)
- Mixing bowls (at least two, one for yolks and one for whites)
- Spatula (for folding mousse)
- Measuring cups and spoons
- Serving cups or ramekins (clear glass works great for presentation)
If you don’t have an electric mixer handy, a good old-fashioned whisk and some elbow grease will do the trick—just expect a little arm workout! I’ve experimented with silicone spatulas and metal ones; the silicone gives a gentler fold that helps keep the mousse airy. For budget-friendly options, mixing bowls from any kitchen store work fine, but I prefer glass bowls because they don’t retain odors.
Preparation Method
- Melt the chocolate: Set up a double boiler by simmering water in a small saucepan. Place the chopped dark chocolate in a heatproof bowl over the pan, making sure the bowl doesn’t touch the water. Stir gently until melted and smooth, about 5-7 minutes. Remove from heat and let cool slightly.
- Whip the cream: In a chilled bowl, pour 1 cup (240 ml) of heavy cream and whip with an electric mixer until soft peaks form. Set aside in the fridge.
- Beat egg yolks and sugar: In another bowl, whisk 3 large egg yolks with 1/4 cup (50 g) granulated sugar until pale and creamy, about 3 minutes. Add 1 teaspoon vanilla extract and a pinch of salt.
- Combine chocolate and egg yolk mixture: Slowly pour the melted chocolate into the yolk mixture, whisking constantly to avoid scrambling. Add 1/2 teaspoon espresso powder if using. Set aside.
- Whip egg whites: In a clean bowl, beat 3 large egg whites until stiff peaks form. Make sure no yolk or grease gets in the bowl for best results.
- Fold egg whites: Gently fold the egg whites into the chocolate mixture in three additions, using a spatula and turning the bowl as you fold to keep the air in.
- Fold whipped cream: Next, fold the whipped cream into the chocolate mixture until no streaks remain. Don’t overmix—this is where the mousse gets its signature silky texture.
- Chill: Spoon the mousse into serving cups or ramekins. Cover and refrigerate for at least 2 hours, ideally 3-4 hours, until set and chilled.
- Top with whipped cream: Just before serving, whip the remaining 1/2 cup (120 ml) heavy cream with a teaspoon of sugar until soft peaks, then dollop or pipe on top of each mousse cup.
Note: If your chocolate seizes, don’t panic! A quick stir with a tiny splash of warm cream can bring it back to smooth. Also, keep the whipped cream cold for best volume, and always fold gently to keep the mousse airy.
Cooking Tips & Techniques
Making chocolate mousse can feel intimidating, but a few tricks will make the process a breeze:
- Use room temperature eggs: They whip better and blend smoother with melted chocolate.
- Be patient melting chocolate: Too hot and it’ll seize or burn. Keep water at a gentle simmer, not boiling.
- Whip egg whites properly: Underwhipping leads to dense mousse, overwhipping makes them dry and hard to fold in.
- Fold, don’t stir: Folding preserves air bubbles that give mousse its light texture. Use a gentle turning motion with a spatula.
- Chill long enough: Resist the urge to dig in early; chilling helps mousse set and flavors meld.
- Multitask: While chocolate cools, whip your cream and egg whites to save time.
One time, I rushed folding and ended up with a mousse that was more like thick pudding—lesson learned! Also, if your kitchen is too warm, chilling bowls and utensils before whipping helps keep cream stable. Honestly, this recipe is forgiving, but these tips make it foolproof every time.
Variations & Adaptations
Feel like putting your own spin on these silky chocolate mousse cups? Here are a few ideas:
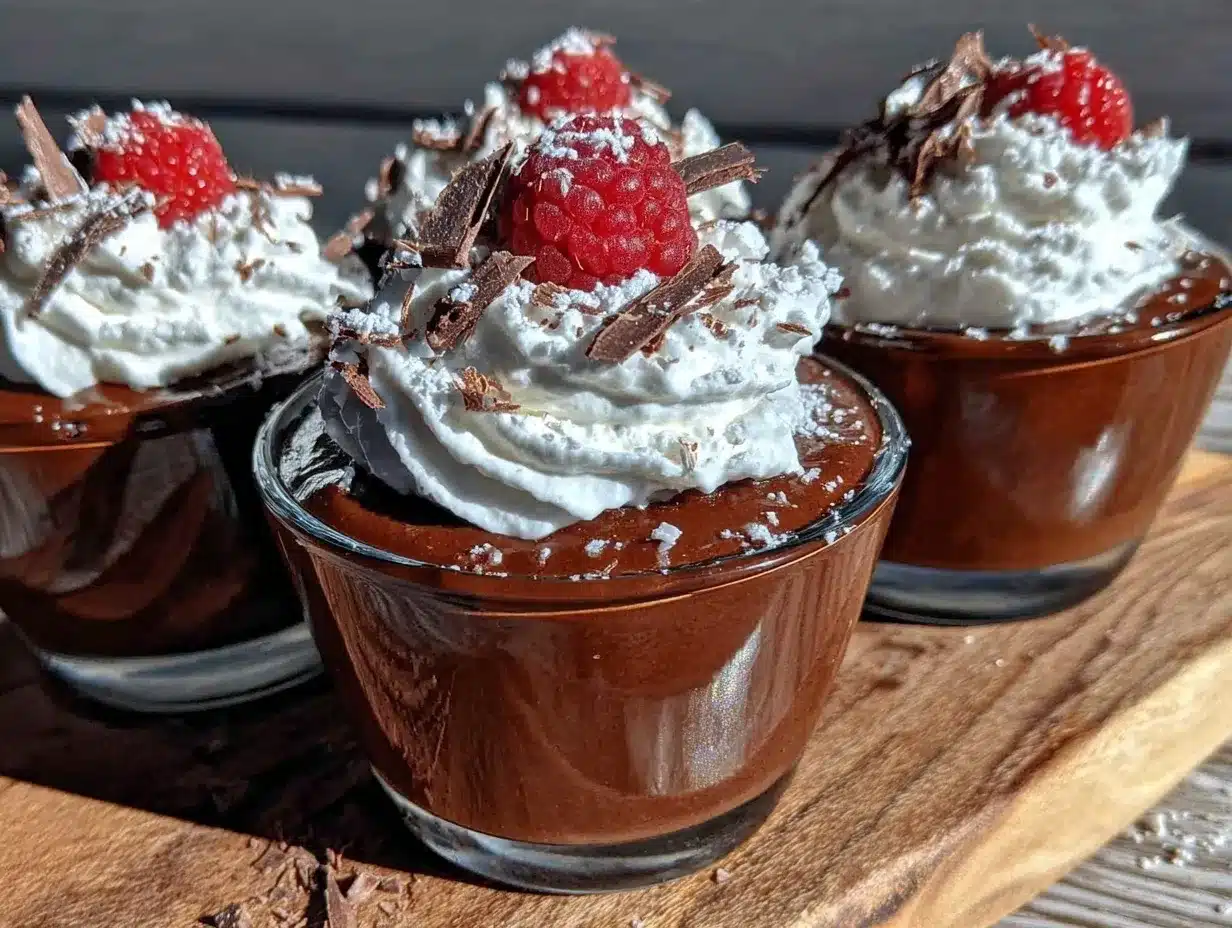
- Berry Bliss: Fold in fresh raspberries or swirl in berry puree for a fruity twist perfect in summer.
- Nutty Delight: Add 1/4 cup finely chopped toasted hazelnuts or almonds into the mousse before chilling for crunch.
- Vegan Version: Replace eggs with aquafaba (chickpea brine) whipped to stiff peaks and use coconut cream instead of dairy heavy cream.
- Spiced Chocolate: Add a pinch of cinnamon or cayenne pepper for a subtle warmth that surprises the palate.
- Mocha Magic: Increase espresso powder to 1 teaspoon and garnish with coffee beans for a coffee lover’s dream.
Personally, I love the berry version in spring—it brightens up the rich chocolate and feels so fresh. You can also serve mousse in hollowed-out oranges or chocolate shells for a festive touch. The recipe adapts beautifully to your mood and pantry.
Serving & Storage Suggestions
Serve these mousse cups chilled, straight from the fridge, topped with freshly whipped cream and a sprinkle of cocoa powder or shaved chocolate for a pretty presentation. They pair wonderfully with a cup of espresso or a glass of red wine, making them a perfect ending to any meal.
If you’re prepping ahead, mousse keeps well covered in the fridge for up to 3 days. For longer storage, freeze uncovered for 1 hour, then wrap tightly and freeze up to 1 month. Thaw in the fridge overnight before serving. Rewhip the topping if needed after thawing.
Flavors actually deepen with a few hours of chilling, so making mousse a day ahead is a smart move. Just don’t skip the fresh whipped cream topping—it’s what seals the deal.
Nutritional Information & Benefits
Each serving of these silky chocolate mousse cups (about 1/2 cup or 120 ml) contains approximately 300 calories, 22g fat, 18g carbohydrates, and 4g protein. While indulgent, dark chocolate is rich in antioxidants and may boost heart health when enjoyed in moderation. Using heavy cream adds richness and satisfaction but can be swapped with coconut cream for a dairy-free, slightly lighter option.
Eggs provide protein and essential nutrients like vitamin D, while the recipe remains gluten-free, making it accessible for those with gluten sensitivities. If you’re mindful of sugar, reducing it slightly or choosing sugar substitutes can tailor the dessert to your dietary needs without sacrificing much flavor.
Conclusion
Silky chocolate mousse cups with whipped cream are more than just a dessert—they’re a little luxury you can make anytime with simple ingredients and minimal fuss. Whether you’re treating yourself after a long day or impressing friends at your next dinner party, this recipe brings that perfect balance of creamy texture and rich chocolate flavor.
Feel free to tweak it to your liking—add your favorite mix-ins, swap ingredients, or garnish creatively. I love this recipe because it reminds me of cozy family moments and the joy of sharing something homemade. Give it a try, and let me know how you make it your own!
If you enjoyed this recipe, don’t be shy—drop a comment, share your photos, or tell me your favorite variations. I’d love to hear from you!
FAQs About Silky Chocolate Mousse Cups
Can I make this mousse ahead of time?
Absolutely! In fact, chilling the mousse for several hours or overnight helps the flavors develop and texture set perfectly.
Is it safe to use raw eggs in this recipe?
Since this recipe uses raw eggs, opt for pasteurized eggs if you’re concerned about safety, especially for kids, pregnant women, or immune-compromised individuals.
How can I make this dessert vegan?
Substitute heavy cream with coconut cream and replace eggs with whipped aquafaba (chickpea water) to create a delicious vegan mousse.
What if my chocolate seizes during melting?
Don’t panic! Stir in a small splash of warm cream slowly to smooth it out. Avoid overheating and stirring constantly while melting to prevent seizing.
Can I freeze the mousse cups?
Yes, you can freeze them. Freeze uncovered for about an hour, then cover and store up to a month. Thaw in the fridge overnight before serving.
Pin This Recipe!
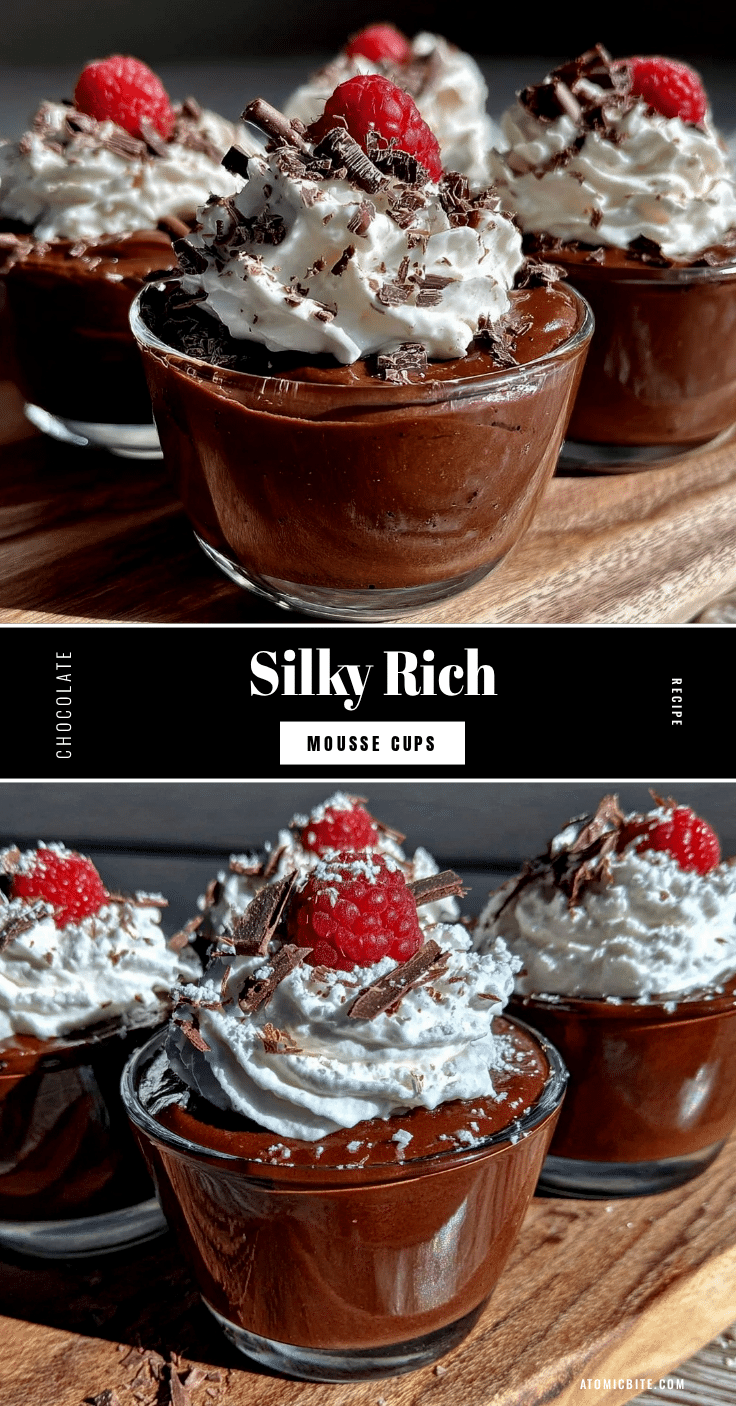
Silky Chocolate Mousse Cups Recipe Easy Homemade Dessert with Whipped Cream

A rich and silky chocolate mousse dessert topped with whipped cream, perfect for any occasion and easy to make with simple ingredients.
- Prep Time: 15 minutes
- Cook Time: 7 minutes
- Total Time: 2 hours 22 minutes
- Yield: 6 servings 1x
- Category: Dessert
- Cuisine: French
Ingredients
- 6 oz dark chocolate (70% cocoa), finely chopped
- 1 1/2 cups heavy cream, cold (divided)
- 1/4 cup granulated sugar (plus 1 teaspoon for topping)
- 3 large eggs, separated, room temperature
- 1 teaspoon vanilla extract
- Pinch of salt
- 1/2 teaspoon espresso powder (optional)
Instructions
- Set up a double boiler by simmering water in a small saucepan. Place the chopped dark chocolate in a heatproof bowl over the pan, making sure the bowl doesn’t touch the water. Stir gently until melted and smooth, about 5-7 minutes. Remove from heat and let cool slightly.
- In a chilled bowl, pour 1 cup (240 ml) of heavy cream and whip with an electric mixer until soft peaks form. Set aside in the fridge.
- In another bowl, whisk 3 large egg yolks with 1/4 cup (50 g) granulated sugar until pale and creamy, about 3 minutes. Add 1 teaspoon vanilla extract and a pinch of salt.
- Slowly pour the melted chocolate into the yolk mixture, whisking constantly to avoid scrambling. Add 1/2 teaspoon espresso powder if using. Set aside.
- In a clean bowl, beat 3 large egg whites until stiff peaks form.
- Gently fold the egg whites into the chocolate mixture in three additions, using a spatula and turning the bowl as you fold to keep the air in.
- Fold the whipped cream into the chocolate mixture until no streaks remain. Don’t overmix.
- Spoon the mousse into serving cups or ramekins. Cover and refrigerate for at least 2 hours, ideally 3-4 hours, until set and chilled.
- Just before serving, whip the remaining 1/2 cup (120 ml) heavy cream with a teaspoon of sugar until soft peaks, then dollop or pipe on top of each mousse cup.
Notes
Use room temperature eggs for better whipping. Melt chocolate gently over simmering water to avoid seizing. Fold ingredients gently to keep mousse airy. Chill mousse for at least 2 hours for best texture. If chocolate seizes, stir in a small splash of warm cream to smooth it out. Keep whipped cream cold for best volume.
Nutrition
- Serving Size: About 1/2 cup (120 m
- Calories: 300
- Sugar: 14
- Sodium: 50
- Fat: 22
- Saturated Fat: 14
- Carbohydrates: 18
- Fiber: 3
- Protein: 4
Keywords: chocolate mousse, dessert, easy chocolate dessert, whipped cream, homemade mousse, silky mousse, chocolate dessert cups


