Let me just say—when you walk into the kitchen and the sweet, buttery aroma of Thanksgiving cake pops fills the air, it’s like stepping straight into a cozy memory. The first time I made these, I was knee-high to a grasshopper, helping my mom transform leftover cake into something magical for our holiday dessert table. We’d shape little balls, dip them in glossy chocolate, and decorate them with festive sprinkles until our fingers were sticky and our hearts full. It’s the kind of moment where you pause, take a deep breath, and just smile because you know you’re onto something truly special.
Honestly, these Thanksgiving cake pops are dangerously easy to make. There’s something about their poppable size and playful decorations that makes people grin—especially the kids (my nieces can’t keep their hands off them, and I can’t really blame them). The best part? They’re perfect for when you want to add a splash of fun to your holiday spread without spending all day in the kitchen. Whether you’re hosting a big family gathering or just want a sweet treat for your kids to bring to school, these cake pops are pure, nostalgic comfort that everyone loves.
I stumbled upon the idea years ago when I was trying to recreate a bakery treat I’d seen on Pinterest—after a few rounds of testing (in the name of research, of course), I found the perfect balance of rich cake, creamy frosting, and snappy chocolate coating. Now, this recipe is a staple for family gatherings and gifting. It feels like a warm hug with every bite. If you’re looking for an easy, crowd-pleasing dessert that brightens up your Thanksgiving table (and your Pinterest board!), you’re going to want to bookmark this one.
Why You’ll Love This Recipe
Let’s face it, not every holiday dessert is a hit with all ages, but these Thanksgiving cake pops never disappoint. Over the years, I’ve made them for bake sales, potlucks, and even as little edible gifts. Here’s why you’ll probably find yourself making them again and again:
- Quick & Easy: Comes together in about 60 minutes, so it’s perfect for busy holiday schedules or last-minute party prep.
- Simple Ingredients: No fancy grocery trips required—you likely have most of these in your kitchen already.
- Perfect for Holiday Tables: Their festive decorations make them stand out at Thanksgiving gatherings, Friendsgiving parties, and school events.
- Crowd-Pleaser: Kids love the bite-sized treats, and adults appreciate the nostalgic flavors. You know what? They disappear fast!
- Unbelievably Delicious: The moist cake, creamy frosting, and crisp chocolate shell combine for a texture and flavor combo that feels like pure celebration.
What sets my Thanksgiving cake pops recipe apart (and believe me, I’ve tested a lot of versions) is the careful balance of cake and frosting—never too mushy, never too dry. The key is in the mixing technique and just the right amount of frosting (not drowning the cake crumbs, but binding them together perfectly). Plus, I use a special blend of autumnal spices that infuses every bite with the cozy warmth you expect from a Thanksgiving treat.
If you’re looking for comfort food that’s festive, fun, and easy enough for anyone to master, this recipe is your ticket. It’s not just good—it’s the kind that makes you close your eyes after the first bite and smile. Whether you’re impressing guests or just making something memorable for your family, these Thanksgiving cake pops are the sweet spot between tradition and whimsy. Trust me, you’ll want this recipe in your holiday rotation.
What Ingredients You Will Need
This recipe uses simple, wholesome ingredients to deliver bold flavor and satisfying texture without any fuss. Most of these are pantry staples, and you can easily swap items to suit your needs or what you’ve got handy.
- For the Cake:
- 2 cups (260g) vanilla or spice cake, baked and cooled (homemade or store-bought works—use leftovers if you have ‘em!)
- 1/2 teaspoon ground cinnamon (adds warmth)
- 1/4 teaspoon ground nutmeg (for that autumnal aroma)
- For the Frosting:
- 1/3 cup (80g) cream cheese frosting (store-bought or homemade)
- 1 tablespoon unsalted butter, softened (optional, for added richness)
- For the Coating:
- 12 ounces (340g) white chocolate or candy melts (Wilton or Ghirardelli are reliable brands)
- 1 tablespoon coconut oil (helps thin the chocolate for smooth dipping)
- For Decorating:
- Festive sprinkles (gold, orange, brown, leaf-shaped—anything Thanksgiving-themed works!)
- Mini chocolate chips or edible eyes (if you want to make turkey shapes)
- Pretzel sticks or candy corn (optional, for creative turkey tails)
- Other Essentials:
- 20-24 cake pop sticks (lollipop sticks—wood or paper)
Ingredient Tips: If you’re short on time, boxed cake mix works great—just add a pinch more cinnamon and nutmeg for that homemade taste. For gluten-free cake pops, swap in your favorite GF cake mix and certified GF candy melts. If you want a dairy-free option, use vegan frosting and dairy-free chocolate chips (Enjoy Life is a good option for allergy-friendly baking). In summer, you can swap out the spices for a light lemon zest to make these more seasonally versatile.
I always use firm, cooled cake for best texture—it makes the crumbs easy to shape. For the coating, a higher quality chocolate really does make a difference in smoothness and flavor. Trust me, I’ve tried them all!
Equipment Needed
You don’t need a ton of fancy gear for this Thanksgiving cake pops recipe, and that’s part of the fun. Here’s what you’ll want to have on hand:
- Mixing Bowl: Any large bowl works (I’ve used plastic, glass, and even a giant salad bowl in a pinch).
- Fork or Pastry Blender: For crumbling the cake—if you don’t have one, just use your clean hands.
- Spatula: For mixing in the frosting and scraping the bowl.
- Baking Sheet: To chill and set the cake pops; line with parchment for easy cleanup.
- Microwave-Safe Bowl: For melting chocolate or candy melts.
- Styrofoam Block or Cake Pop Stand: To hold cake pops upright while the coating sets (if you’re in a pinch, poke holes in an upside-down egg carton).
- Lollipop Sticks: Available at craft stores or online, but you can use sturdy wooden skewers if needed.
Maintenance Tips: If you use a stand, wipe it clean after each use to avoid sticky build-up. For melting chocolate, microwave in short bursts to avoid scorching (I’ve learned the hard way). Budget-friendly tip: Dollar stores often carry cake pop sticks and parchment paper, so check there first!
Preparation Method
- Crumble the Cake:
- Take 2 cups (260g) of cooled cake and break it into fine crumbs using a fork or your hands. The cake should feel dry but not stale—freshly baked is best, but day-old works too.
- Sensory cue: The crumbs should be soft and uniform, without large chunks. If you see big pieces, crumble a bit more.
Time estimate: 5 minutes
- Add Spices:
- Sprinkle in 1/2 teaspoon cinnamon and 1/4 teaspoon nutmeg. Mix well to distribute the spices evenly for that signature autumnal flavor.
- Note: Over-mixing can turn the crumbs gummy, so stir gently.
Time estimate: 2 minutes
- Mix in Frosting:
- Add 1/3 cup (80g) cream cheese frosting and 1 tablespoon softened butter (if using).
- Use a spatula or your hands to combine until the mixture holds together but isn’t overly sticky. If it’s too dry, add a teaspoon more frosting. If it’s too wet, add a few more cake crumbs.
- Sensory cue: The mixture should hold its shape when pressed but not stick to your hands like glue.
Time estimate: 5 minutes
- Shape Cake Balls:
- Roll the mixture into 1-inch (2.5cm) balls—about the size of a walnut. Place on a parchment-lined baking sheet.
- Tip: Use a small cookie scoop for even sizing.
Time estimate: 10 minutes
- Chill:
- Freeze cake balls for 15-20 minutes or refrigerate for 30 minutes. This helps them hold together when dipped.
- Warning: Don’t skip chilling or your cake pops might fall apart in the chocolate.
Time estimate: 20 minutes
- Prepare Chocolate Coating:
- Melt 12 ounces (340g) white chocolate or candy melts with 1 tablespoon coconut oil in a microwave-safe bowl. Heat in 20-second intervals, stirring between each, until smooth.
- Sensory cue: The chocolate should be silky and pourable, but not too runny.
Time estimate: 5 minutes
- Insert Sticks:
- Dip the tip of each lollipop stick into the melted chocolate, then insert halfway into a chilled cake ball. This “glues” the stick in place.
- Tip: If the stick won’t stay, chill a bit longer.
Time estimate: 5 minutes
- Dip Cake Pops:
- Hold the stick and dip the cake ball into melted chocolate, turning to coat completely.
- Let excess drip off, then stand upright in a styrofoam block or cake pop stand.
- Troubleshooting: If the coating cracks, your cake balls may be too cold—let them sit for a minute before dipping.
Time estimate: 10 minutes
- Decorate:
- Quickly add sprinkles, mini chips, or candy decorations before the coating sets. Get creative—add pretzel “turkey tails” or candy corn “feathers” if you’re feeling festive!
- Tip: Work in batches so the coating doesn’t harden before you decorate.
Time estimate: 10 minutes
- Set:
- Let cake pops set at room temperature for 30 minutes or refrigerate for 15 minutes until the coating is firm.
- Sensory cue: The chocolate should be crisp, not tacky to the touch.
Time estimate: 15-30 minutes
Personal tip: I always make extra—these go fast! If you run into trouble with chocolate seizing, add a little more coconut oil and stir gently. And don’t worry if they’re not perfectly round; the homemade look is part of the charm.
Cooking Tips & Techniques
After years of making Thanksgiving cake pops, I’ve learned a few tricks you’ll want to know. First off, don’t rush the mixing step—getting the cake and frosting ratio just right is everything. Too much frosting and you’ll end up with sticky, heavy pops; too little, and they’ll crumble apart.
Always chill your cake balls before dipping. I forgot once (was distracted by a football game, oops), and they fell right off the sticks into my chocolate bath. If you’re multitasking, shape all your cake balls first, then move on to melting chocolate while they chill—it makes the process way smoother.
Avoid overheating your chocolate; short bursts in the microwave with lots of stirring keep things silky. If the chocolate thickens as you work, microwave again for a few seconds and add a touch more coconut oil. I learned this the hard way when my coating turned grainy halfway through—patience pays off.
Consistency tip: Use a cookie scoop for even cake ball sizes. If you want perfectly round pops, roll them between your palms for a few extra seconds. And if you’re decorating with sprinkles, do it immediately after dipping—waiting even 30 seconds can mean the toppings slide right off.
Finally, don’t stress about imperfections. The best cake pops are made with a little love and a dash of personality (mine are rarely magazine-perfect, but they always taste amazing!).
Variations & Adaptations
Thanksgiving cake pops are built for customization, so don’t be afraid to switch things up. Here are a few of my favorite variations:
- Gluten-Free: Use your favorite gluten-free cake mix and certified GF candy melts. The texture is just as moist—no one will notice the difference.
- Vegan: Swap in dairy-free cake, vegan frosting (like Earth Balance or Simple Mills), and dairy-free chocolate. Works great for plant-based guests!
- Flavor Twist: Try pumpkin cake instead of vanilla for a true autumn vibe. Or use chocolate cake with orange sprinkles for a dramatic holiday look.
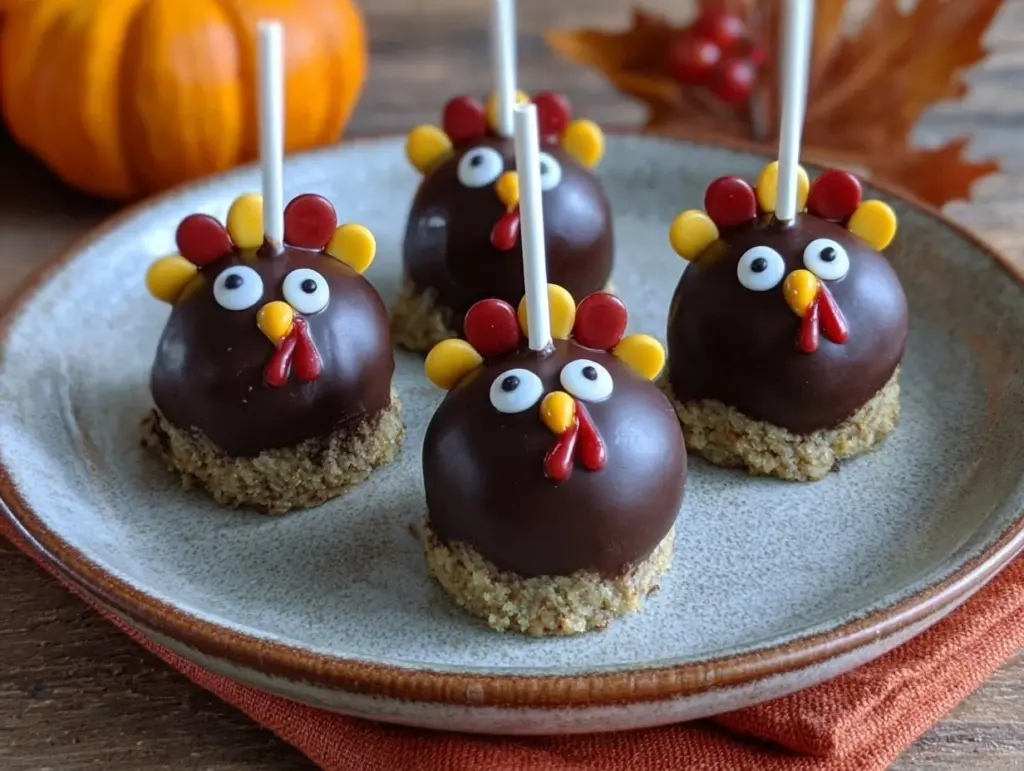
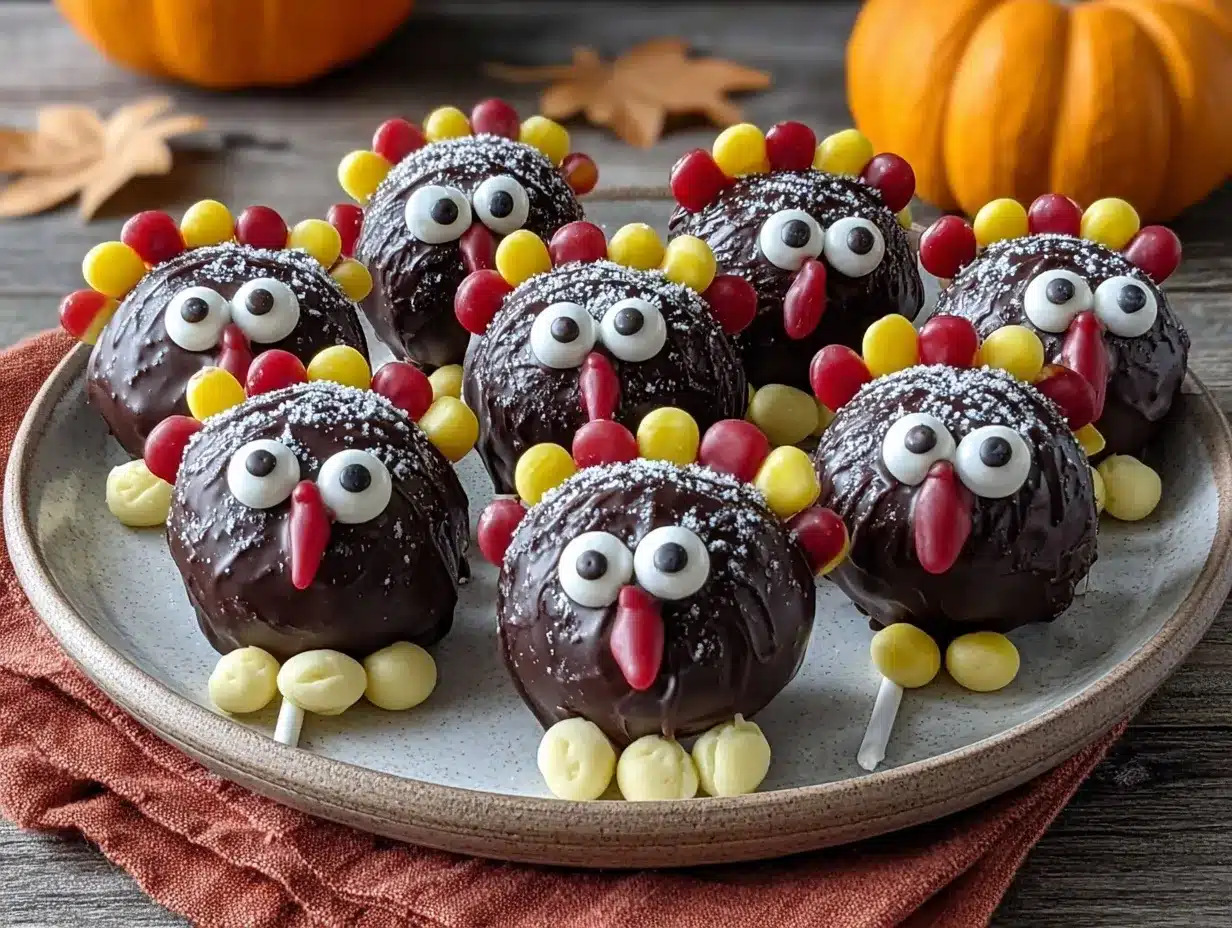
- Turkey Cake Pops: Use mini pretzel sticks for tails and a dab of red icing for a “wattle.” Kids love helping decorate these.
- Nut-Free: Avoid nuts in cake and decorations to make these safe for allergy-friendly tables. Use sunflower seed butter frosting for extra richness.
If you’re working with limited tools, you can skip the sticks and serve “cake truffles” in mini cupcake liners. I once made a batch with lemon zest and white chocolate for a summer party—turned out surprisingly bright and fresh. Honestly, the possibilities are endless, and every family seems to have their own twist.
Serving & Storage Suggestions
Thanksgiving cake pops are best served at room temperature, arranged upright in a decorative stand or nestled into a festive plate. If you want Pinterest-worthy presentation, tie ribbons around the sticks or use leaf-shaped confetti on the platter.
Pair these with a mug of chai, pumpkin spice latte, or even apple cider for a cozy autumn treat. They’re a hit at potlucks, holiday buffets, and kids’ parties—my family likes to sneak them as midnight snacks, too.
For storage, keep cake pops in an airtight container at cool room temperature for up to 3 days. You can refrigerate them for up to 1 week, but let them sit out for 15 minutes before serving so the chocolate softens slightly. If you want to freeze them, wrap individually in plastic wrap and place in a zip-top bag—thaw in the fridge overnight, then bring to room temp before serving.
Note: The flavors actually deepen after a day or two, so they’re great for make-ahead baking. The coating keeps them moist and fresh, so don’t worry about them drying out.
Nutritional Information & Benefits
Each Thanksgiving cake pop averages about 120 calories, with 6g fat, 16g carbs, and 2g protein per pop. They’re naturally portion-controlled, which is nice for holiday indulgence. Using cream cheese adds a little calcium, and the spices (cinnamon, nutmeg) offer antioxidants and digestive benefits.
Dietary Considerations: These can be made gluten-free and dairy-free with simple swaps. The main allergens are wheat, dairy, and eggs (in the cake and frosting), so check labels if you’re serving to guests with sensitivities.
From my own wellness perspective, I love that these cake pops are easy to portion and customize. They’re a fun way to enjoy dessert without feeling weighed down—especially when you’ve already had a big Thanksgiving meal!
Conclusion
To sum up—these Thanksgiving cake pops are worth every minute spent in the kitchen. They’re festive, fun, and seriously delicious, with just enough nostalgia to make you feel right at home. Whether you stick with the classic recipe or try a personal twist, you’ll find they’re easy to adapt and always a crowd favorite.
I love making these because they bring people together—everyone wants to help decorate, and there’s always laughter when someone gets a little too enthusiastic with the sprinkles. If you’re looking for a simple way to add joy to your holiday table, give these a try! Bookmark the recipe, share your own variations in the comments, or tag me if you post your creations online.
Wishing you a sweet, memorable Thanksgiving filled with cake pops, warm hugs, and plenty of happy moments. You’ve got this!
Frequently Asked Questions
Can I use boxed cake mix for Thanksgiving cake pops?
Absolutely! Boxed cake mix works perfectly. Just bake according to package instructions, cool completely, and follow the recipe. Add a little extra cinnamon and nutmeg for homemade flavor.
How do I keep cake pops from falling off the sticks?
Chill the shaped cake balls before inserting the sticks, and dip each stick in melted chocolate before pushing it into the ball. This helps “glue” everything together.
Can I make Thanksgiving cake pops ahead of time?
Yes, you can! Prepare them up to 3 days in advance and store in an airtight container. They also freeze well for up to a month—just thaw in the fridge overnight before serving.
What’s the best way to decorate cake pops for Thanksgiving?
Use autumn-colored sprinkles, edible leaf shapes, or get creative with mini pretzel sticks and candy corn for turkey-themed pops. Kids love helping with this step!
Do I need a special cake pop stand?
Nope! You can use a styrofoam block, an upside-down egg carton, or even a colander for holding pops upright while they set. Anything that keeps them steady works in a pinch.
Pin This Recipe!
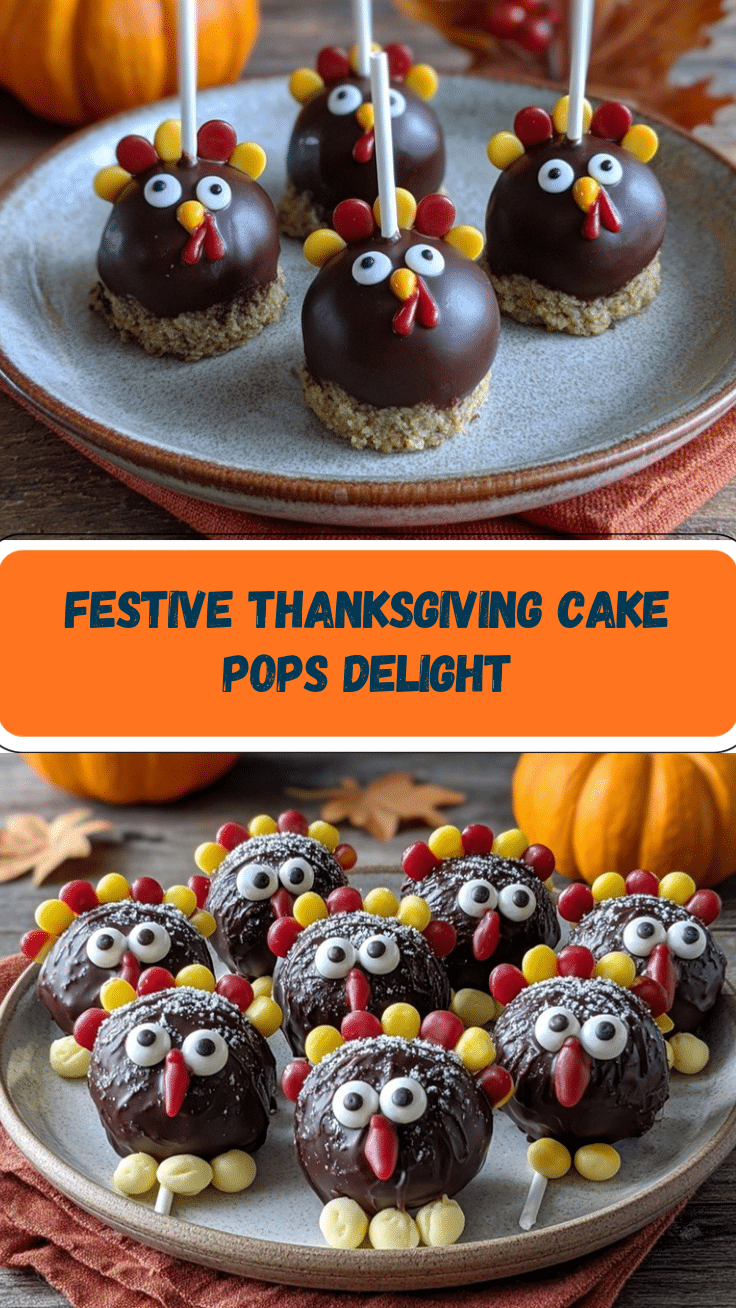
Thanksgiving Cake Pops

These festive Thanksgiving cake pops are easy to make, combining moist cake, creamy frosting, and a crisp chocolate shell. Perfect for holiday tables, potlucks, or edible gifts, they’re a crowd-pleasing treat that’s fun for all ages.
- Prep Time: 25 minutes
- Cook Time: 5 minutes
- Total Time: 60 minutes
- Yield: 20-24 cake pops 1x
- Category: Dessert
- Cuisine: American
Ingredients
- 2 cups (260g) vanilla or spice cake, baked and cooled
- 1/2 teaspoon ground cinnamon
- 1/4 teaspoon ground nutmeg
- 1/3 cup (80g) cream cheese frosting
- 1 tablespoon unsalted butter, softened (optional)
- 12 ounces (340g) white chocolate or candy melts
- 1 tablespoon coconut oil
- Festive sprinkles (gold, orange, brown, leaf-shaped, etc.)
- Mini chocolate chips or edible eyes (optional, for turkey shapes)
- Pretzel sticks or candy corn (optional, for decoration)
- 20–24 cake pop sticks (lollipop sticks—wood or paper)
Instructions
- Crumble the cooled cake into fine crumbs using a fork or your hands.
- Sprinkle in cinnamon and nutmeg, mixing gently to distribute evenly.
- Add cream cheese frosting and softened butter (if using). Mix until the mixture holds together but isn’t overly sticky.
- Roll the mixture into 1-inch balls and place on a parchment-lined baking sheet.
- Freeze cake balls for 15-20 minutes or refrigerate for 30 minutes to firm up.
- Melt white chocolate or candy melts with coconut oil in a microwave-safe bowl, heating in 20-second intervals and stirring until smooth.
- Dip the tip of each cake pop stick into melted chocolate, then insert halfway into each chilled cake ball.
- Hold the stick and dip the cake ball into melted chocolate, turning to coat completely. Let excess drip off and stand upright in a styrofoam block or cake pop stand.
- Quickly decorate with sprinkles, mini chips, or candy decorations before the coating sets.
- Let cake pops set at room temperature for 30 minutes or refrigerate for 15 minutes until the coating is firm.
Notes
Chill cake balls before dipping to prevent them from falling off the sticks. Use a cookie scoop for even sizing. Decorate immediately after dipping for best results. For gluten-free or vegan options, substitute cake and frosting as needed. Cake pops can be made ahead and stored in an airtight container for up to 3 days, or frozen for up to a month.
Nutrition
- Serving Size: 1 cake pop
- Calories: 120
- Sugar: 12
- Sodium: 65
- Fat: 6
- Saturated Fat: 4
- Carbohydrates: 16
- Protein: 2
Keywords: Thanksgiving, cake pops, holiday dessert, festive treats, easy baking, kid-friendly, party food, edible gifts


