Introduction
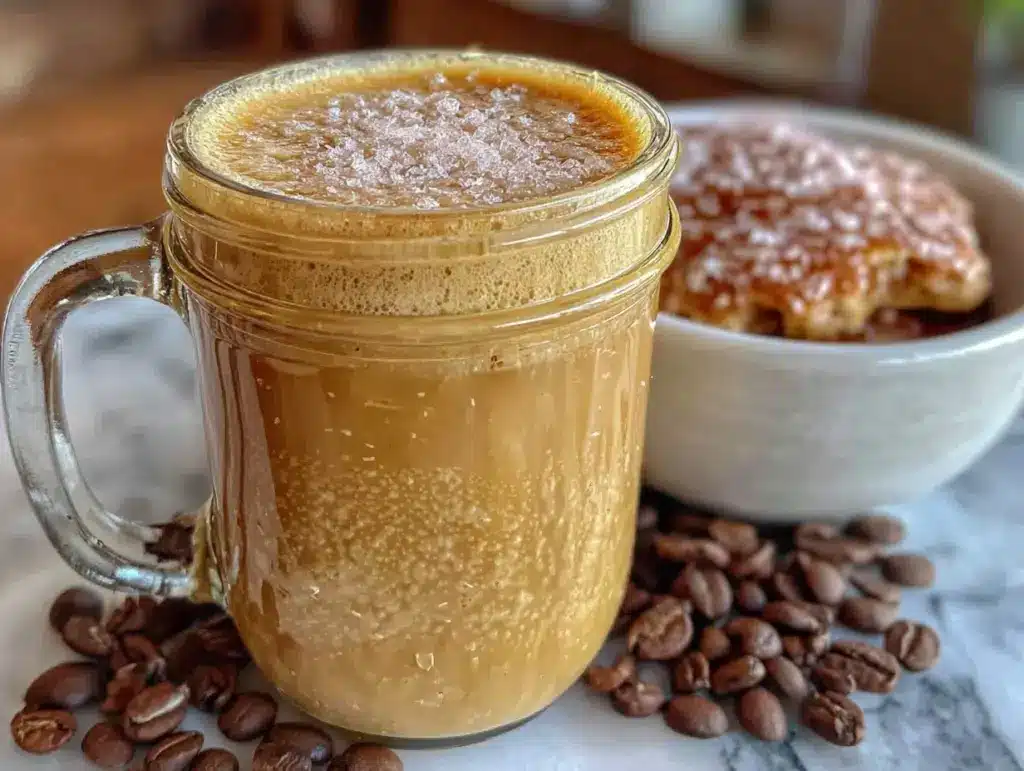
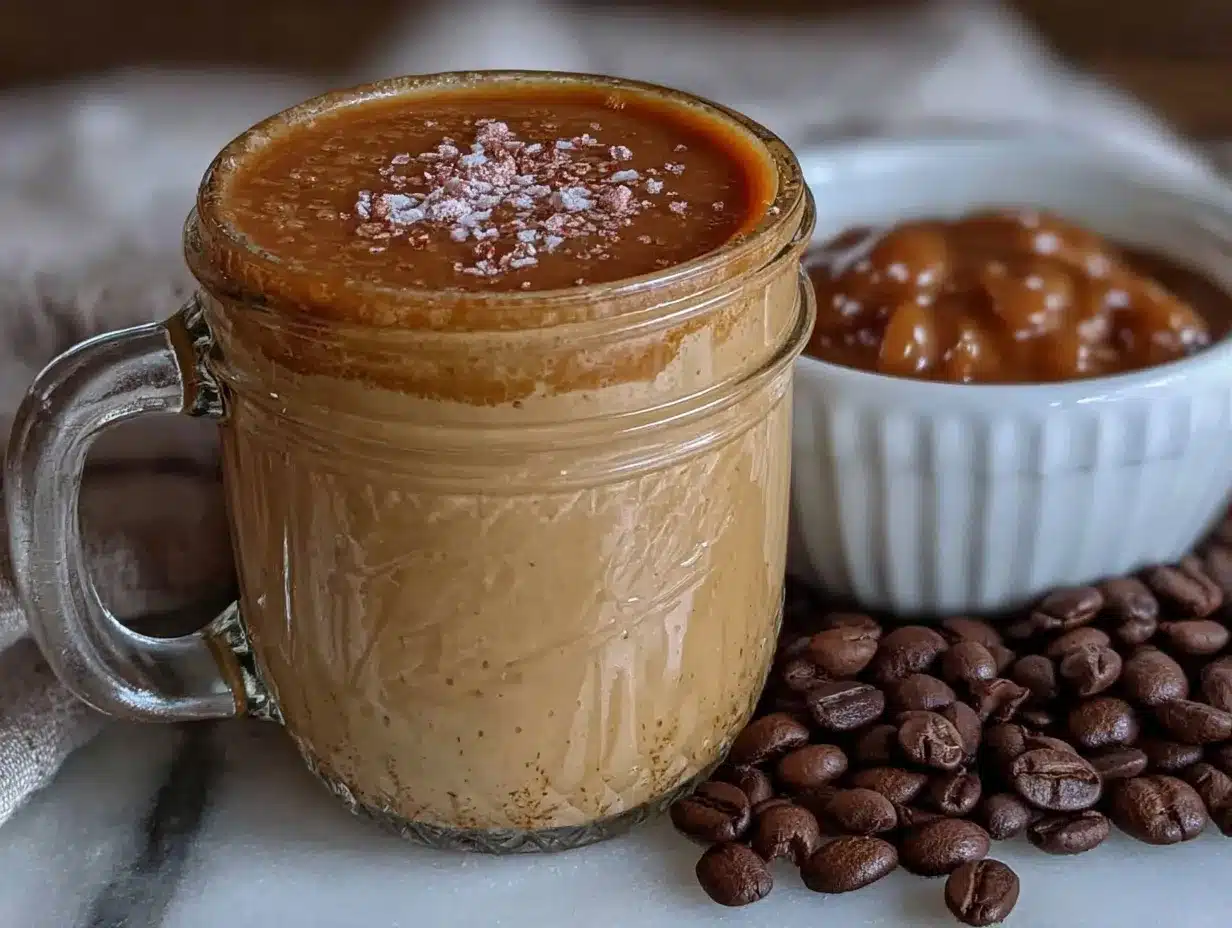
Picture this: your favorite mug filled to the brim with freshly brewed coffee, and as you pour in a splash of luscious, homemade butterscotch coffee creamer, the warm caramel notes swirl together in a mesmerizing dance. The aroma is heavenly, the taste is indulgent, and the moment feels like pure comfort. Honestly, that’s exactly what this creamy butterscotch coffee creamer recipe delivers—homemade bliss in every sip!
The first time I made this creamer was during a chilly winter morning when I was craving something sweet but still cozy. I wanted to recreate that café-worthy experience at home without spending a fortune on fancy syrups or store-bought creamers. After a few tweaks and “taste tests” (purely for research purposes!), I landed on this recipe. Let me tell you, this dreamy concoction has become a staple in my fridge. My family now insists on having it ready for weekend brunches, and even my friends sneak an extra splash when they visit.
What makes this recipe special is its simplicity and the way it transforms ordinary coffee into something magical. Whether you’re sipping your morning brew or treating yourself to a decadent afternoon pick-me-up, this butterscotch coffee creamer is perfect for adding a little extra joy to your day. Trust me—once you’ve tried it, you’ll never look at store-bought creamers the same way again.
Why You’ll Love This Recipe
This creamy butterscotch coffee creamer recipe is a game-changer for coffee lovers everywhere. Here’s why it’s bound to become your new favorite:
- Quick & Easy: Ready in under 15 minutes, so you can whip it up on a whim.
- Simple Ingredients: No obscure items here—you likely already have everything in your kitchen!
- A Homemade Treat: Skip the preservatives and artificial flavors in store-bought creamers.
- Versatile: Perfect for hot coffee, iced coffee, or even as a drizzle over desserts.
- Rich and Creamy: The combination of butterscotch flavor and smooth texture feels luxurious.
Unlike other creamers, this recipe combines the nostalgic sweetness of butterscotch with a balanced creaminess that won’t overpower your coffee. It’s also customizable—perfect for tweaking to suit your taste preferences or dietary needs. Plus, there’s something so satisfying about knowing you made it yourself!
What Ingredients You Will Need
This butterscotch coffee creamer recipe uses simple, wholesome ingredients to create a rich and indulgent flavor. Here’s what you’ll need:
- Heavy Cream: Provides that luxurious creaminess.
- Whole Milk: Balances out the richness of the heavy cream.
- Brown Sugar: Gives the creamer its signature caramel-like sweetness.
- Unsalted Butter: Adds richness and helps create the butterscotch flavor.
- Vanilla Extract: Enhances the overall flavor profile.
- Pinch of Salt: Just a touch to balance the sweetness.
If you prefer a dairy-free option, you can substitute the heavy cream and milk with your favorite plant-based alternatives like almond milk or oat milk. For an extra decadent twist, try using sweetened condensed milk instead of brown sugar!
Equipment Needed
Here’s what you’ll need to make your creamy butterscotch coffee creamer:
- Small Saucepan: For cooking the butterscotch mixture.
- Whisk: To ensure a smooth and lump-free texture.
- Measuring Cups and Spoons: Precision matters for flavor balance!
- Heatproof Jar or Bottle: For storing your finished creamer.
If you don’t have a whisk, a wooden spoon will work just fine. For storage, I recommend repurposing an old glass bottle or mason jar—it’s eco-friendly and looks cute in the fridge!
Preparation Method
- In a small saucepan, combine brown sugar, unsalted butter, and heavy cream.
- Heat over medium heat, whisking constantly, until the butter is melted and the sugar is fully dissolved. This should take about 3-5 minutes.
- Lower the heat to medium-low and allow the mixture to simmer gently for another 2-3 minutes, stirring occasionally. You’ll notice it thickening slightly and developing a rich butterscotch aroma.
- Remove the saucepan from the heat and stir in the whole milk, vanilla extract, and a pinch of salt. Whisk until everything is well combined.
- Let the creamer cool to room temperature, then transfer it to a heatproof jar or bottle for storage.
- Refrigerate for at least 1 hour before using—it’ll thicken slightly as it chills. Shake well before each use.
Tip: If your mixture starts to separate during cooking, don’t panic! Just take it off the heat and whisk vigorously until it comes back together.
Cooking Tips & Techniques
- Don’t Rush: Let the sugar and butter cook slowly to develop the deep butterscotch flavor.
- Whisk Constantly: This prevents clumps and ensures a smooth, creamy texture.
- Taste as You Go: Adjust sweetness or salt to match your preferences.
- Storage Tip: Use a glass container with a tight-fitting lid to keep the creamer fresh in the fridge.
- Reheat Gently: If using the creamer for hot coffee, warm it slightly for easier mixing.
One mistake I made early on was overheating the butterscotch mixture—it turned grainy instead of smooth. So remember, low and slow is the way to go!
Variations & Adaptations
- Dairy-Free Version: Substitute heavy cream and milk with almond milk or coconut milk for a plant-based alternative.
- Salted Butterscotch: Double the salt and add a pinch of flaky sea salt when serving for a salted caramel vibe.
- Spiced Butterscotch: Stir in a dash of cinnamon or nutmeg for a warm, cozy twist.
One time, I added a splash of bourbon to the creamer for a grown-up version—it was a hit during holiday parties! Feel free to experiment and make it your own.
Serving & Storage Suggestions
Serve this butterscotch coffee creamer chilled or slightly warmed. It pairs beautifully with hot or iced coffee, and you can even drizzle it over desserts like brownies or ice cream!
Store the creamer in a glass jar or bottle in the refrigerator for up to one week. If it thickens too much, simply warm it gently and give it a good shake before using. It’s also freezer-friendly—pour into ice cube trays and freeze, then pop a cube into your coffee for a creamy treat!
Nutritional Information & Benefits
While this butterscotch coffee creamer is indulgent, it’s made with real ingredients that you can feel good about. Here’s a quick snapshot:
- Calories: Approximately 60 per tablespoon.
- Key Benefits: Provides a rich source of calcium and healthy fats.
- Dietary Notes: Can be adapted for lactose-free or vegan diets.
As with any treat, moderation is key. But let’s be honest—sometimes a little sweetness is just what the day calls for!
Conclusion
If you’re looking for a simple yet indulgent way to elevate your coffee, this creamy butterscotch coffee creamer recipe is it. It’s rich, flavorful, and endlessly customizable to suit your preferences. Making your own creamer feels like a small but rewarding luxury, and it’s sure to impress family and friends.
I hope you give this recipe a try—don’t forget to share your variations or feedback in the comments below. Bookmark this one for those moments when your coffee needs a little extra magic. Happy brewing!
FAQs
Can I make this creamer ahead of time?
Absolutely! It stores well in the fridge for up to one week.
Can I use low-fat milk instead of whole milk?
Yes, but the creamer may be less rich and creamy.
How do I make it vegan?
Use almond milk or coconut milk, and replace butter with a plant-based alternative.
Can I freeze the creamer?
Yes, pour it into ice cube trays and freeze for up to three months.
What’s the best way to reheat the creamer?
Warm it gently on the stovetop or microwave in short intervals, stirring frequently.
Pin This Recipe!
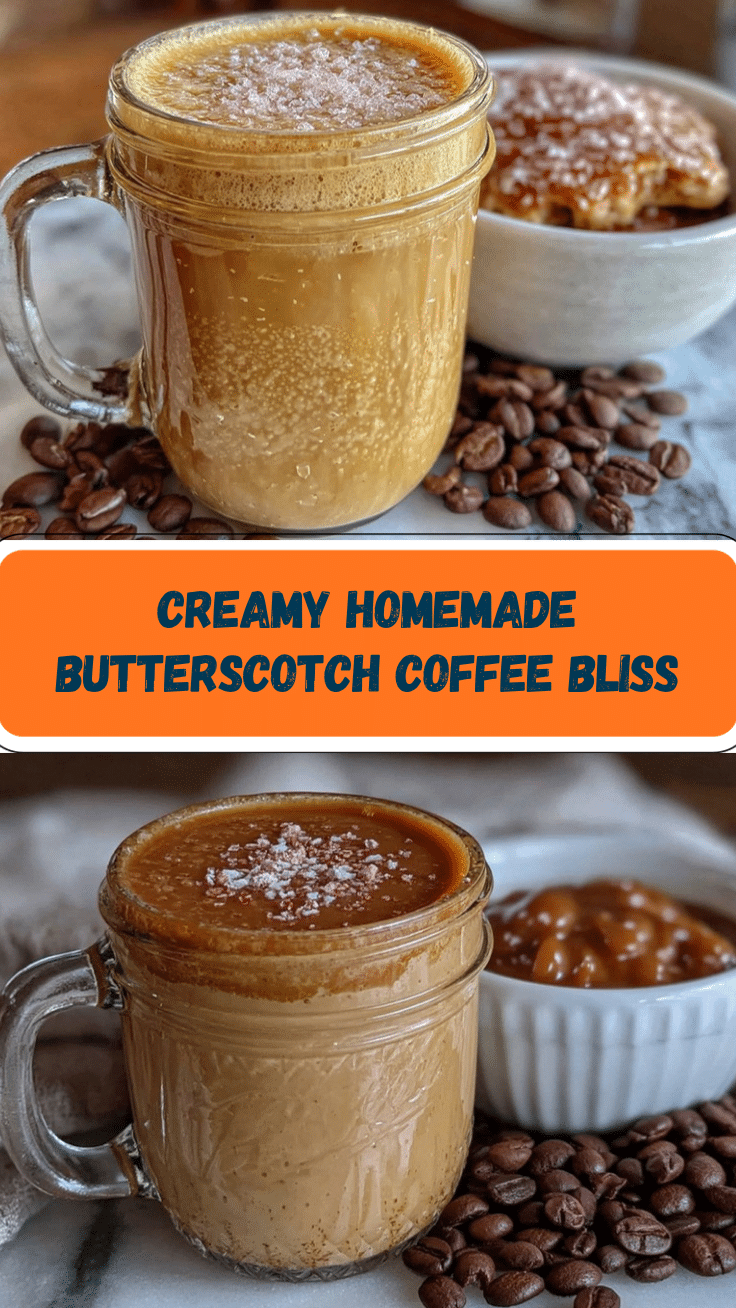
Creamy Butterscotch Coffee Creamer Recipe for Homemade Bliss

This creamy butterscotch coffee creamer transforms ordinary coffee into a magical, indulgent treat with rich caramel notes and smooth texture.
- Prep Time: 5 minutes
- Cook Time: 10 minutes
- Total Time: 15 minutes
- Yield: 16 servings 1x
- Category: Condiment
- Cuisine: American
Ingredients
- 1 cup heavy cream
- 1 cup whole milk
- 1/2 cup brown sugar
- 2 tablespoons unsalted butter
- 1 teaspoon vanilla extract
- Pinch of salt
Instructions
- In a small saucepan, combine brown sugar, unsalted butter, and heavy cream.
- Heat over medium heat, whisking constantly, until the butter is melted and the sugar is fully dissolved (about 3-5 minutes).
- Lower the heat to medium-low and allow the mixture to simmer gently for another 2-3 minutes, stirring occasionally.
- Remove the saucepan from the heat and stir in the whole milk, vanilla extract, and a pinch of salt. Whisk until well combined.
- Let the creamer cool to room temperature, then transfer it to a heatproof jar or bottle for storage.
- Refrigerate for at least 1 hour before using. Shake well before each use.
Notes
Let the sugar and butter cook slowly to develop the deep butterscotch flavor. Whisk constantly to ensure a smooth texture. Adjust sweetness or salt to match your preferences.
Nutrition
- Serving Size: 1 tablespoon
- Calories: 60
- Sugar: 5
- Sodium: 10
- Fat: 4
- Saturated Fat: 2.5
- Carbohydrates: 5
- Protein: 0.5
Keywords: butterscotch, coffee creamer, homemade creamer, caramel, easy recipe


