Introduction
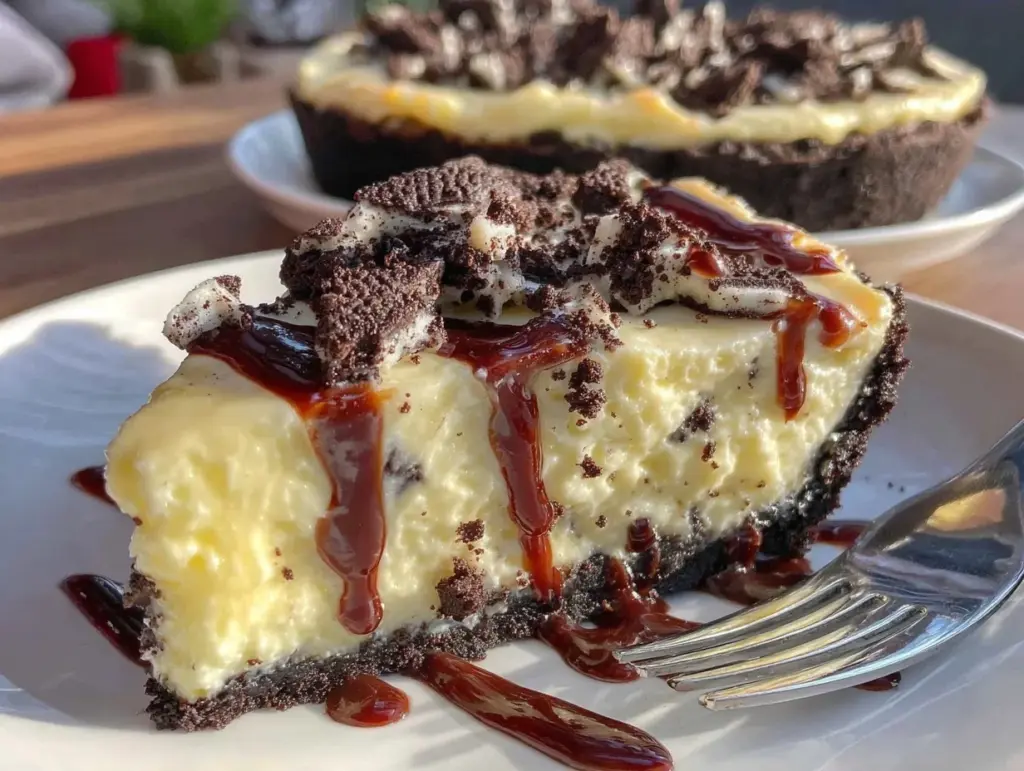
Let me set the scene: the kitchen is filled with the scent of crushed Oreos and sweet cream cheese, with sunlight streaming through the window. You know that moment—when you’re swirling together velvety cream cheese and you catch a whiff of vanilla, your mouth starts watering and suddenly, the world feels just a bit warmer. The first time I made this creamy no-bake pie with Oreo crust and fluffy cream cheese filling, I was knee-high to a grasshopper, perched on a step stool beside my grandma. We weren’t fancy bakers, just craving something sweet but too impatient to wait for the oven. That first bite was the kind of moment where you pause, take a deep breath, and just smile because you know you’re onto something truly special.
Honestly, I wish I’d stumbled on this recipe years ago when I spent hours fussing over complicated pies for bake sales and birthday parties. My family couldn’t stop sneaking slices off the pie plate (and I can’t really blame them—it’s dangerously easy to make and even easier to love!). There’s a pure, nostalgic comfort in the combination: the crunch of Oreo crust, the airy creaminess of the filling, and that cool chill that makes it perfect for sunny days or cozy movie nights. It’s the sort of dessert that brightens up your Pinterest board and makes your kids’ eyes light up when you pull it from the fridge.
This creamy no-bake pie with Oreo crust and fluffy cream cheese filling has become a staple for family gatherings, gifting to friends, and those lazy weekends where you just want something sweet with hardly any fuss. In the name of research (of course), I’ve tested it more times than I can count, and every time it feels like a warm hug. If you’re looking for a pie that’s easy, crowd-pleasing, and impossible to mess up, you’re going to want to bookmark this one—trust me.
Why You’ll Love This Recipe
Let’s face it, sometimes you crave dessert but don’t have the patience—or the oven space—for baking. That’s where this creamy no-bake pie recipe swoops in, saving your day and your sanity. Over the years, I’ve made and remade this pie for everything from backyard barbecues to quiet weeknight treats, and it never fails to impress. Here’s why you’ll love this creamy no-bake pie with Oreo crust and fluffy cream cheese filling:
- Quick & Easy: Comes together in under 30 minutes (plus chilling time), perfect for when you need dessert in a hurry. No oven required!
- Simple Ingredients: Uses pantry staples and everyday dairy—nothing fancy, and you probably already have most of it at home.
- Perfect for Any Occasion: Great for summer potlucks, family gatherings, birthday parties, or as a sweet surprise for your kids after school.
- Crowd-Pleaser: Kids, adults, picky eaters—everyone fights for the last slice. It’s always the first dessert to disappear at my house.
- Unbelievably Delicious: The contrast between the crunchy Oreo crust and fluffy, tangy-sweet cream cheese filling is pure comfort food magic.
What sets this recipe apart from the rest? I use real, full-fat cream cheese for the richest flavor and whip the filling until it’s cloud-like. The Oreo crust is pressed just thick enough for a satisfying crunch but not so much that it overpowers the filling. Some folks use pre-made crusts, but trust me—crushing Oreos yourself (with the filling included!) takes it to the next level. I’ve tested low-sugar and gluten-free versions for friends, and the results are just as dreamy. It’s the kind of pie that makes you close your eyes after the first bite, savoring that perfect combo of sweet, creamy, and chocolatey.
Whether you’re looking to impress guests with minimal effort or just want a reliable treat to make your week a little sweeter, this creamy no-bake pie with Oreo crust is the answer. It’s comfort food reimagined—faster, easier, and still packed with soul-soothing satisfaction.
What Ingredients You Will Need
This creamy no-bake pie recipe uses simple, wholesome ingredients to deliver bold flavor and satisfying texture—no complicated shopping list required. Most of these are pantry staples, and you can easily swap or substitute based on your needs. Here’s what you’ll need:
- For the Oreo Crust:
- 24 Oreo cookies (regular, not Double Stuf; filling included)
- 5 tbsp (70 g) unsalted butter, melted (adds richness and helps bind the crust)
- For the Fluffy Cream Cheese Filling:
- 1 ¼ cups (300 ml) heavy whipping cream, cold (for whipping into soft peaks)
- 12 oz (340 g) cream cheese, full-fat, softened (I like Philadelphia brand for best texture)
- 1 cup (120 g) powdered sugar (for smooth sweetness)
- 1 tsp (5 ml) pure vanilla extract (adds warmth and depth)
- 2 tbsp (30 ml) sour cream or plain Greek yogurt (optional, for a slight tang and extra fluffiness)
- For the Topping (Optional):
- Crushed Oreos or mini Oreos (for extra crunch)
- Chocolate shavings or curls (for a fancy finish)
- Fresh berries (strawberries or raspberries pair beautifully)
Ingredient Tips: For the crust, I recommend classic Oreos, but you can use Golden Oreos or gluten-free Oreos if needed. The butter should be melted, not just softened, to help the crust set up firm. When it comes to cream cheese, full-fat is the way to go for maximum creamy texture. If you’re dairy-free, swap in coconut cream and dairy-free cream cheese—just know the flavor will change a bit.
In summer, add a layer of fresh berries over the filling for a burst of color and bright flavor. For a lighter pie, swap heavy cream for whipped topping (like Cool Whip), though you’ll lose a bit of that rich homemade taste. Powdered sugar blends effortlessly for a silky, smooth filling—skip granulated sugar, which can make the filling gritty.
I’ve tried store-brand Oreos, and they work in a pinch, but the texture is best with the real deal. If you want a gluten-free option, grab gluten-free sandwich cookies and substitute 1:1. For a less-sweet pie, reduce powdered sugar by ¼ cup (30 g)—it’ll still be plenty flavorful.
Equipment Needed
You don’t need fancy gadgets to make this creamy no-bake pie with Oreo crust and fluffy cream cheese filling—just a few basics and a little elbow grease. Here’s what I always reach for:
- 9-inch (23 cm) pie pan (glass or metal works—springform pans give extra clean edges)
- Food processor or zip-top bag with rolling pin (for crushing Oreos)
- Mixing bowls (one large, one medium)
- Hand mixer or stand mixer (for whipping cream and beating filling—you can use a sturdy whisk and some muscle, but it takes longer)
- Rubber spatula (for folding and scraping)
- Measuring cups and spoons (for accuracy)
- Offset spatula or spoon (for smoothing the filling)
- Plastic wrap or pie lid (for covering during chilling)
If you don’t have a food processor, a zip-top bag and rolling pin work just fine for crushing cookies—it’s a bit therapeutic, too. I’ve used disposable pie pans for gifting, but I always miss my glass dish for the pretty layers. Hand mixers are budget-friendly and easy to clean; just make sure to wipe down your equipment after working with buttery crumbs for longevity.
If you’re short on measuring cups, use a kitchen scale for the most precise results (especially for the cream cheese and powdered sugar).
Preparation Method
- Prep the Oreo Crust:
– Place 24 Oreos (with filling) in a food processor and pulse until finely crushed. If using a zip-top bag, seal and crush with a rolling pin until you have fine crumbs.
– Transfer crumbs to a bowl and add 5 tbsp (70 g) melted unsalted butter. Stir until all crumbs are evenly coated and resemble wet sand.
– Pour mixture into a 9-inch (23 cm) pie pan. Press firmly into the bottom and up the sides using the back of a spoon or measuring cup. Pack tightly for a sturdy crust.
– Chill crust in the refrigerator for at least 15 minutes while you make the filling (this helps it firm up—don’t skip!). - Whip the Cream:
– In a cold mixing bowl, pour 1 ¼ cups (300 ml) heavy whipping cream.
– Beat with a hand mixer or stand mixer on medium-high until soft peaks form (about 2-3 minutes).
– Take care not to overwhip—the cream should look pillowy and hold gentle peaks, not stiff or grainy. - Make the Cream Cheese Filling:
– In a separate large bowl, beat 12 oz (340 g) softened cream cheese until smooth and creamy (about 1 minute).
– Add 1 cup (120 g) powdered sugar and 1 tsp (5 ml) vanilla extract. Beat until combined and fluffy (another 1-2 minutes).
– Blend in 2 tbsp (30 ml) sour cream or Greek yogurt for extra tang and lightness (optional). Scrape the sides well so there are no unmixed bits.
– Gently fold in the whipped cream using a rubber spatula. Go slow—fold until just combined and the mixture is light and airy. Overmixing can deflate the filling. - Fill the Pie:
– Spoon cream cheese filling over the chilled Oreo crust. Smooth the top with an offset spatula or back of a spoon.
– Sprinkle with crushed Oreos, chocolate curls, or berries if desired. - Chill:
– Cover pie loosely with plastic wrap or a pie lid.
– Chill in the refrigerator for at least 4 hours, preferably overnight, until set and sliceable. The longer it chills, the firmer and creamier the texture. - Serve:
– Remove from fridge, slice with a sharp knife, and serve cold.
– For clean slices, wipe the knife between cuts.
Troubleshooting Tips: If the crust is crumbly, add 1 extra tablespoon of melted butter. If the filling seems loose, chill longer before slicing. For extra stability, freeze the pie for 30 minutes before serving.
When folding whipped cream, go slow—rushing can deflate the fluffiness. Sensory cues: the crust should feel firm and slightly sandy; the filling should look glossy, pillowy, and hold its shape when mounded.
My efficiency tip: crush cookies and melt butter while your cream cheese softens. Wash bowls between steps to keep cleanup easy!
Cooking Tips & Techniques
Let’s be real—making a creamy no-bake pie with Oreo crust and fluffy cream cheese filling is pretty forgiving, but a few pro tips will guarantee you hit that sweet spot every time.
- Chill Everything: Cold heavy cream whips up faster and holds peaks better. If your kitchen is warm, chill your mixing bowl and beaters for 10 minutes first.
- Crust Packing: Don’t skimp on pressing that Oreo crust! Use a flat-bottomed measuring cup and really push into the edges. A loose crust falls apart when sliced (been there, done that).
- Softened Cream Cheese: If you forget to soften your cream cheese, microwave it in 10-second bursts until just flexible—not melted. Hard cream cheese = lumpy filling.
- Gentle Folding: When combining whipped cream and cream cheese, use a spatula, not a mixer. Overmixing deflates the filling and makes it dense.
- Avoid Overwhipping: Stop whipping cream as soon as soft peaks form. If you go too far, the cream will turn grainy and won’t blend smoothly.
- Timing: Make this pie the night before you need it. The flavors meld and the texture firms up perfectly by morning.
- Multitask: Melt butter while the Oreos crush, and whip cream while the crust chills. Keeps things moving (and gives you more time to sneak a taste).
Honestly, the only time I’ve flubbed this recipe was when I rushed and didn’t chill it long enough—the slices came out messy, but still delicious. So, patience pays off here. If you want picture-perfect pie for Pinterest, let it chill at least 4 hours, even overnight.
Variations & Adaptations
No two kitchens are the same—and that’s half the fun! This creamy no-bake pie with Oreo crust and fluffy cream cheese filling is endlessly adaptable. Here are a few tried-and-true twists:
- Gluten-Free: Use gluten-free sandwich cookies for the crust. The rest of the filling is naturally gluten-free, so no extra tweaks needed.
- Lemon Lush: Swap vanilla extract for lemon zest and juice, then top with fresh berries for a tangy-sweet summer vibe.
- Peanut Butter Dream: Blend ½ cup (120 g) creamy peanut butter into the cream cheese mixture for a nutty twist (top with chopped peanuts if you’re feeling fancy).
- Dairy-Free: Use coconut cream for whipping and dairy-free cream cheese (like Daiya or Kite Hill). The result is a bit lighter but still hits the spot.
- Chocolate Lovers: Add 2 tbsp (15 g) cocoa powder to the filling or swirl in some melted chocolate before chilling.
If you don’t have a pie pan, make mini pies in mason jars—just layer the crust and filling for adorable, portable desserts. I’ve even added a thin layer of caramel sauce between crust and filling for a salty-sweet surprise (highly recommend).
Allergen notes: For egg allergies, rest easy—this recipe’s egg-free. For nut allergies, skip any nutty add-ins. For vegan, use coconut-based alternatives and plant-based butter.
My favorite personal variation? Swapping out half the Oreos for graham crackers in the crust and adding a touch of almond extract to the filling. It’s unexpected and totally delicious.
Serving & Storage Suggestions
For serving, this creamy no-bake pie with Oreo crust and fluffy cream cheese filling is best chilled, straight from the fridge. Slice with a sharp knife for clean edges, and wipe between cuts for that Pinterest-worthy look.
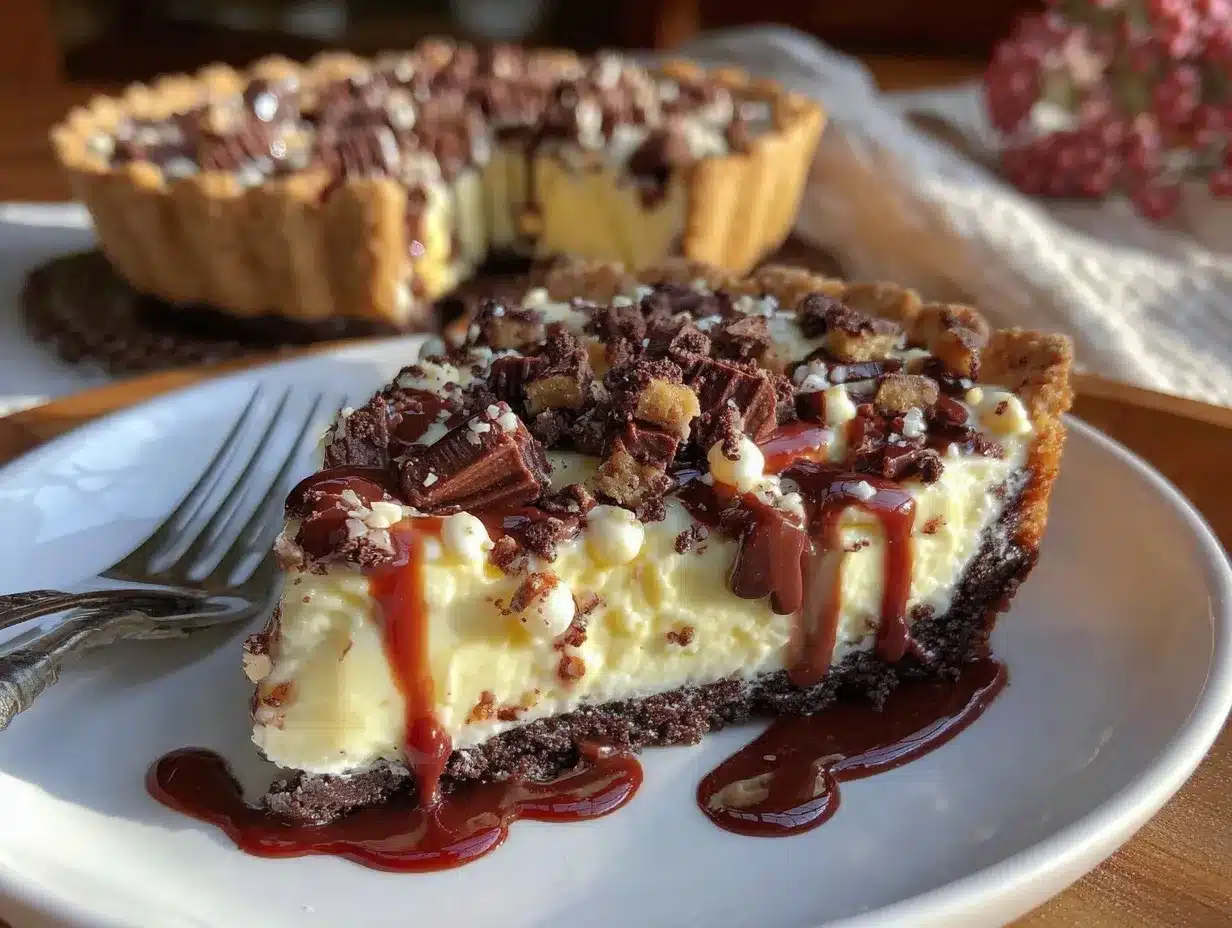
- Presentation: Garnish with extra crushed Oreos, chocolate curls, or a handful of fresh berries. For parties, serve with whipped cream or vanilla ice cream.
- Pairings: Goes beautifully alongside hot coffee, cold milk, or a fruity iced tea. For a dessert buffet, pair with fruit salad or mini cheesecakes.
- Storage: Cover leftovers tightly with plastic wrap or a pie lid and refrigerate for up to 4 days.
- Freezer Friendly: To keep longer, wrap the pie well and freeze for up to 2 months. Thaw overnight in the fridge before serving; the texture stays creamy, though the crust softens a bit.
- Reheating: Not needed (and not recommended)—this pie is all about that cool, creamy texture.
As the pie sits, the flavors meld and the crust softens, so day two is often even tastier than day one. I sometimes sneak a slice for breakfast—no judgment!
Nutritional Information & Benefits
Here’s the lowdown on nutrition for this creamy no-bake pie with Oreo crust and fluffy cream cheese filling (per slice, assuming 10 slices):
- Calories: Approximately 350-400
- Fat: About 25 g (mostly from cream cheese and heavy cream)
- Sugar: Roughly 24 g
- Protein: 4 g
Key health benefits? Cream cheese and Greek yogurt provide calcium and a touch of protein, while using dark chocolate Oreos adds a little antioxidant kick. If you swap for lower-fat dairy or dairy-free options, you can reduce calories and saturated fat. The pie’s naturally egg-free, and can be made gluten-free or nut-free with simple swaps.
Allergen notes: Contains dairy, wheat (unless using gluten-free cookies), and may contain soy (check cookie labels). Personally, I love that it’s rich and satisfying—so a small slice is all you need to feel indulged without going overboard.
Conclusion
There’s just something about a creamy no-bake pie with Oreo crust and fluffy cream cheese filling that hits the sweet spot—easy, quick, and irresistibly delicious. Whether you follow the classic recipe or tweak with your favorite variations, you’ll end up with a dessert that’s pure comfort and guaranteed to please.
I keep coming back to this pie for family gatherings, potlucks, and those “just because” moments when you want a little extra joy at the end of the day. It’s simple enough for weeknights but special enough for celebrations.
So, what are you waiting for? Try it out, make it your own, and let me know how it goes! Leave a comment below if you have questions, share your favorite pie toppings, or tag me if you post your creation—honestly, I love seeing how everyone adds their own twist. Here’s to sweet moments, easy recipes, and lots of smiles around the table!
FAQs
Can I make this creamy no-bake pie with Oreo crust ahead of time?
Absolutely! In fact, I recommend making it the night before. The flavors blend and the texture firms up perfectly when chilled overnight.
Can I use reduced-fat cream cheese for the filling?
You can, but the texture will be a bit less creamy and rich. Full-fat cream cheese gives the best results, but reduced-fat works if you’re looking to cut calories.
How do I crush Oreos without a food processor?
Just place them in a zip-top bag and crush with a rolling pin or sturdy glass. It’s a little noisy, but works great!
Can I freeze leftover pie slices?
Yes! Wrap slices tightly and freeze for up to 2 months. Thaw overnight in the refrigerator before serving—still creamy, though the crust gets a little softer.
What can I use instead of Oreos for the crust?
Graham crackers, digestive biscuits, or gluten-free chocolate cookies all make great crust alternatives. Just keep the butter ratio the same for binding.
Pin This Recipe!
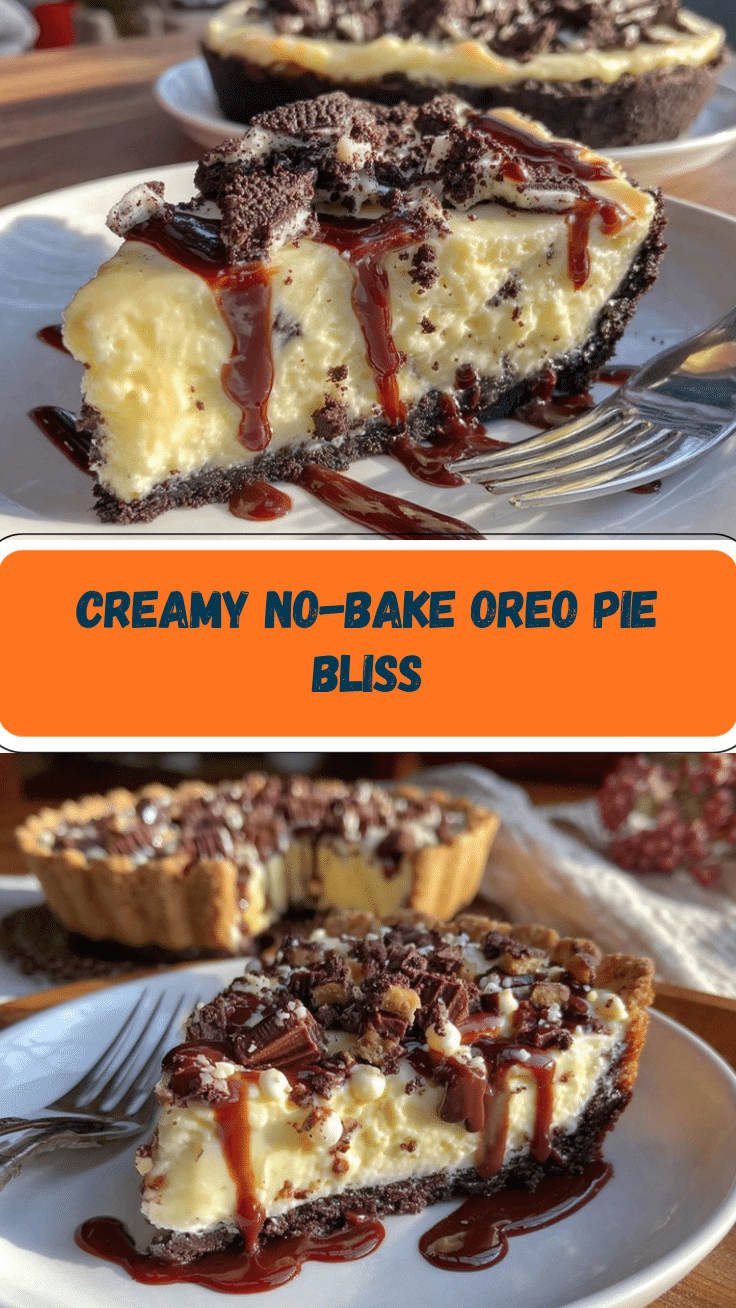
Creamy No-Bake Pie with Oreo Crust & Fluffy Cream Cheese Filling

This easy, crowd-pleasing no-bake pie features a crunchy homemade Oreo crust and a cloud-like cream cheese filling. It’s perfect for family gatherings, potlucks, or any time you want a sweet treat without turning on the oven.
- Prep Time: 20 minutes
- Cook Time: 0 minutes
- Total Time: 4 hours 20 minutes
- Yield: 10 servings 1x
- Category: Dessert
- Cuisine: American
Ingredients
- 24 Oreo cookies (regular, not Double Stuf; filling included)
- 5 tablespoons unsalted butter, melted
- 1 1/4 cups heavy whipping cream, cold
- 12 ounces full-fat cream cheese, softened
- 1 cup powdered sugar
- 1 teaspoon pure vanilla extract
- 2 tablespoons sour cream or plain Greek yogurt (optional)
- Crushed Oreos or mini Oreos (optional, for topping)
- Chocolate shavings or curls (optional, for topping)
- Fresh berries (optional, for topping)
Instructions
- Place 24 Oreos (with filling) in a food processor and pulse until finely crushed. Alternatively, seal Oreos in a zip-top bag and crush with a rolling pin.
- Transfer crumbs to a bowl and add 5 tablespoons melted unsalted butter. Stir until evenly coated and mixture resembles wet sand.
- Pour mixture into a 9-inch pie pan. Press firmly into the bottom and up the sides using the back of a spoon or measuring cup. Pack tightly for a sturdy crust.
- Chill crust in the refrigerator for at least 15 minutes while you make the filling.
- In a cold mixing bowl, pour 1 1/4 cups heavy whipping cream. Beat with a hand mixer or stand mixer on medium-high until soft peaks form (about 2-3 minutes). Do not overwhip.
- In a separate large bowl, beat 12 ounces softened cream cheese until smooth and creamy (about 1 minute).
- Add 1 cup powdered sugar and 1 teaspoon vanilla extract. Beat until combined and fluffy (another 1-2 minutes).
- Blend in 2 tablespoons sour cream or Greek yogurt for extra tang and lightness (optional). Scrape the sides well.
- Gently fold in the whipped cream using a rubber spatula until just combined and the mixture is light and airy.
- Spoon cream cheese filling over the chilled Oreo crust. Smooth the top with an offset spatula or back of a spoon.
- Sprinkle with crushed Oreos, chocolate curls, or berries if desired.
- Cover pie loosely with plastic wrap or a pie lid. Chill in the refrigerator for at least 4 hours, preferably overnight, until set and sliceable.
- Remove from fridge, slice with a sharp knife, and serve cold. Wipe the knife between cuts for clean slices.
Notes
For best results, chill the pie overnight for a firmer texture. Use full-fat cream cheese for maximum creaminess. If the crust is crumbly, add 1 extra tablespoon of melted butter. For gluten-free, use gluten-free sandwich cookies. The pie is naturally egg-free and can be made dairy-free with coconut cream and dairy-free cream cheese. Garnish with extra Oreos, chocolate curls, or berries for a festive touch.
Nutrition
- Serving Size: 1 slice (1/10 of pie
- Calories: 375
- Sugar: 24
- Sodium: 220
- Fat: 25
- Saturated Fat: 15
- Carbohydrates: 32
- Fiber: 1
- Protein: 4
Keywords: no-bake pie, Oreo crust, cream cheese filling, easy dessert, summer pie, kid-friendly, potluck, crowd-pleaser, creamy pie, quick dessert


